Insta360 Luna Pro - 10 Settings EVERYONE Needs To Know!
The Insta360 Luna series is arguably the best pocketable gimbal camera for a number of reasons, and number one is the ability to remove the monitor & control panel and use it to remote-control the Luna at a distance. And what makes this even better is the fact that this control unit has a built-in wireless mic. This is the PRO model.
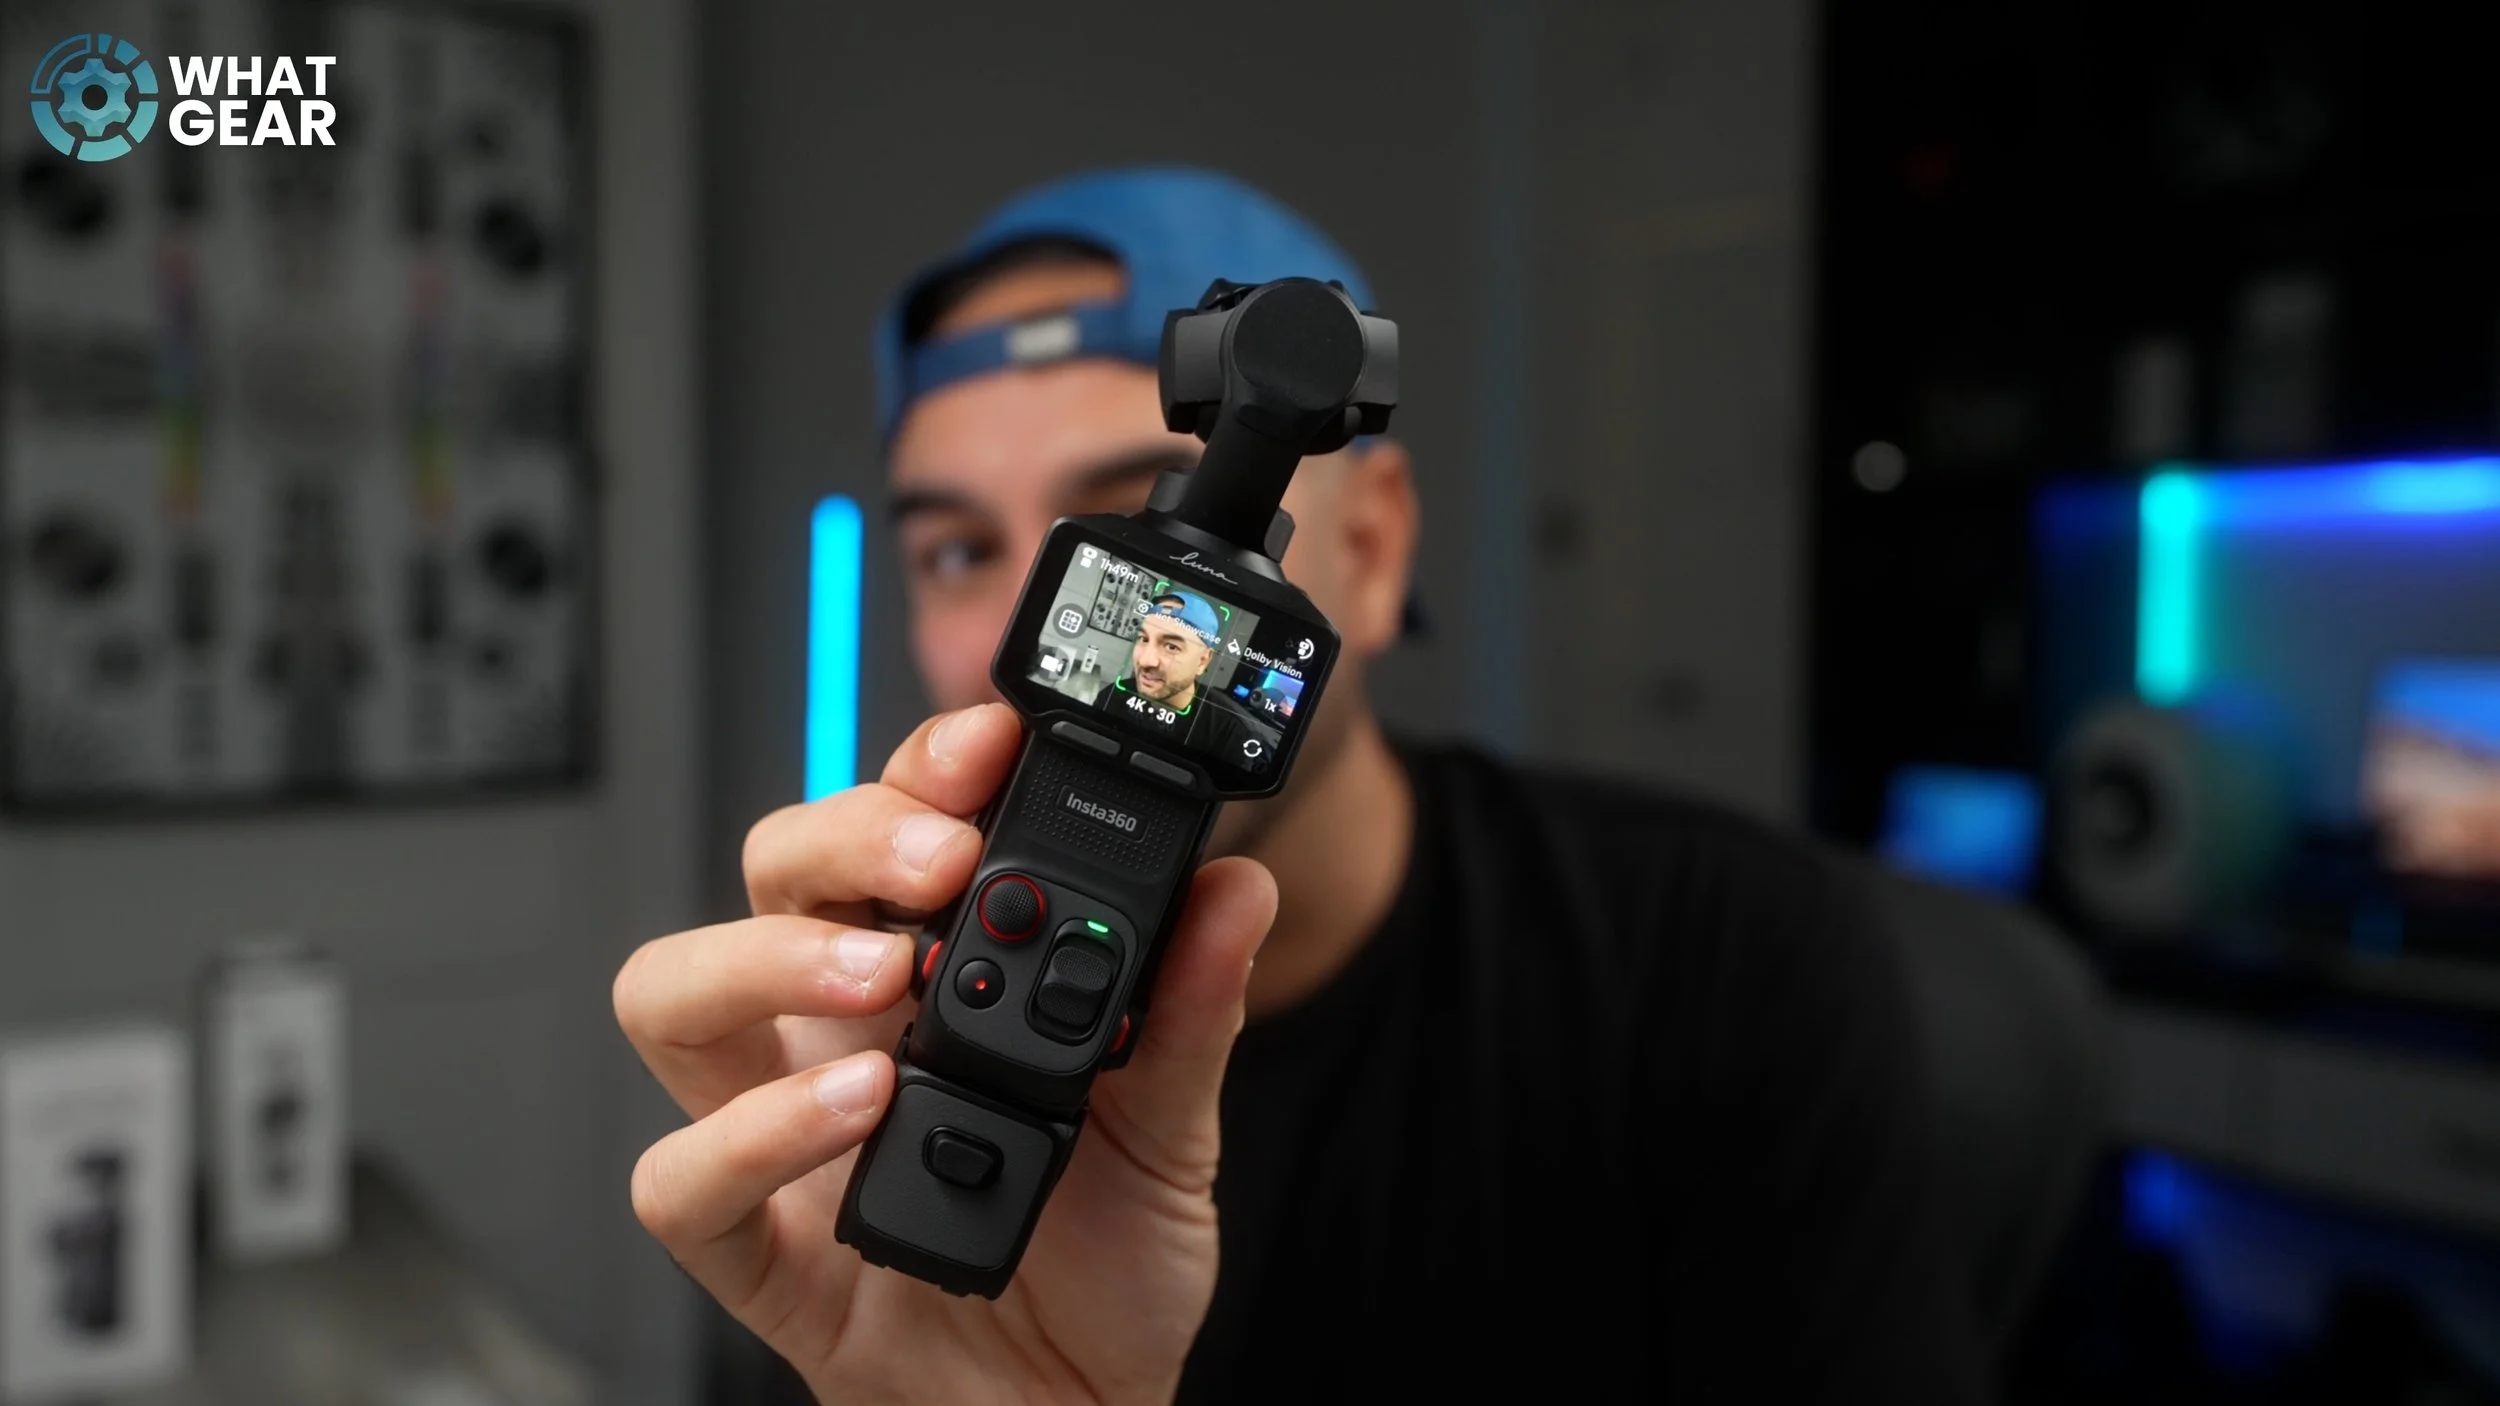
If you’re interested in the differences between this and the ULTRA, I’ve made a short video about that, but this one right here is all about the 10 features and hidden settings that will instantly upgrade the video quality & your ability. Do these 10 things, and you will instantly level up your Insta360 Luna camera game. Even if you don’t have one yet & want to see what it can do. Trust me, you’re going to want to see this.
Auto Framing
Alright, let’s lock in and get familiar with how to lock on to people or specific objects or points of interest. So locking onto faces is extremely easy. When your subject is in the field of view, simply click the joystick in. And it will auto-lock onto them. That's basic framing, but if you want to be even more creative with this, I’m going to show you that… But first, let me show you how to lock onto an object manually. Instead of clicking the joystick, hit the dot with the square around it. Now you can use the touch screen to drag a green box around the part of the scene you want to lock onto. My guess is not many people know this hidden step… Now you’re not going to be one of those people. When you lock onto a person or an object, you can actually choose where in the frame you want the subject positioned.
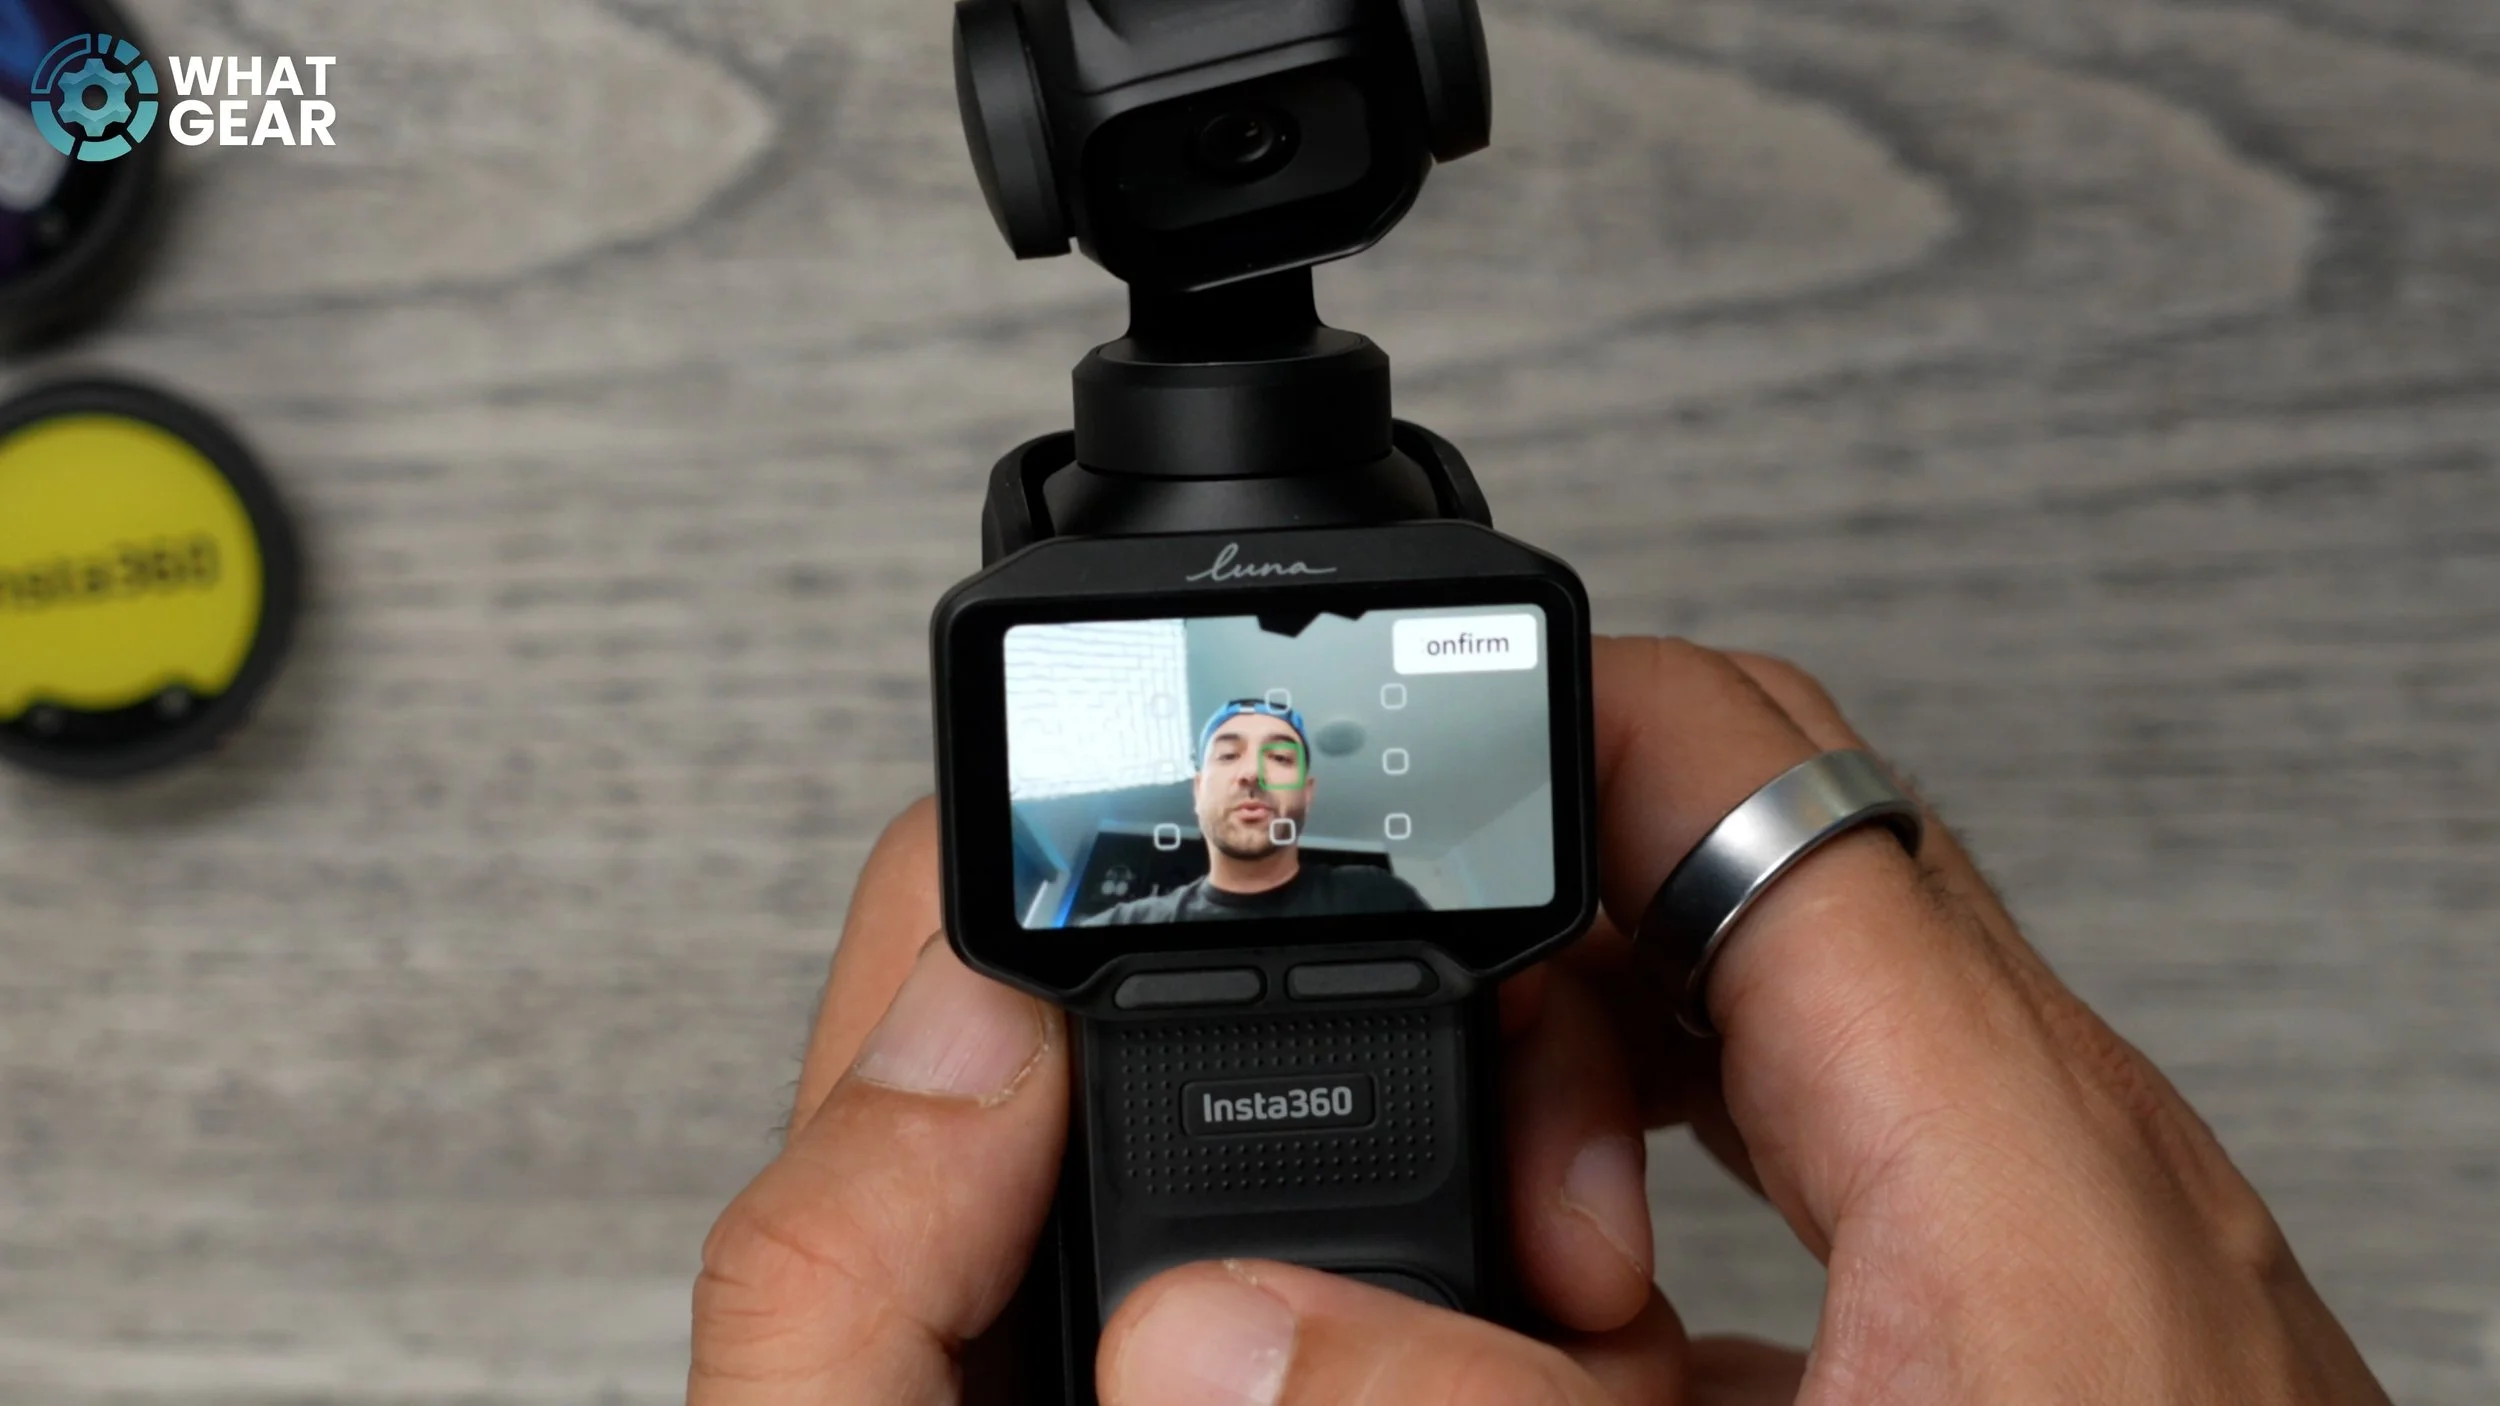
For example, you want to be able to see the scenery over your shoulder, or you want to use the rule commonly used in filmmaking. Here’s how to do it. Once already locked on, tap the grid icon that's now in the position of the manual lock. This opens up a 9-point grid; now you can use the joystick to select where in the frame you want your subject positioned. I think you’ll agree this is nice.
Auto orientation
So there’s an important question you need to ask yourself. Are you planning to just shoot Horizontal video or just vertical? Or…both. Either way, this is one of the most useful settings to change on the Luna. If you swipe up from the bottom of the screen here, you can choose your resolution and frame rate, ratio and aspect ratio. Tap aspect ratio here. And scroll down to auto orientation; now when you flip the screen from landscape to portrait, the aspect ratio switches automatically.
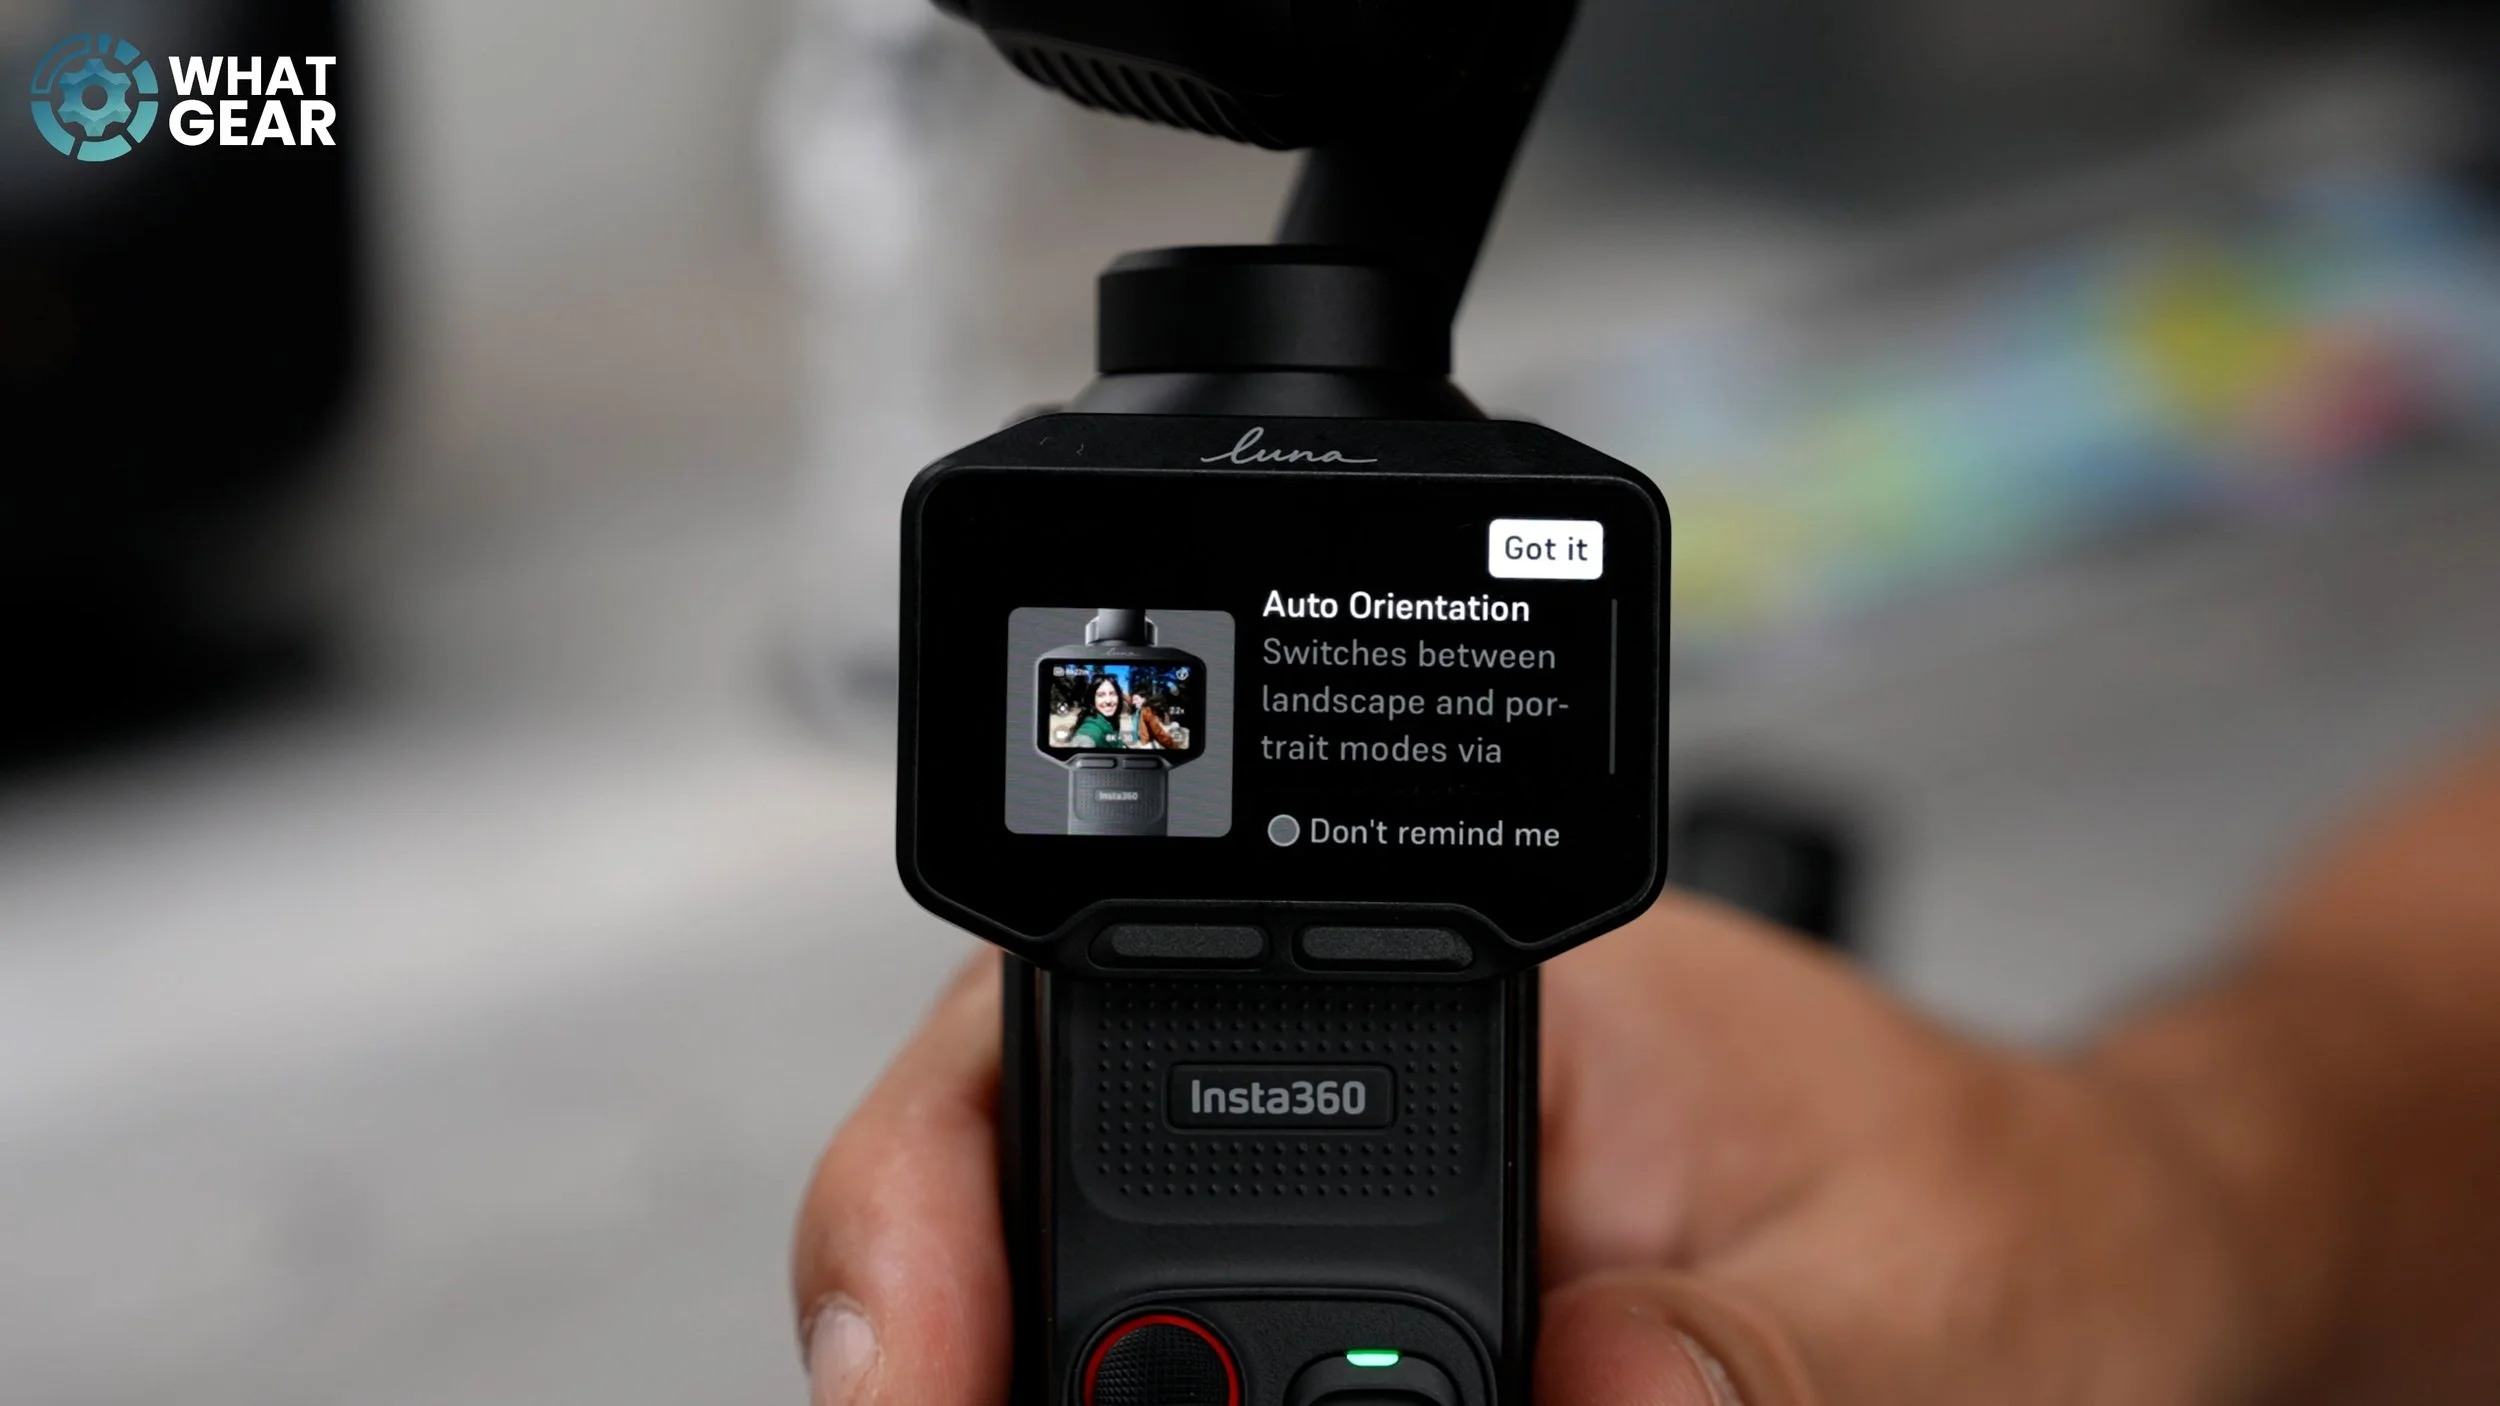
This will save you time, each and every time you want to switch it up the aspect ratio…no more looking for that setting manually. The only downside to this change, if you can call it that, is that now, to power down, you’ll need to push and hold the power button.
Gimbal Modes/roll & tilt lock
So the gimbal mechanism on PRO is the exact same high-quality one used on the ULTRA, and there are various modes for different types of content creation. But there is one which I think is generally the best & it’s not selected by default.
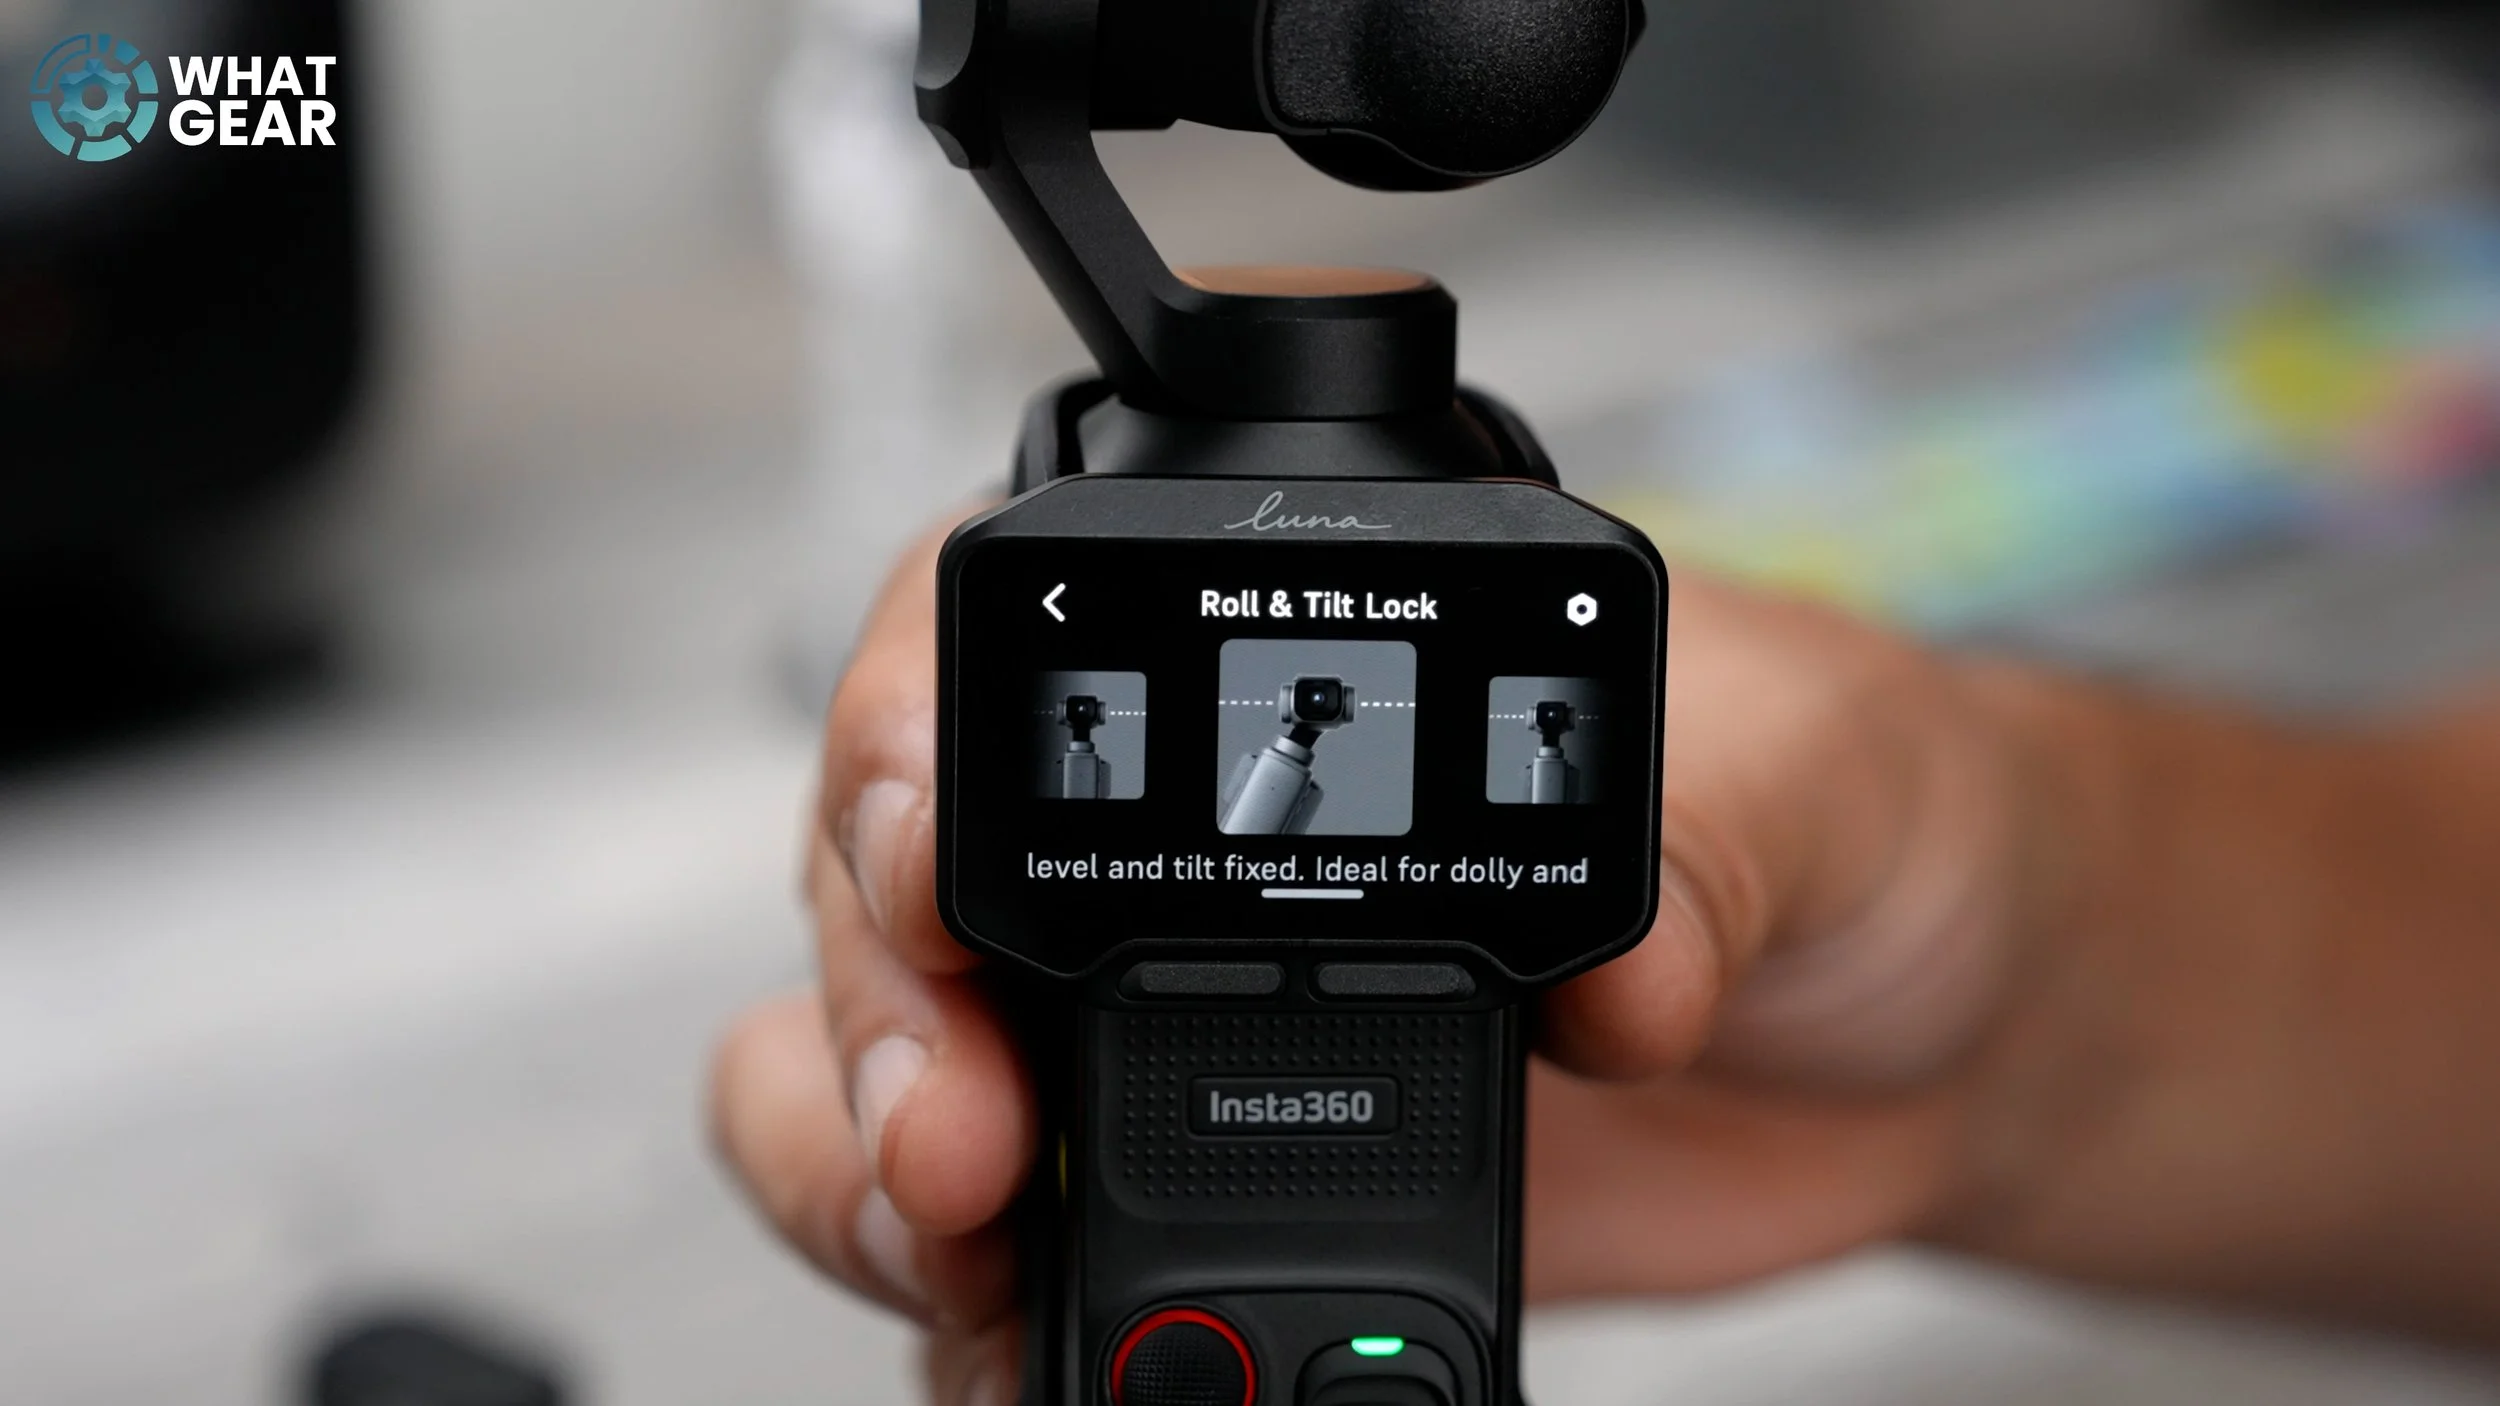
To access it, swipe down from the top and tap the gimbal tab. Here are all the modes; roll lock is the default, but roll and tilt lock is superior if you want to keep things as stable as possible, as it will compensate for unintentional movements on all axis.
Smoother tracking
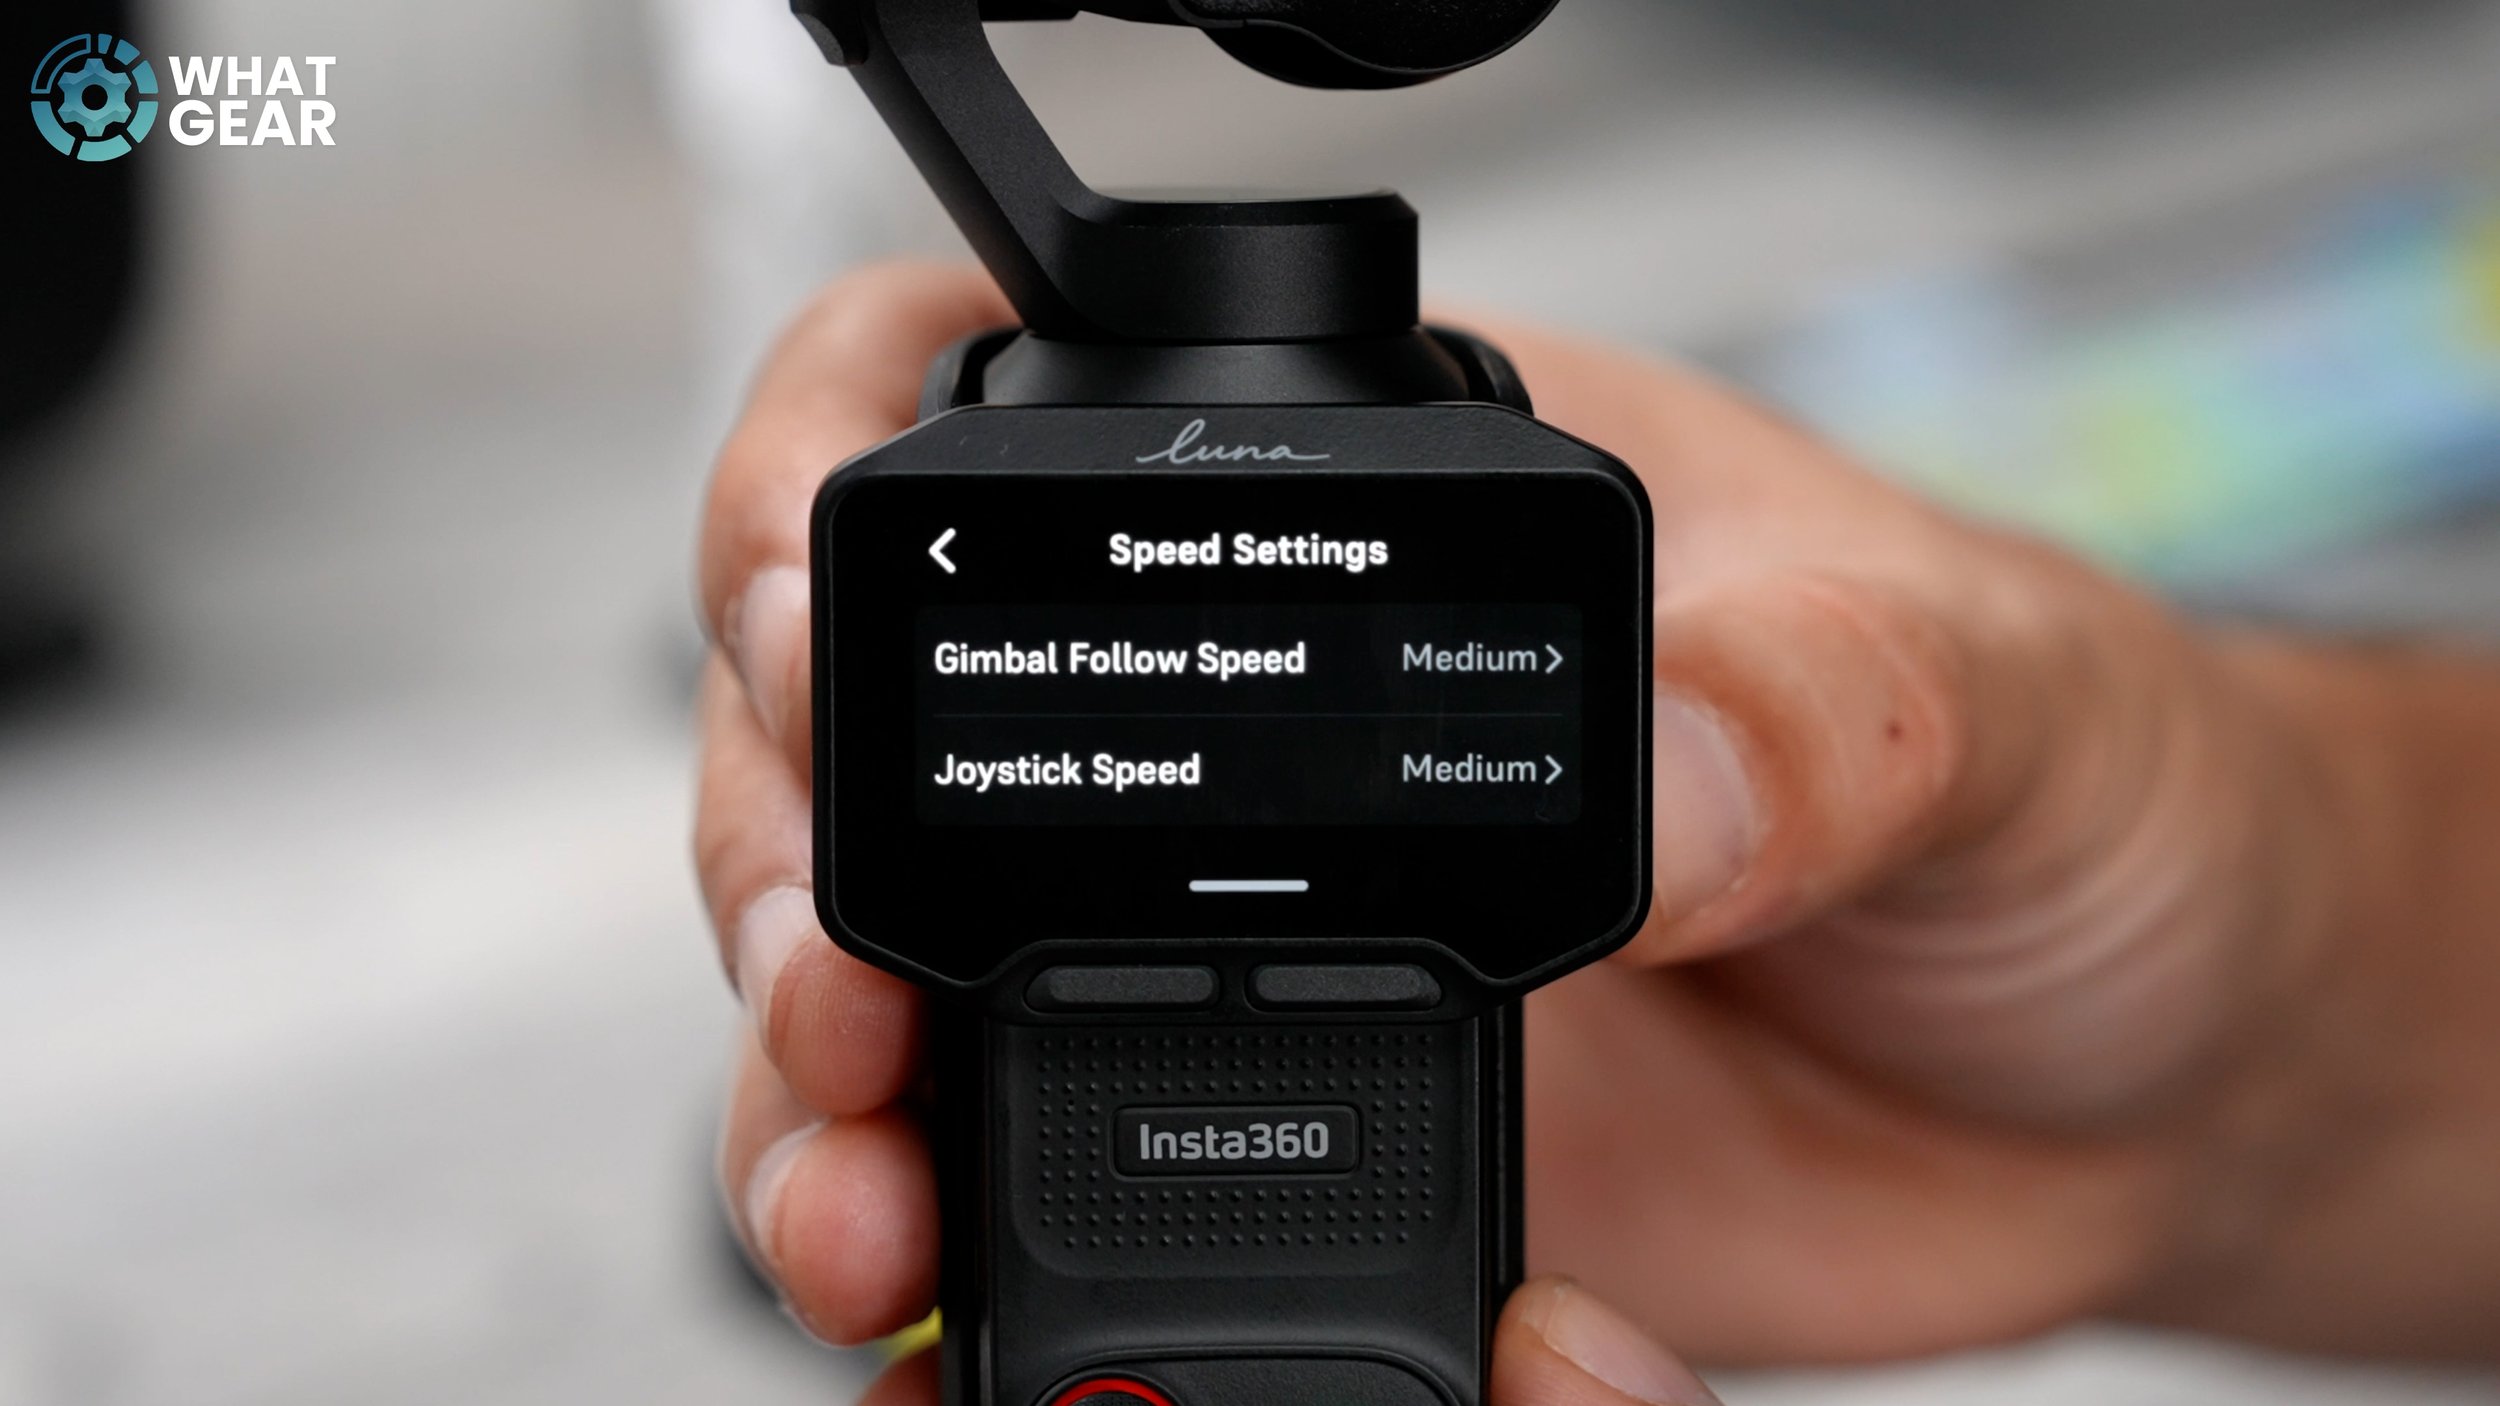
Ok here’s the first hidden setting. If you want to increase the cinematic smoothness when auto-tracking a subject. Change this. Swipe down from the top, go to the Gimbal tab again, and in the top right corner, hit Settings. Change the gimbal follow speed to slow, and if you’re going to shoot a lot without auto-framing, change the joystick speed to slow. This will make the joystick controls a lot smoother and easier to control.
Zoom speed
Now, since we are talking about cinematic smoothness, there is another way to elevate your skills in this area with the Insta360 Luna PRO. Here’s how you do it. Swipe down from the top, go to Settings, then scroll down to Zoom Speed & set this to slow. Side note: this change is only in effect when you start filming.
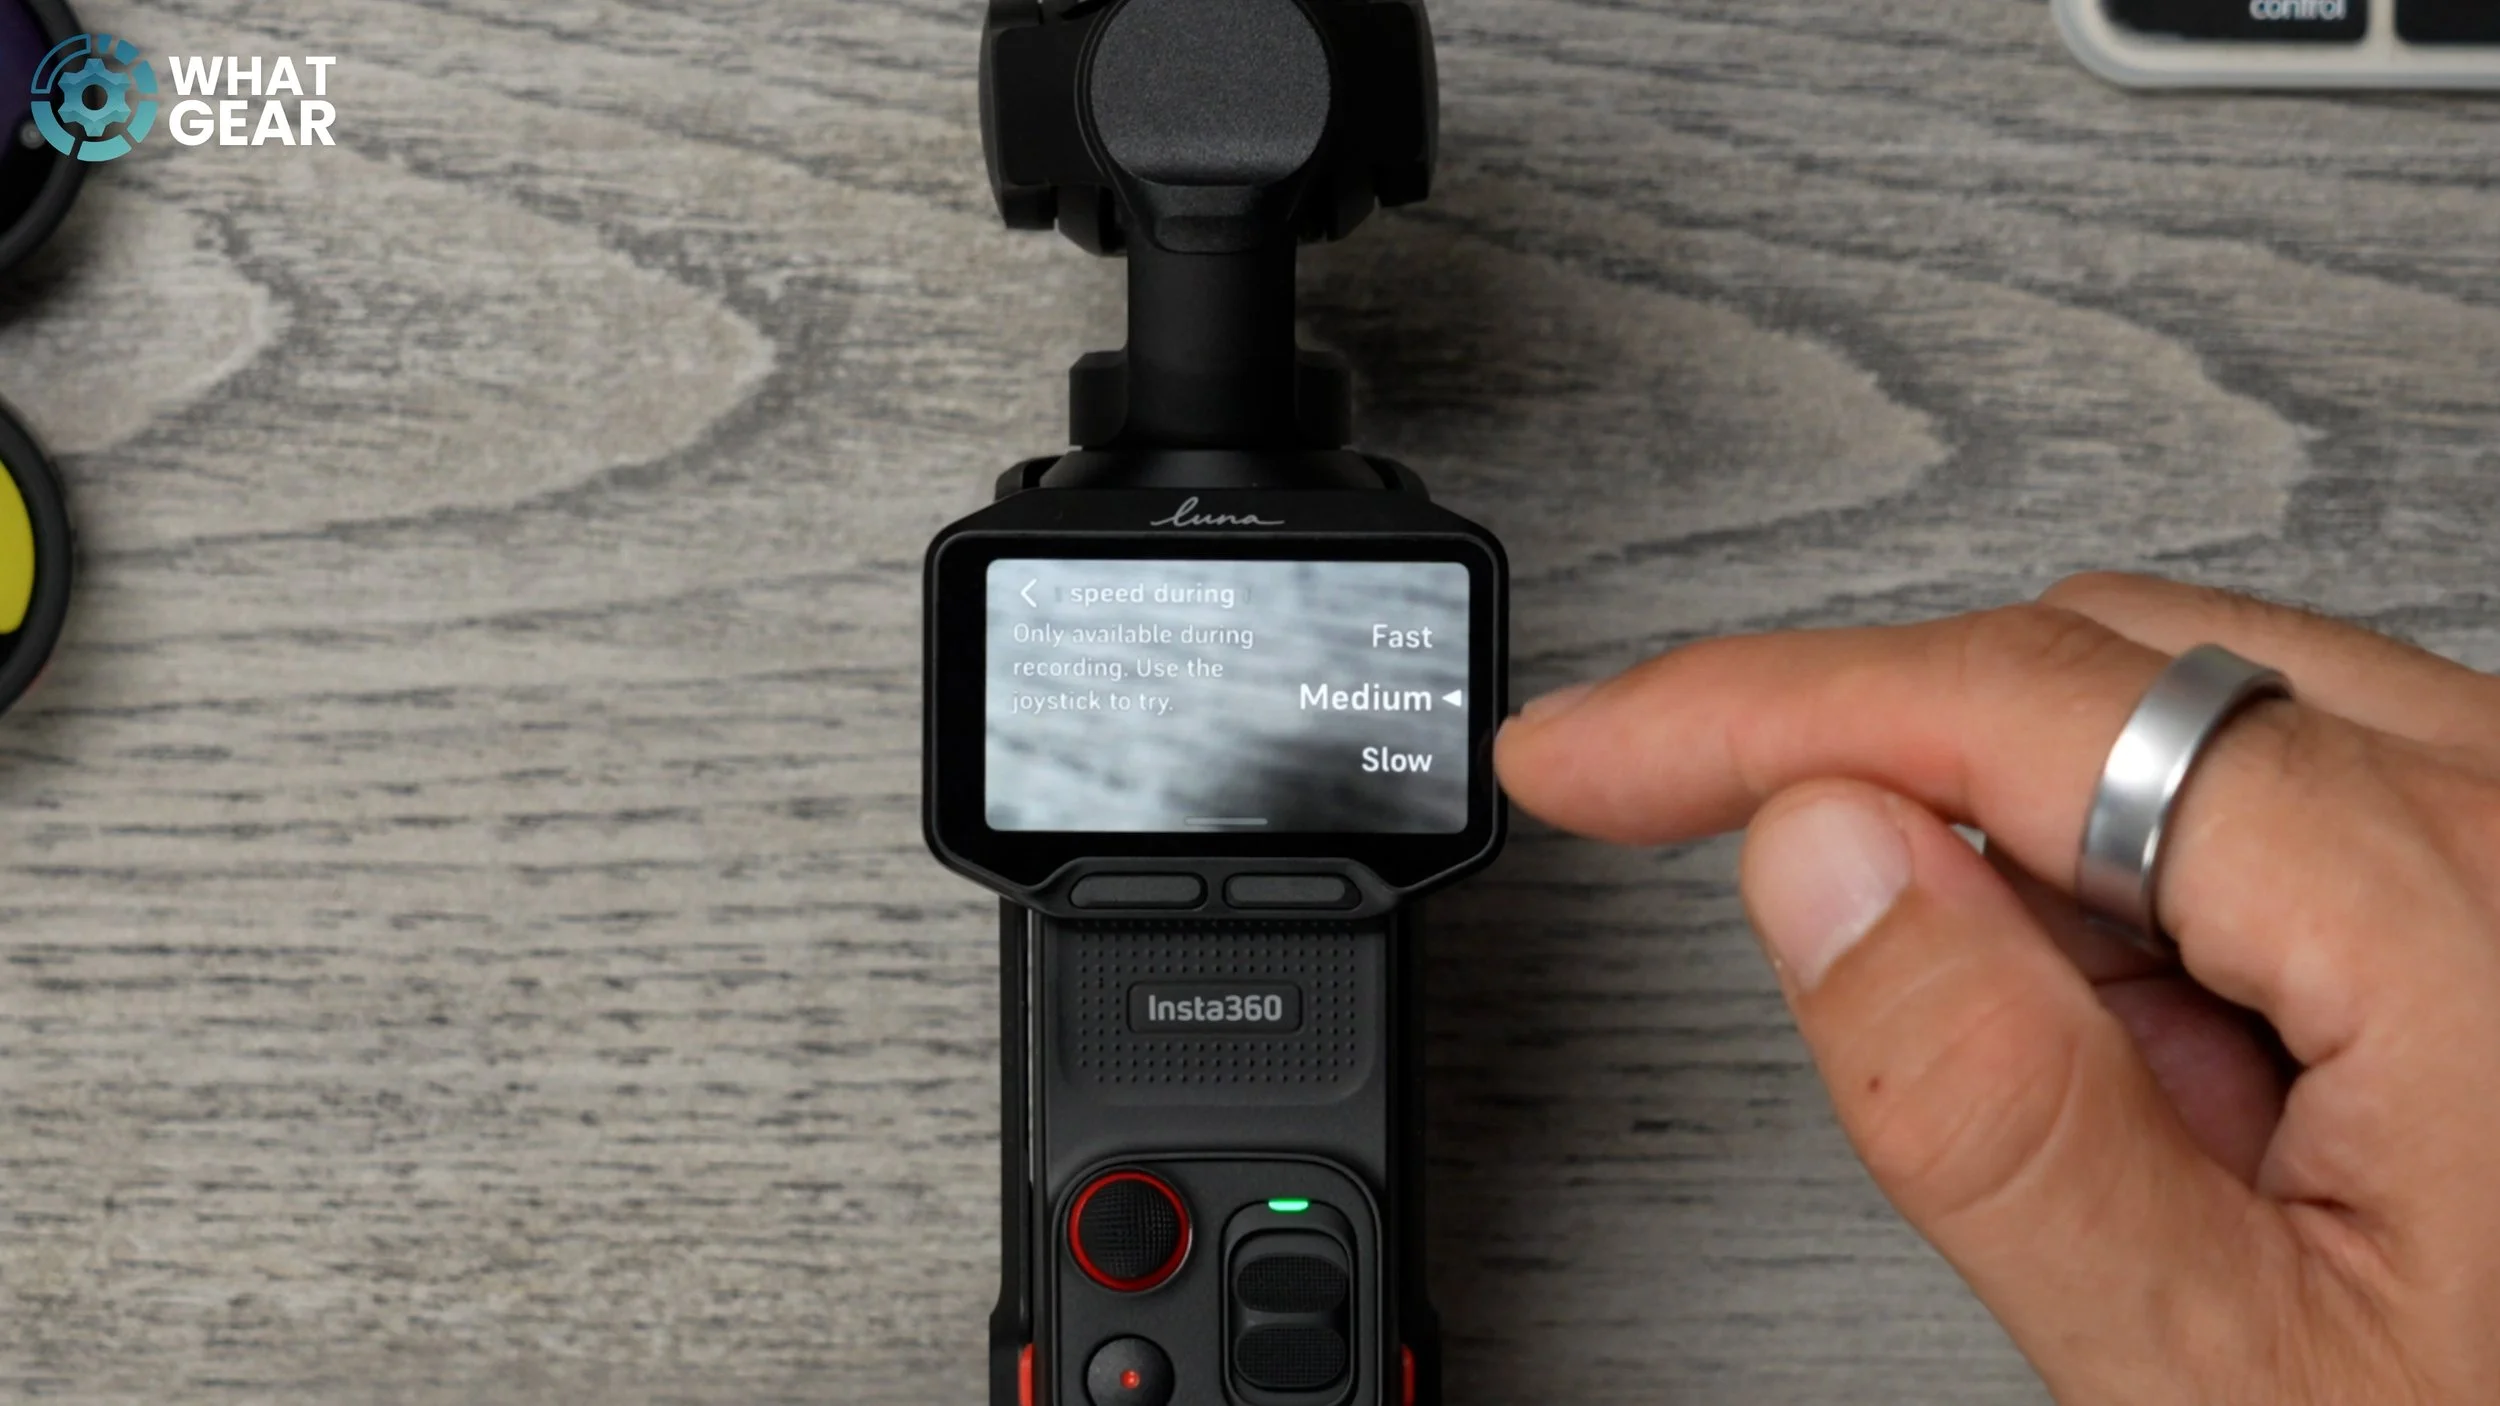
Now, whenever you want to perform a slow cinematic zoom, the movement will be a lot smoother and easier to control. And forgive me for dedicating two tips to shooting smoother videos…but you know how it is ( I just want to make people silky smooth )
Product showcase
Alright, another hidden setting; this is a powerful and extremely useful one for a lot of reasons. So let’s say you are a beauty influencer or a tech reviewer like me, or maybe you plan to shoot videos where you want to show people any product or what you’re doing with your hands. The problem with the Luna is its excellent focus-locking onto faces. So if you want to show something whilst in front of the camera, or if someone walks into the frame, it may lose focus on the object you’re trying to show.
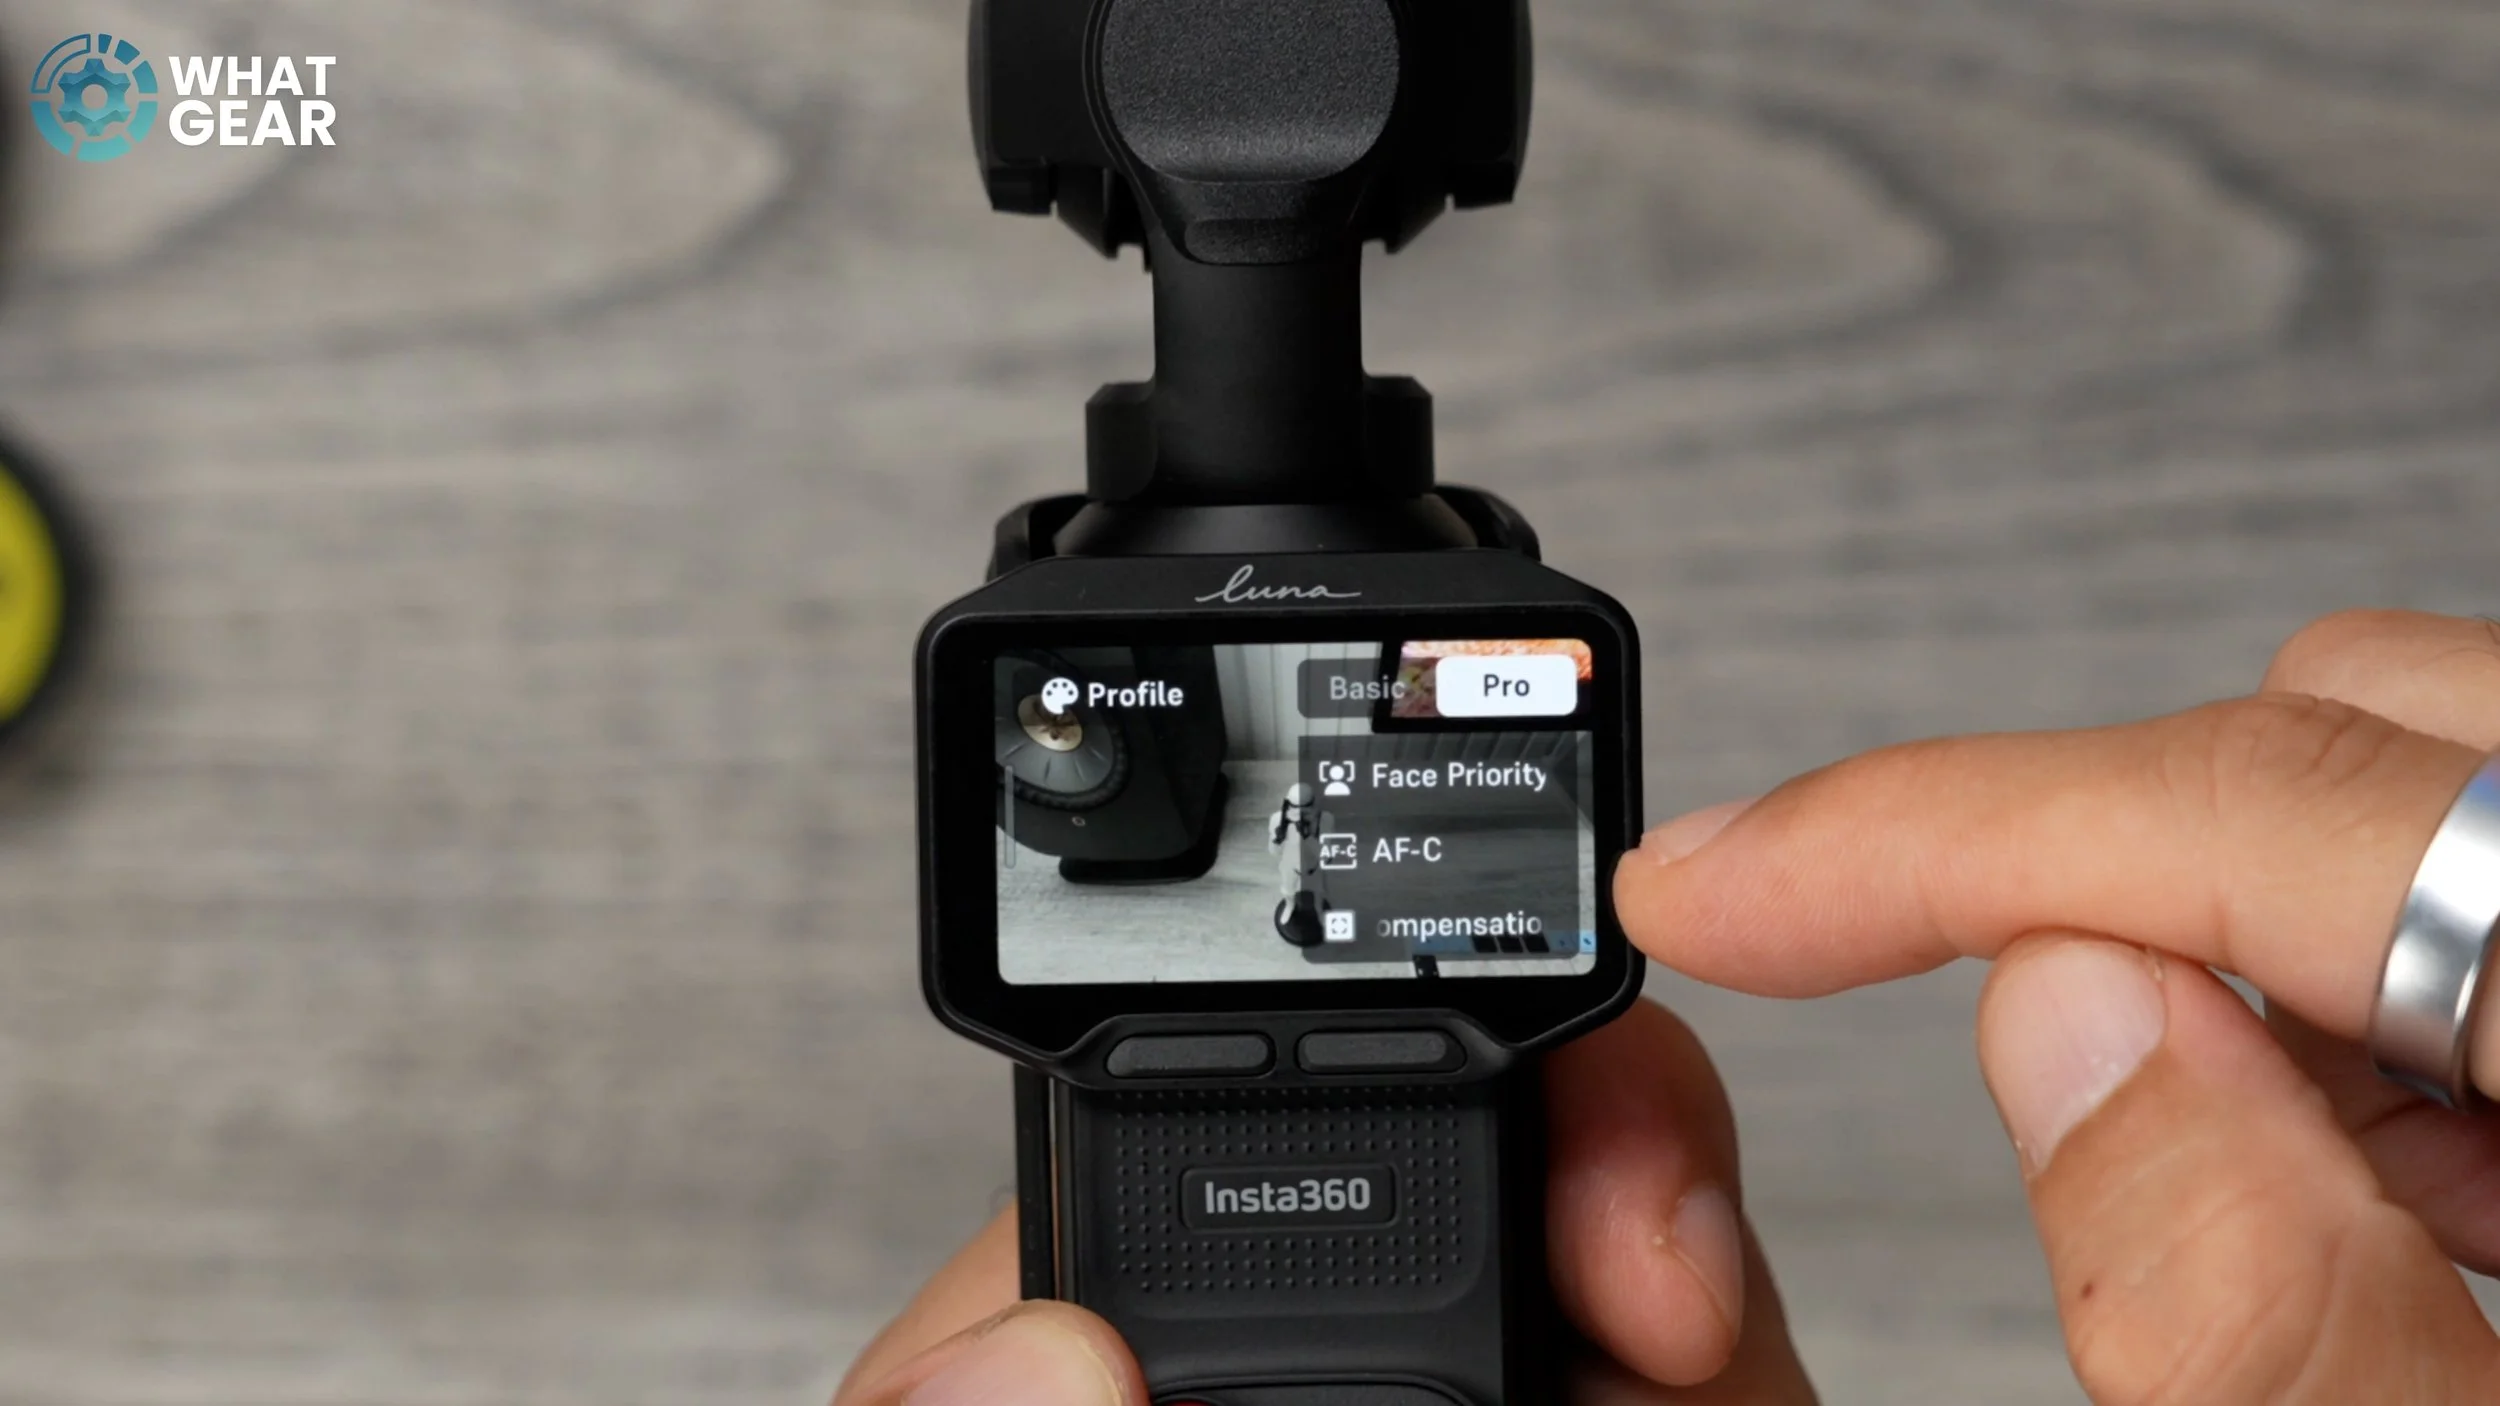
Here’s that hidden setting that you need to know. Swipe in from the right, hit the Pro tab, scroll down to where you see AF-C, tap this and set it to the product showcase. This will tell the LUNA Pro to prioritise whatever is closest to the lens. Important side note: you might think this is great. I'll leave this on all the time, right (wrong). Only use it when you need to; leave it off when shooting other types of content.
Grids & centre lines
Ok this is a fundamental tool for free filming without auto tracking or framing & it’s a good one to set up and leave on all the time. Swipe down from the top, swipe across to the right and tap grid lines. Here you'll find not just the grid lines but also the centre line tool. This will help you frame and level things up more precisely, and it will also help you if you want to apply the rule of thirds to your recordings.
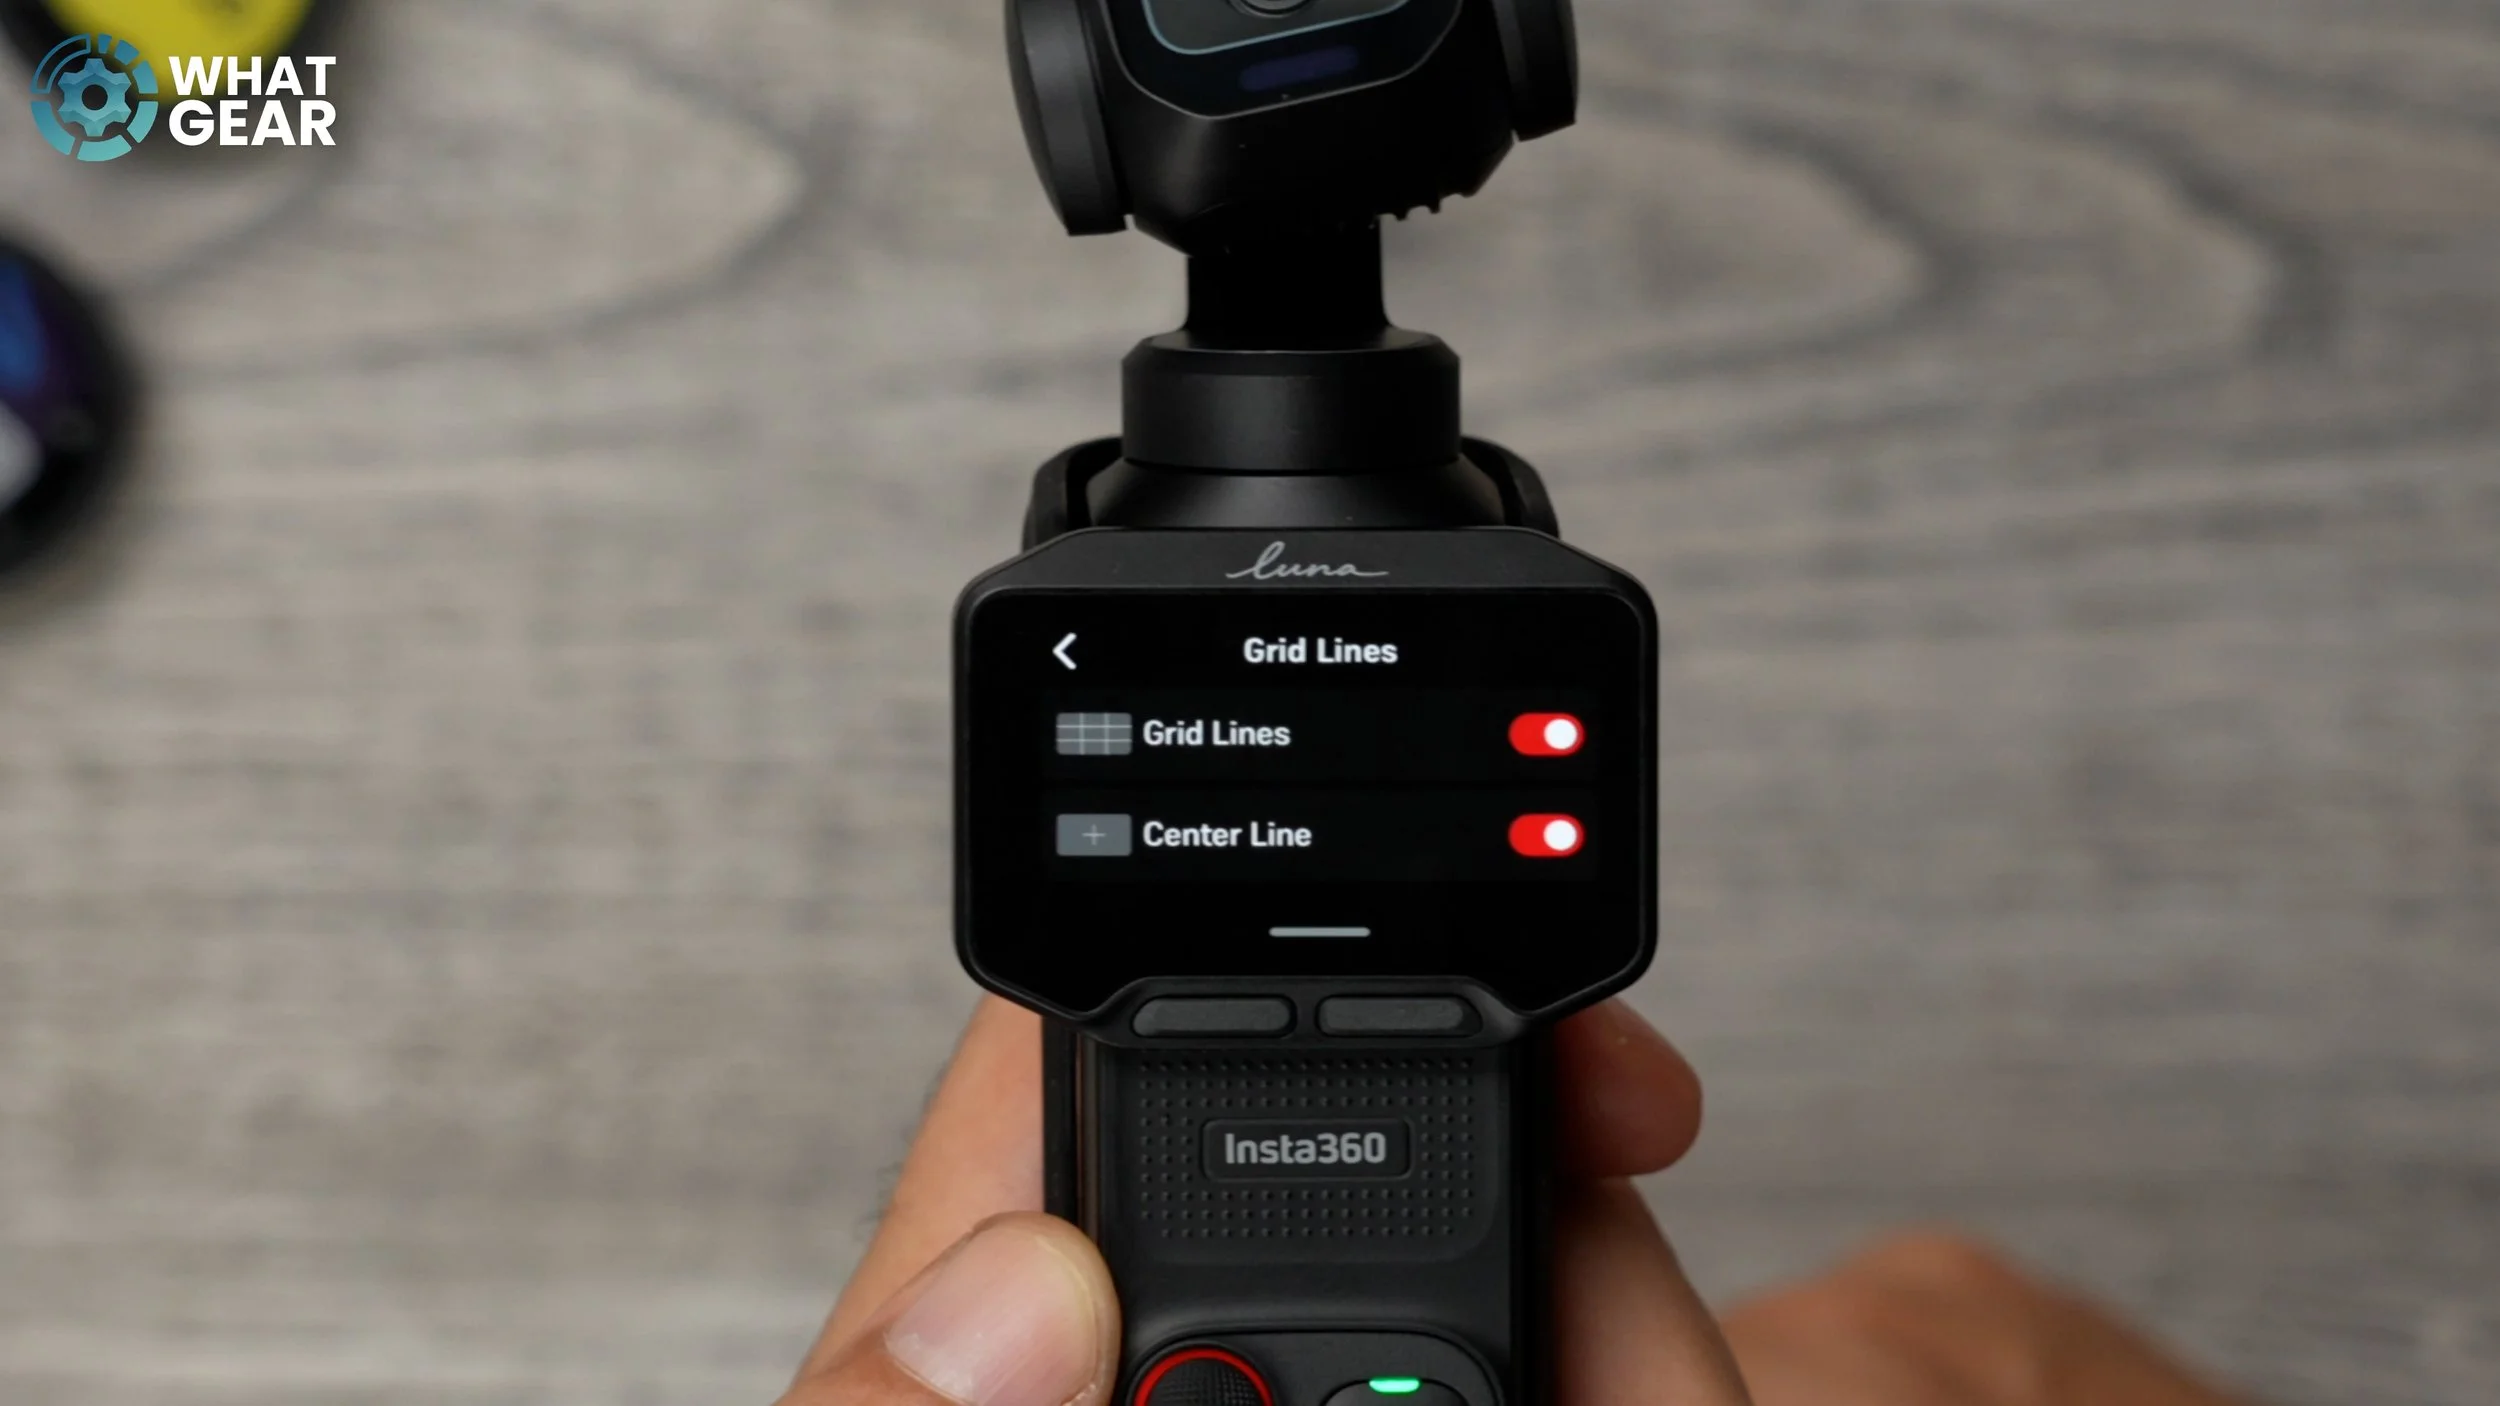
To explain what that is very simply. If you line focal points in the scene at one of the spots where the lines cross, they say the human eye is naturally drawn to it. Now that you’re aware of this principle, you’ll probably start to notice how many times filmmakers use this technique in your favourite movies and TV shows.
General / screen auto sleep: 3 or 5 mins
Now this setting is probably the most important one when it comes to the Luna PRO & Ultra. I wish someone had shown me what I’m about to show you when I first got the Luna cameras.
Settings / general / screen sleep
The screen timeout is quite short on the Luna devices by default. This is to save power, but the problem is when you’re filming, if the screen dims and then you touch the screen to wake it back up, you might end up changing the exposure values accidentally & potentially ruining your beautiful footage.
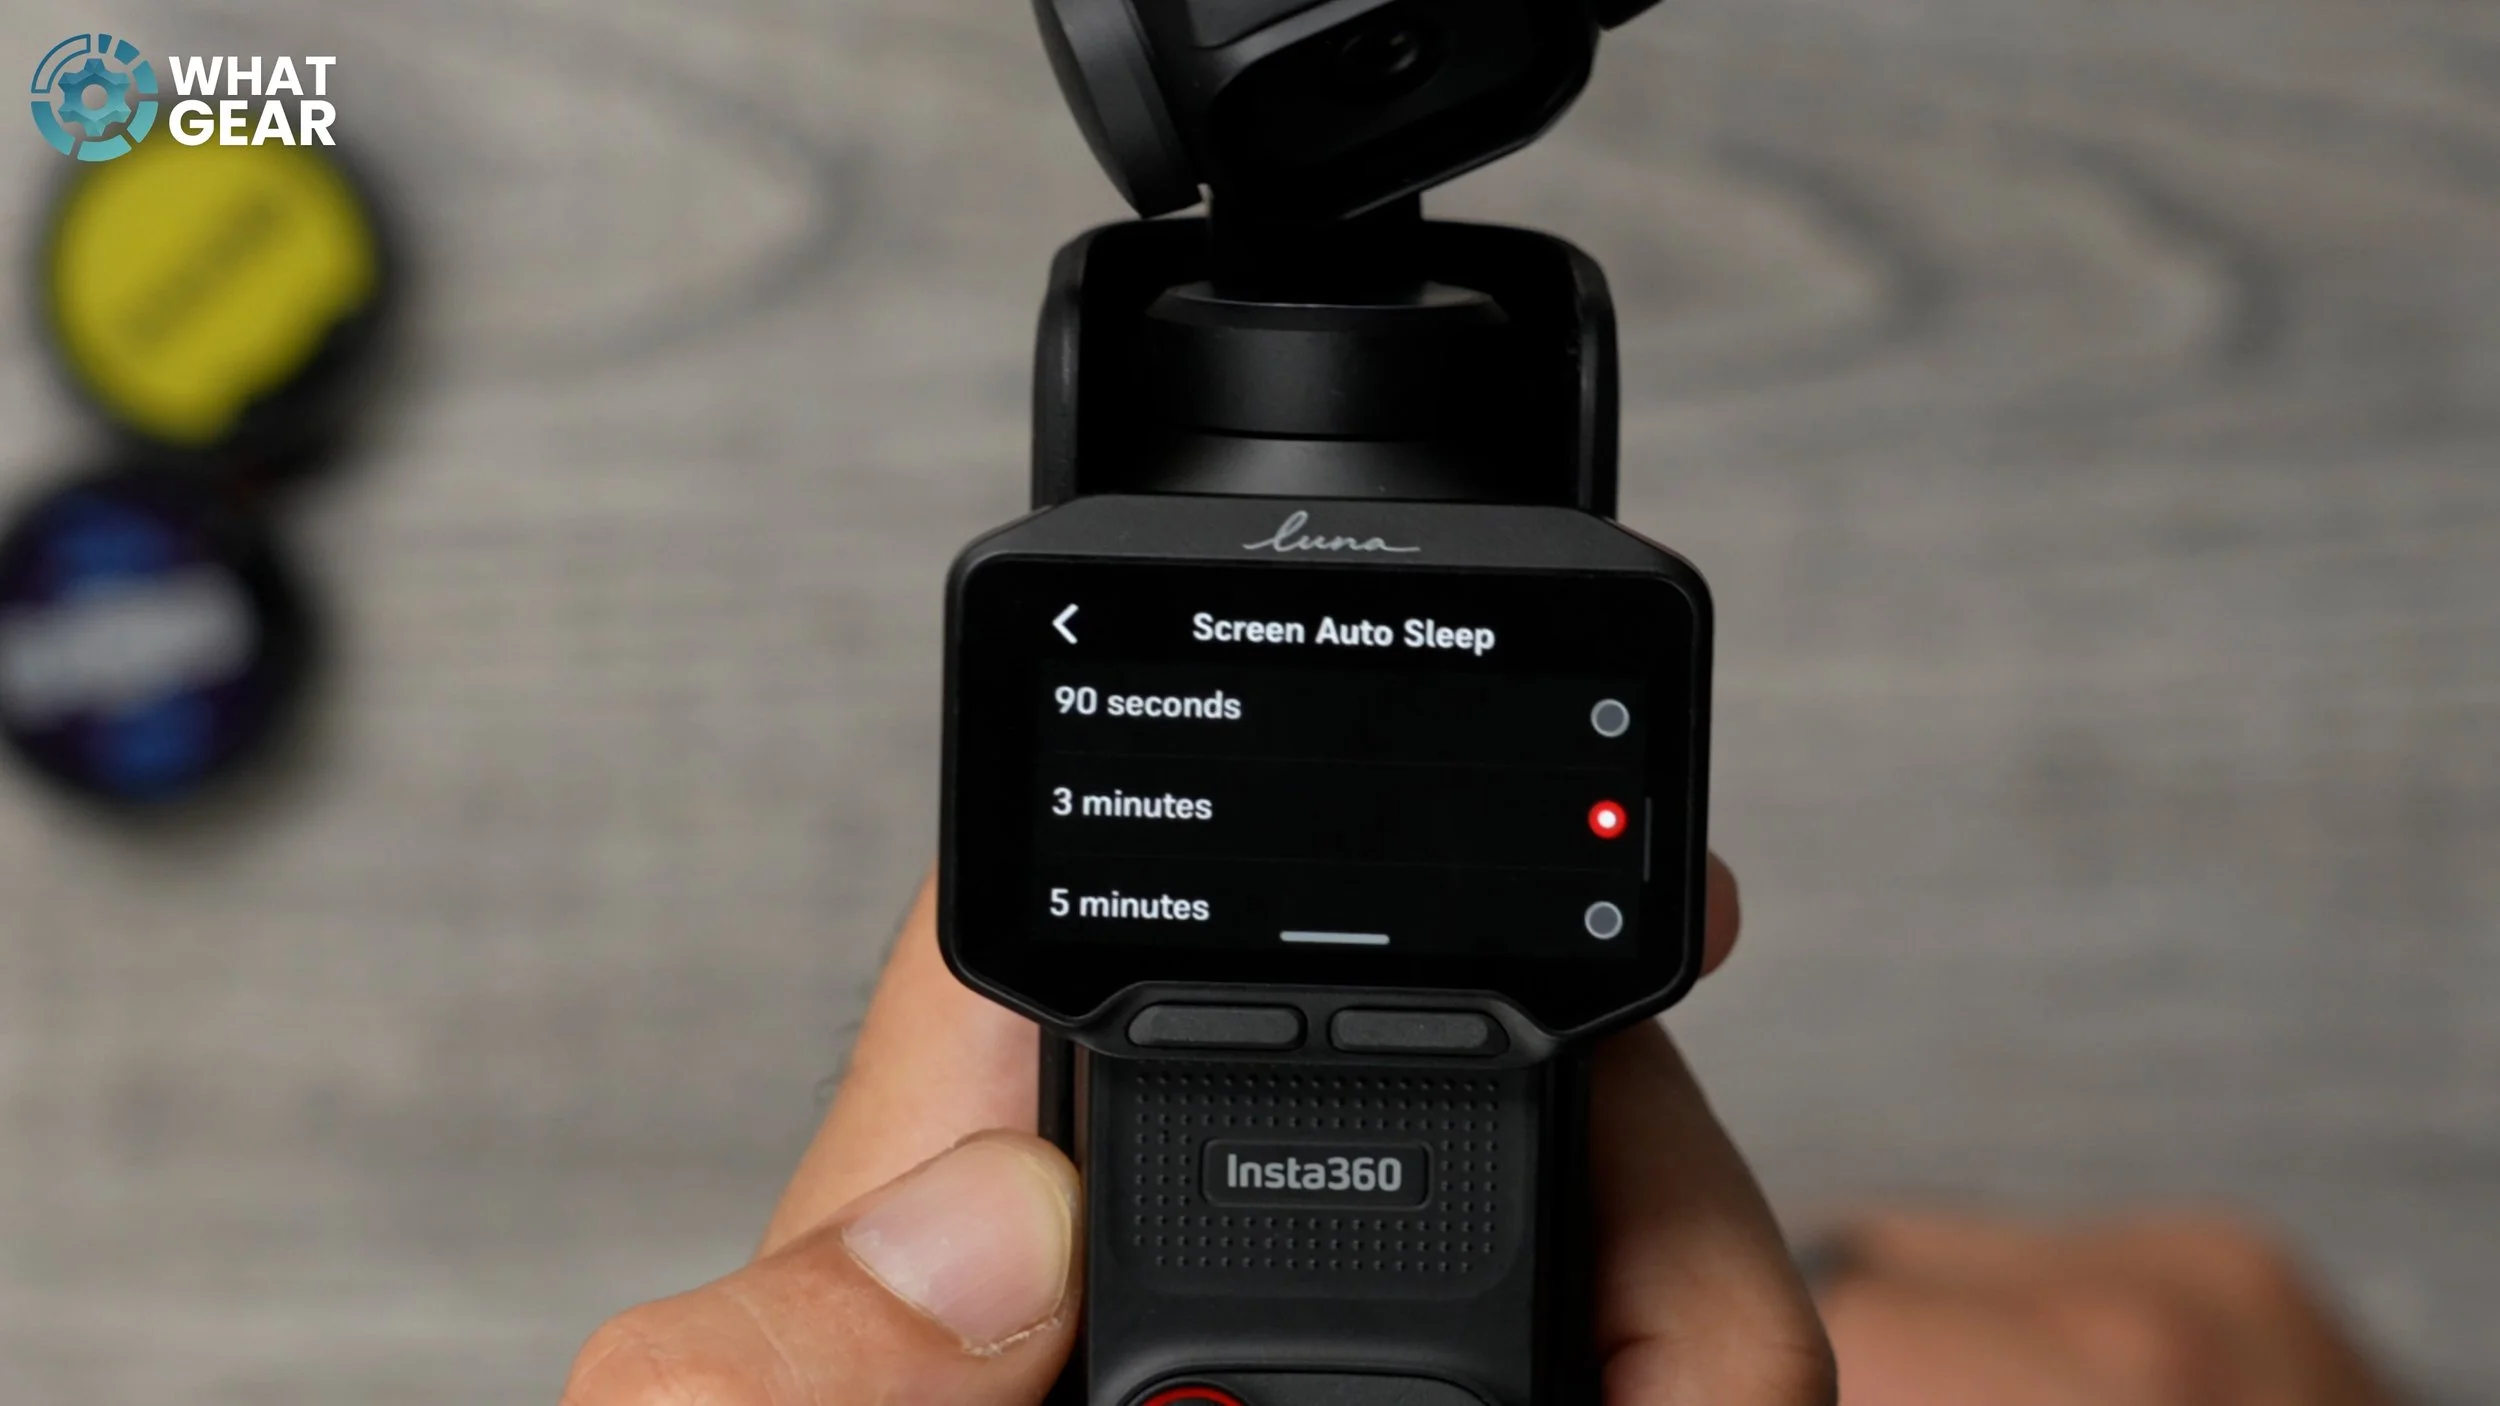
So, depending on how long the clips and videos you’re filming are. you may want to increase this accordingly. I’ve set mine to 3 mins, but let’s say I’m going to be filming a long talking head video; I’d set this to never… so I never have to touch the screen whilst filming long videos.
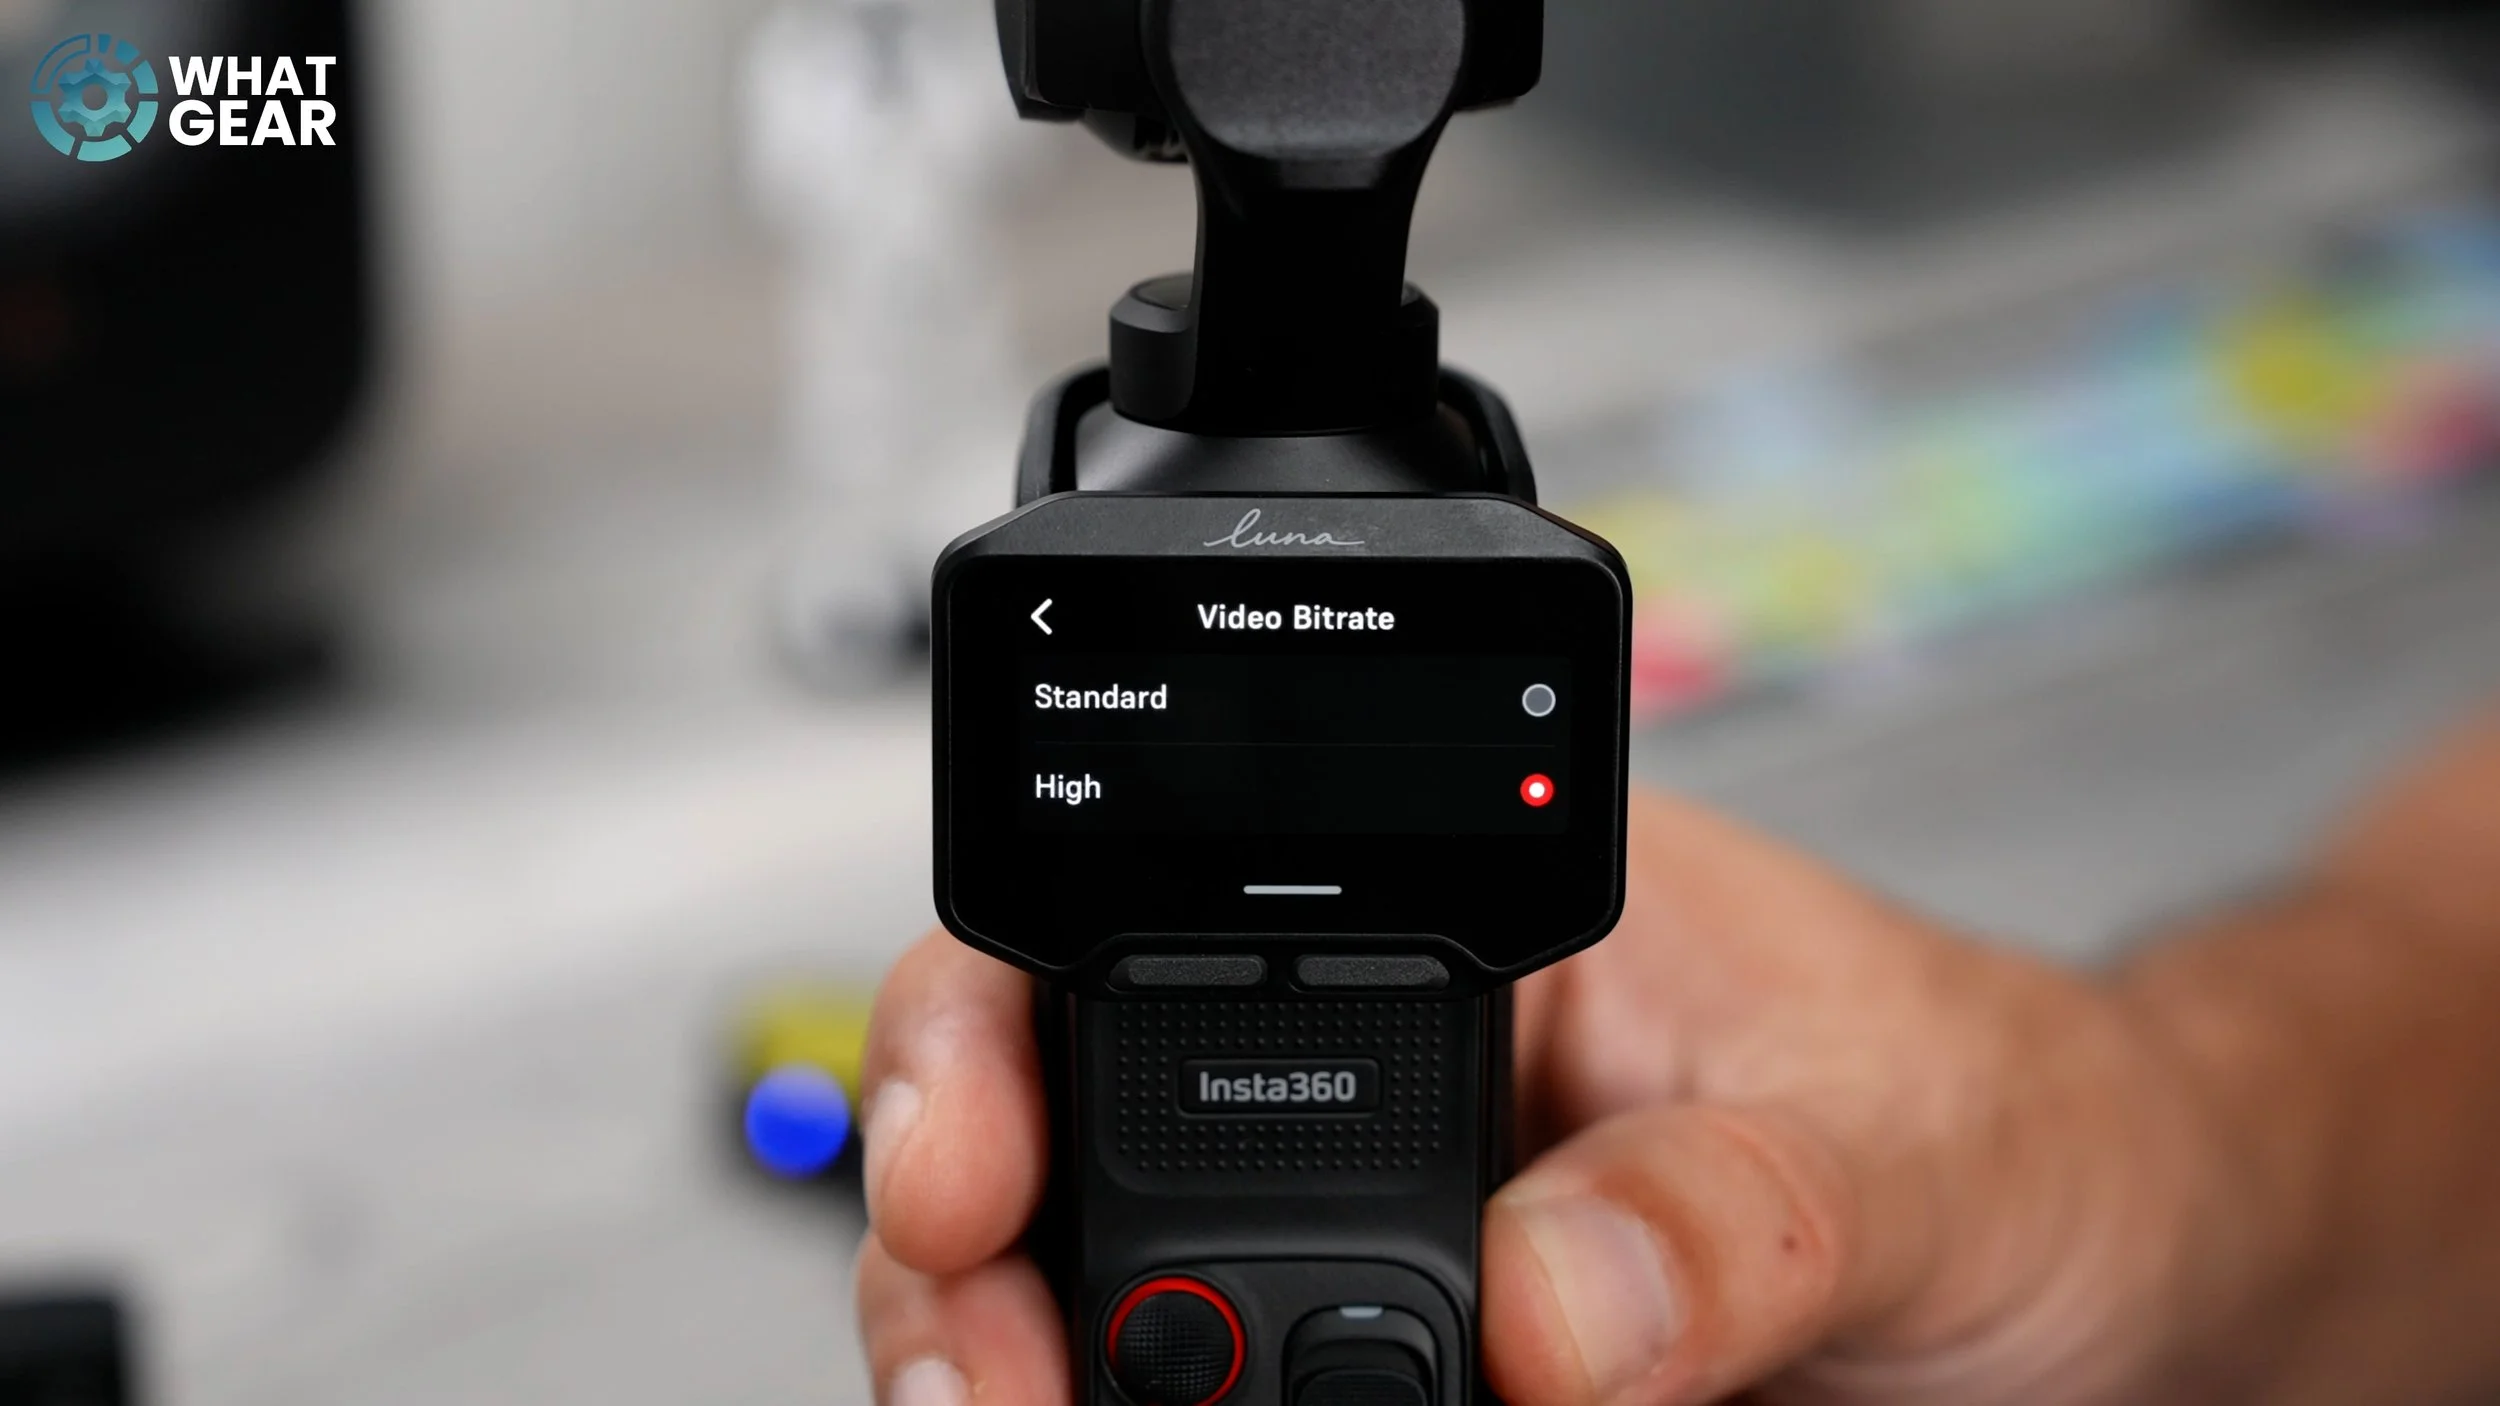
Settings video Bit rate / high
Ok, so you’ve made it this far your on your way to becoming an Insta360 Luna PRO pro. But there are a couple more key settings that some people don’t know about that will instantly improve the quality of your captures. Here’s the first one: go to Settings / Video Bitrate / set this to high because, out of the box, this will be on standard. Which is still good, but it will compress the video files. If you want the maximum quality, set this to high and thank me later. Disclaimer: file sizes will be expanded, but… your video quality will be too.
Pure Video & Slow Mode
Ok, so I haven’t spoken much about video modes, and that's because I’ve made another video like this for the Luna Ultra. It's more of a deep dive into all the settings & features. Watch that after this if you truly want to take things to the next level. But for now, there are two modes that I think are the most useful to know from day one. To access the video modes, in the bottom left corner you’ll see a little camera icon. Hit this, and now you can toggle between the modes. Make yourself familiar with the Pure video; this is what you want to use when shooting in low-light conditions.
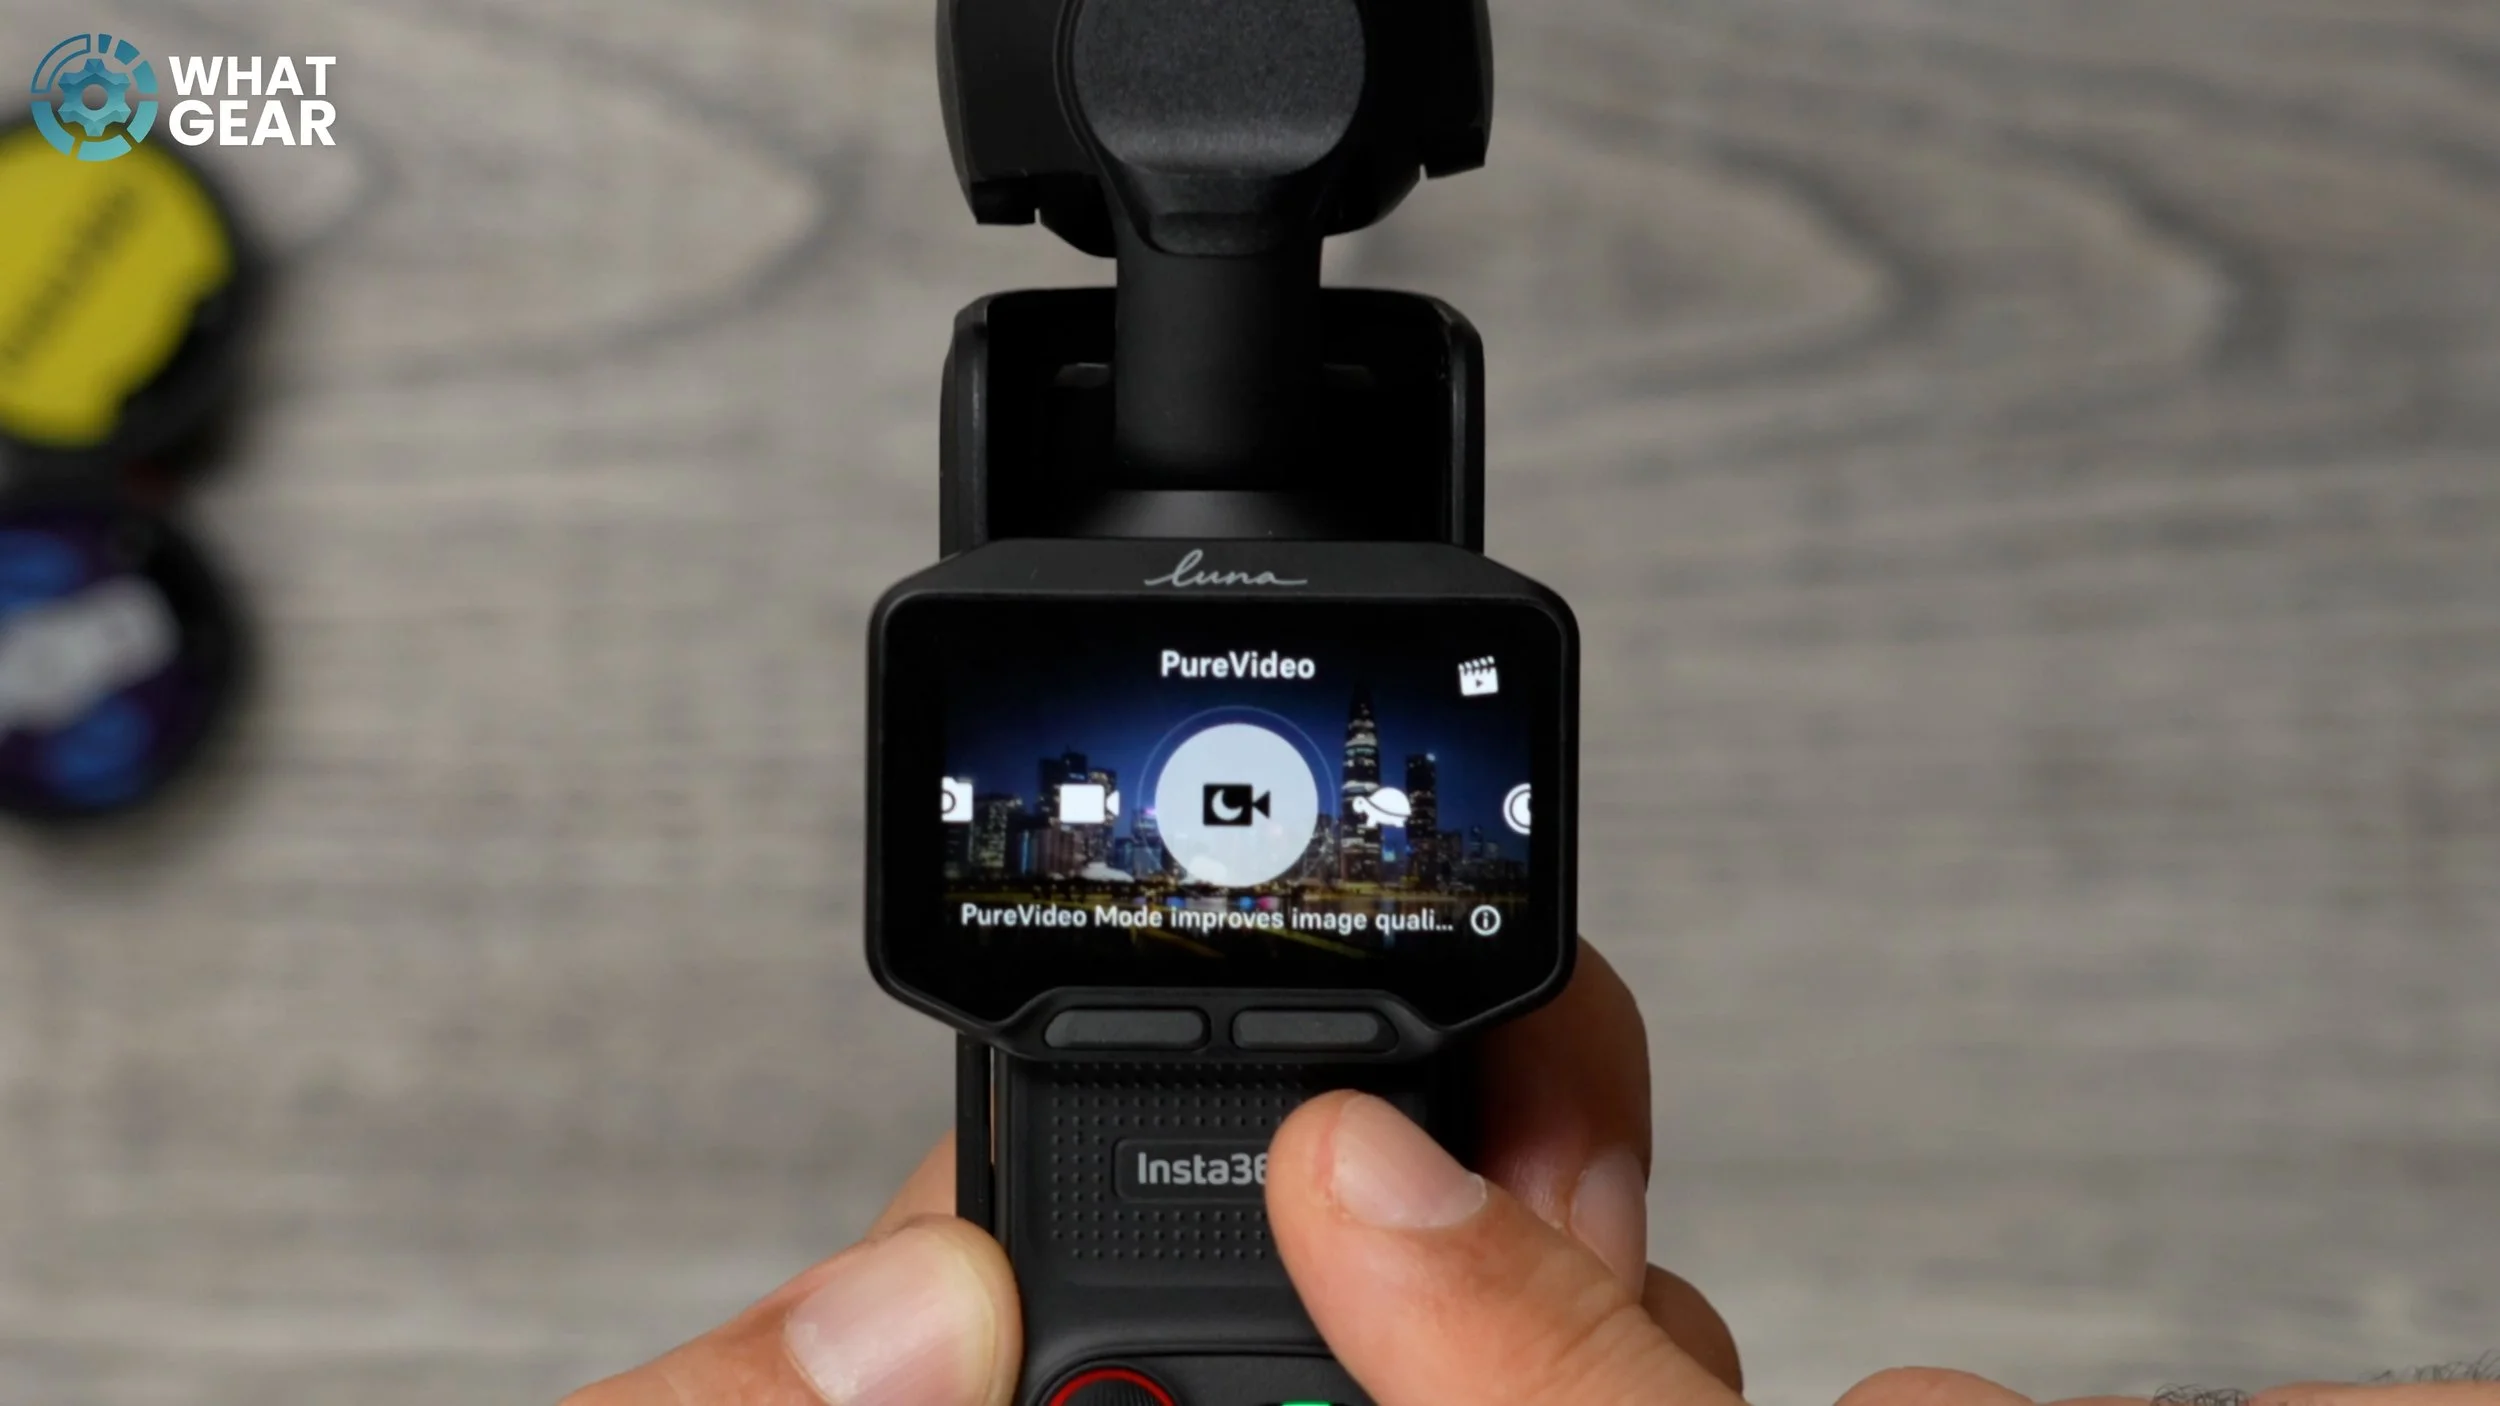
Now tap the camera icon again and take a look at the turtle, slow-mo mode. Unlike manually choosing 4K 120FPS, this mode puts the Luna into 4 120FPS mode and will give you a slow-mo video file straight out of the camera. No editing needed.
Barrel Roll
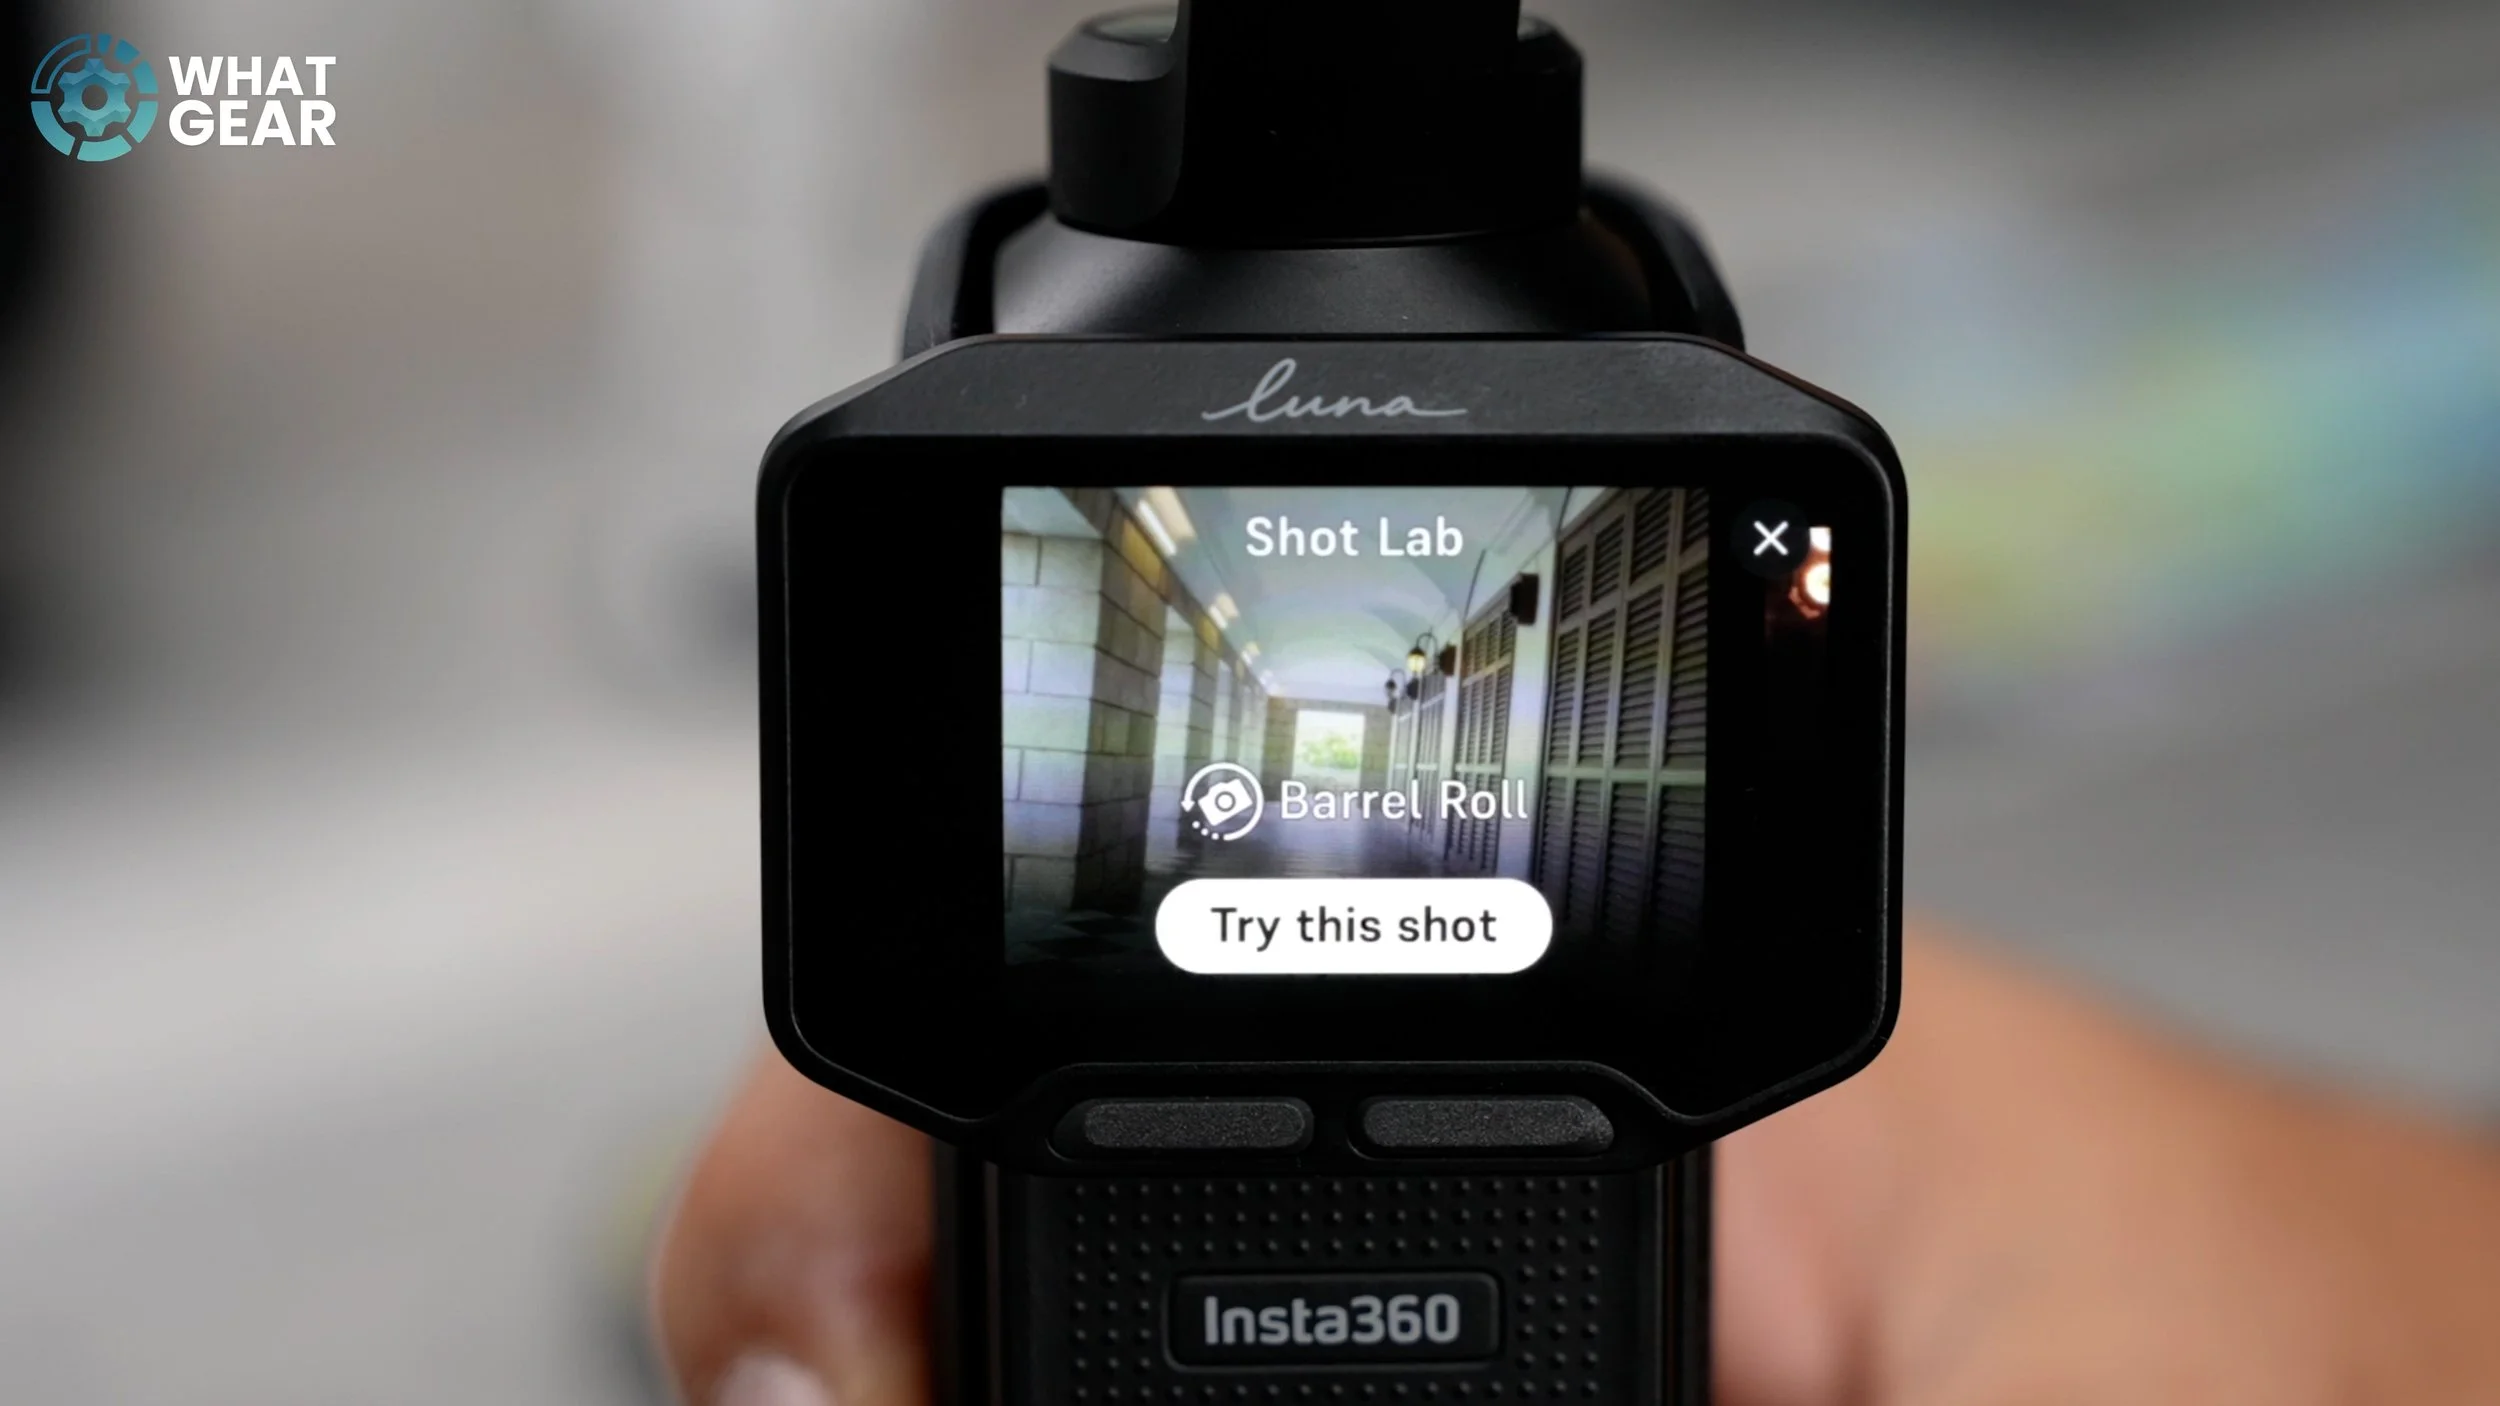
So check this fun one out. Tap the video icon again, but this time quickly hit the little clapperboard icon in the top right corner. Here you'll find the hidden barrel roll feature. This can be an amazing effect for shooting scenery, architecture or even products. If this wasn’t impressive enough, there are actually a couple more hard-to-find modes secretly hidden here. Tap the video mode button and the clapper button again. Now swipe in from the right, and you’ll find slo-mo live and zooming live. These are really nice in-camera features that will make you look like a true pro videographer…with your new Insta360 Luna Pro. So now you know… and test these out. I’ve got a feeling you might be able to impress your friends with these moves.
I-log: how to colour grade
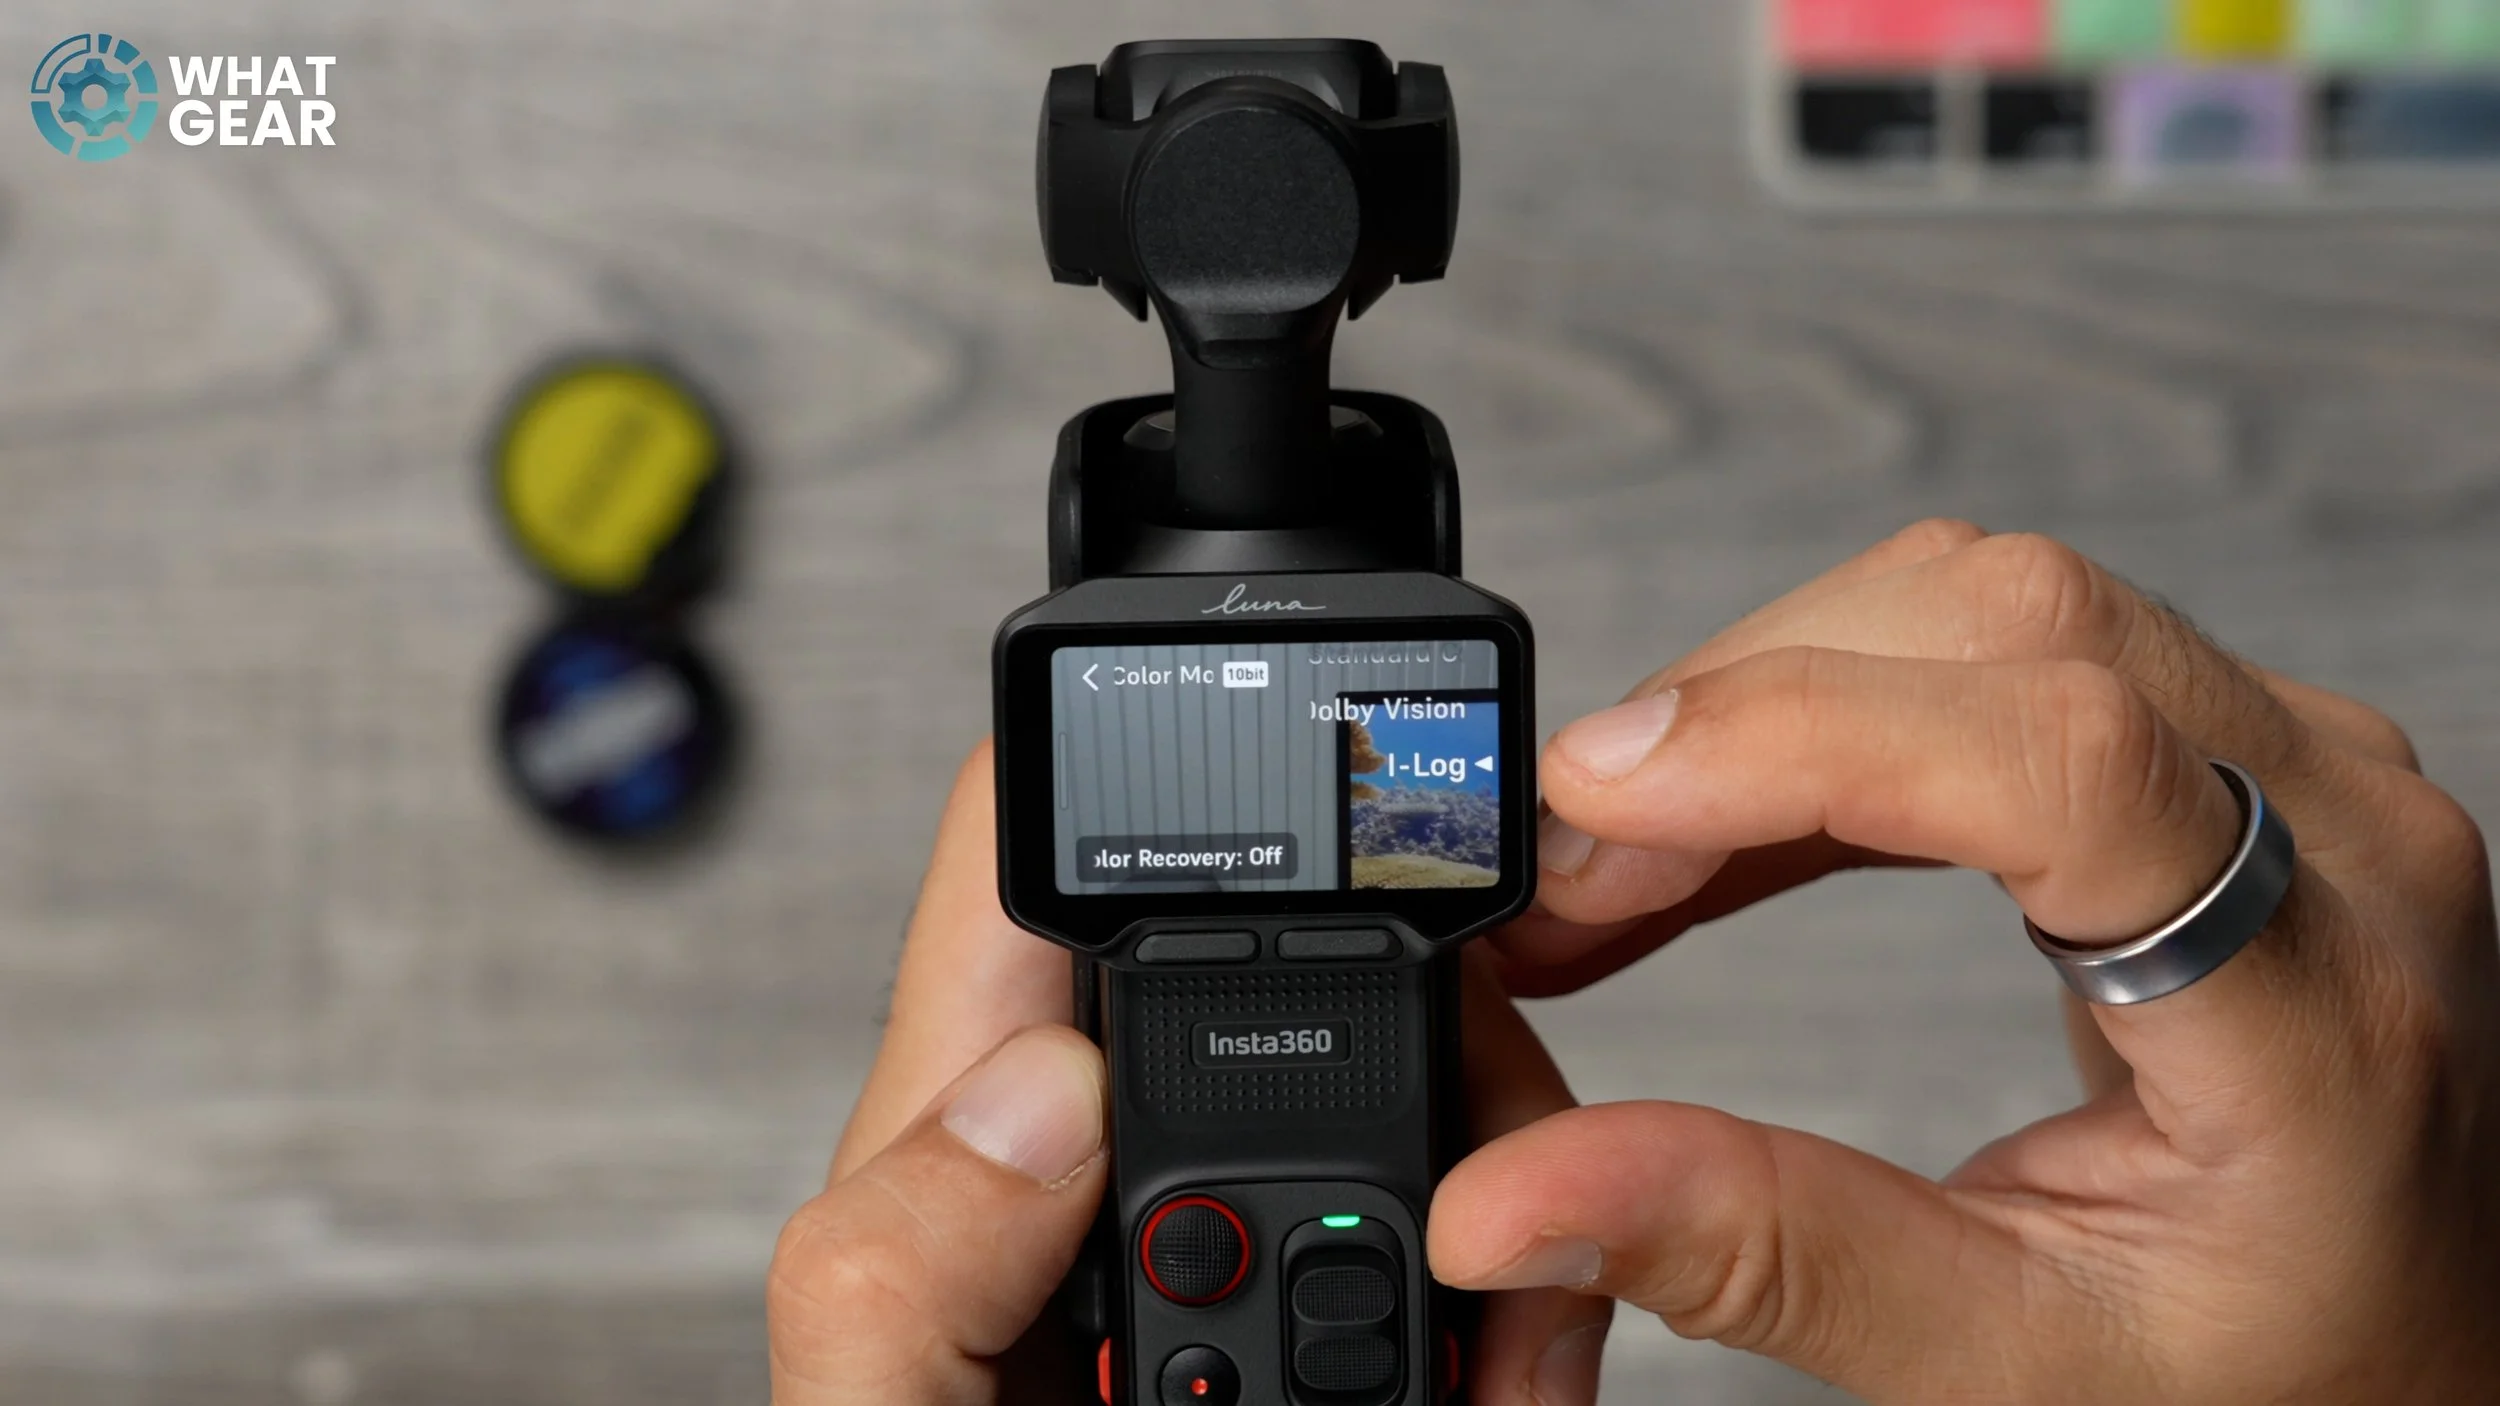
Ok, so this is the best pro tip that I can give you for the Insta360 Luna Pro. Swipe in from the right and toggle to Pro Mode. Tap where you see standard colour. Here you’ll find Dolby Vision, which will increase the dynamic range capabilities straight out of the camera with basically no post-editing needed. But if you want to truly max out the dynamic range, you can shoot in i-Log; the footage will appear to be flat when imported into an editing suite. But a massive amount of colour data is there, and you can bring it out of it manually. Or you can use Insta360’s own cheat code. By downloading their custom LUT files. These apply true professional looks to the footage, with maximum dynamic range.
You can do this by dropping the LUT’s into your project. In Premiere Pro, for example, you can head over to the Colour tab and add it here, and it will instantly colour grade for you in seconds. Side note…the LUT’s aren’t that easy to find, so I’ve hosted my favourite ones on my Google Drive, and if you want them, just drop me a comment and your wish shall be my command. So this is really it now. I appreciate you guys; hope you found this helpful. If you want a similar deep dive into Insta360’s app and editing suite. Just let me know. A massive thanks to Insta360 for sponsoring this one.