
SimpliSafe 2022 - Setup your own Home Security... is so easy!
In this video, you'll learn just how simple it is to install a SimpliSafe smart home security system for yourself… and by the end of the video, I think you'll be like, damn… it's easier than I thought. In this SimpliSafe care package, I've got almost everything you can buy from Simplisafe at the time of this video & and just for clarity. When you purchase equipment from SimpliSafe. You own the equipment…
PRO TIP - If you're buying security equipment, make sure you own it.

So here's what we are installing today & each element has a timestamp, so you can jump to the specific parts that you need help with. So let's do this.
So we are going to be installing the SimpliSafe an entry sensor, a motion sensor, a glass break sensor, a flood sensor, a smoke detector, a panic button, an extra siren, an indoor & outdoor camera, a key fob and the key components the Keypad and the base station. It's a lot of stuff. So I'm going to keep this video straight to the point.
Installing the Base Station
So first up. The base station. The heart and soul. The design somewhat resembles a vase you might place on a mantle piece. You can get it in two colours, white and black. It talks to you and has a nice ambient halo light indicator around the edge. This runs off the mains power but also has a battery backup in case of a power cut. And while this may appear quite un-intimidating and unobtrusive in the home. When it goes off. It feels like you're getting punched ears by Captain America. So burglars beware

Pro Tip: So you must decide strategically where it should place the base station within your home, as someone who spent half a decade installing smart home systems. I strongly advise you to keep this somewhere central and away from windows or exterior doors. And it's essential to place it somewhere you know has a motion detector or camera set to instant detection. And stick around for the pro tip at the end where I explain instant detection settings. Here's how to install the base station. You just plug it in, pull the tab and it’s Done.
The Keypad
This is battery operated and to power it up. You just pull the tab and follow the on-screen instructions to set up your master PIN number. The adhesive strips are pre-applied and designed so that if you need to remove the Keypad at a later date, you can do so without damaging the walls. Which I think is quite thoughtful and convenient design. So, It's recommended you fit the Keypad near the entry-exit point of your property. Pee stripsl, Place and hold some pressure for 30 seconds. And now, slide it up off the back bracket because we will be using it to install & label the rest of the sensors.

Pro tip: When it comes to labelling sensors. Be sensible and as specific as possible.
motion detectors
These are beautiful, small but mighty. They can spot a burglar at 10 meters & they can cover a perfect 90-degree field of view. When fixing these, don't go higher than 2 meters off the ground if you want the optimal performance. If you have pets, consult the manual for the advised heights.
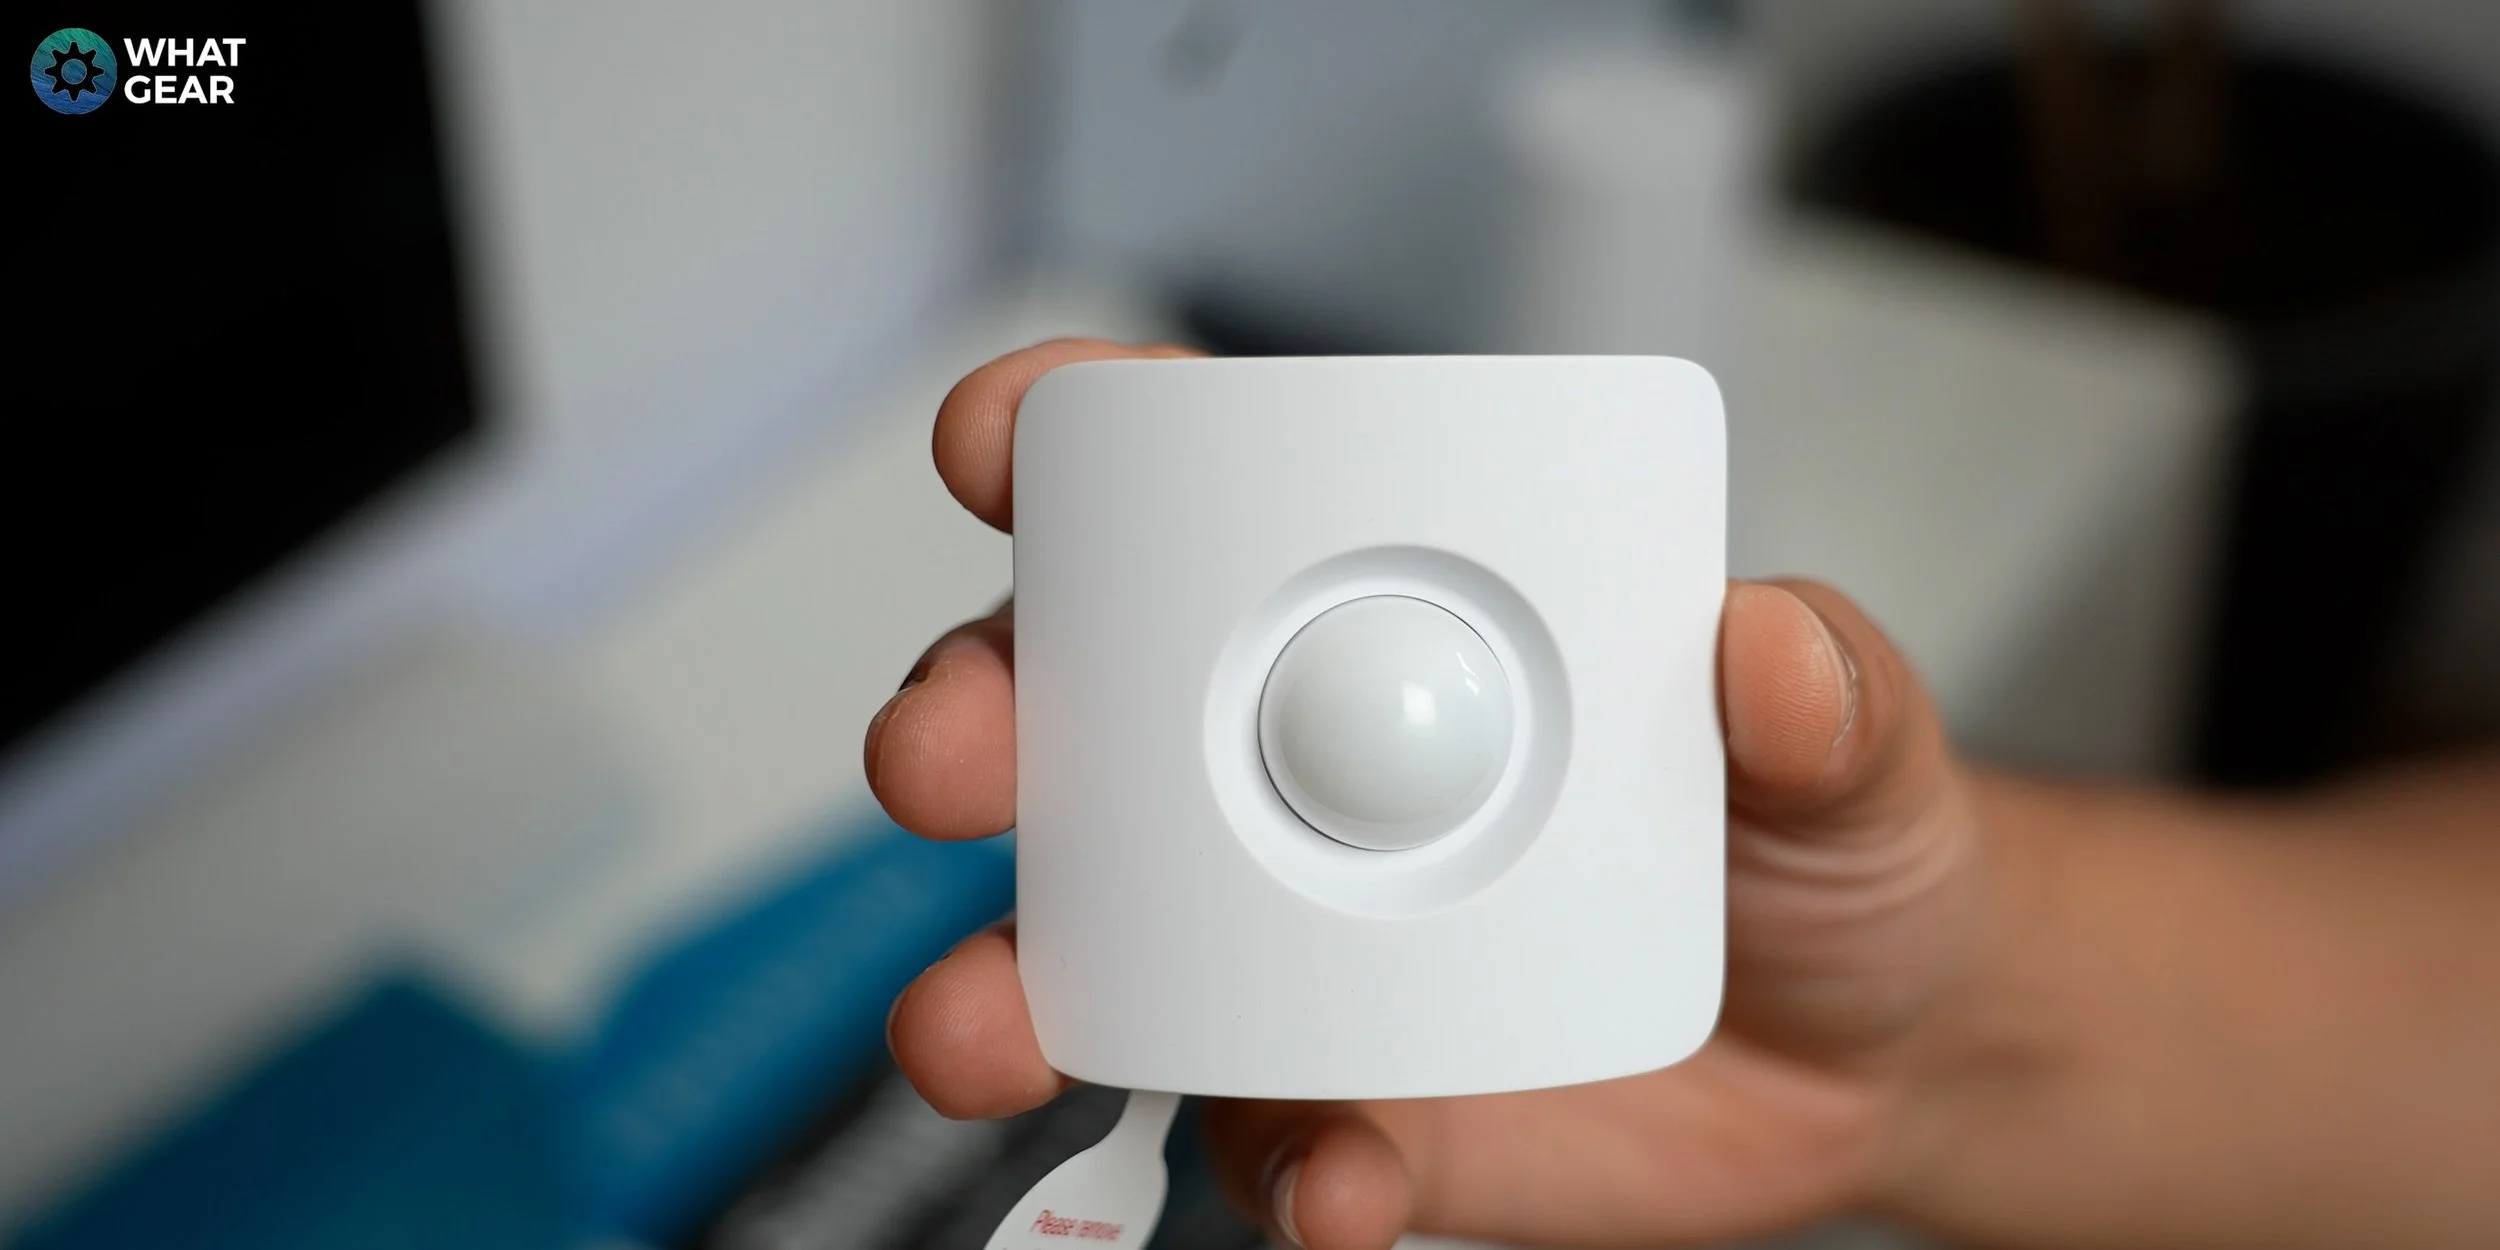
PRO TIP - do not place motion sensors above radiators or anything that gives off a lot of heat & don't place them where intense beams of light can hit them directly. You'll get false alarms. When placing these make sure you leave around a 2cm gap above because there is a pairing button on top that you will need to access. Also, If and do want to remove it later, it needs to slide upwards around a cm to release it from the bracket.
So now you know that. To keep it simple, use the pre-applied adhesive strips. If you are worried about someone knocking it or ripping it off the wall, there are Screws are rawl plugs provided in the box. If you use the adhesive, push firmly for 30 seconds and you're done.
Now, this next step is for pet owners. Slide the motion sensor up and off the bracket to access the sensitivity switch on the back. Here you can set sensitivity to low, medium or high. If you have a big dog. Set it to low.
Once happy & it's back on the wall. Pull the tab for the battery, push the pairing button on top & label the sensor accordingly. Job done.
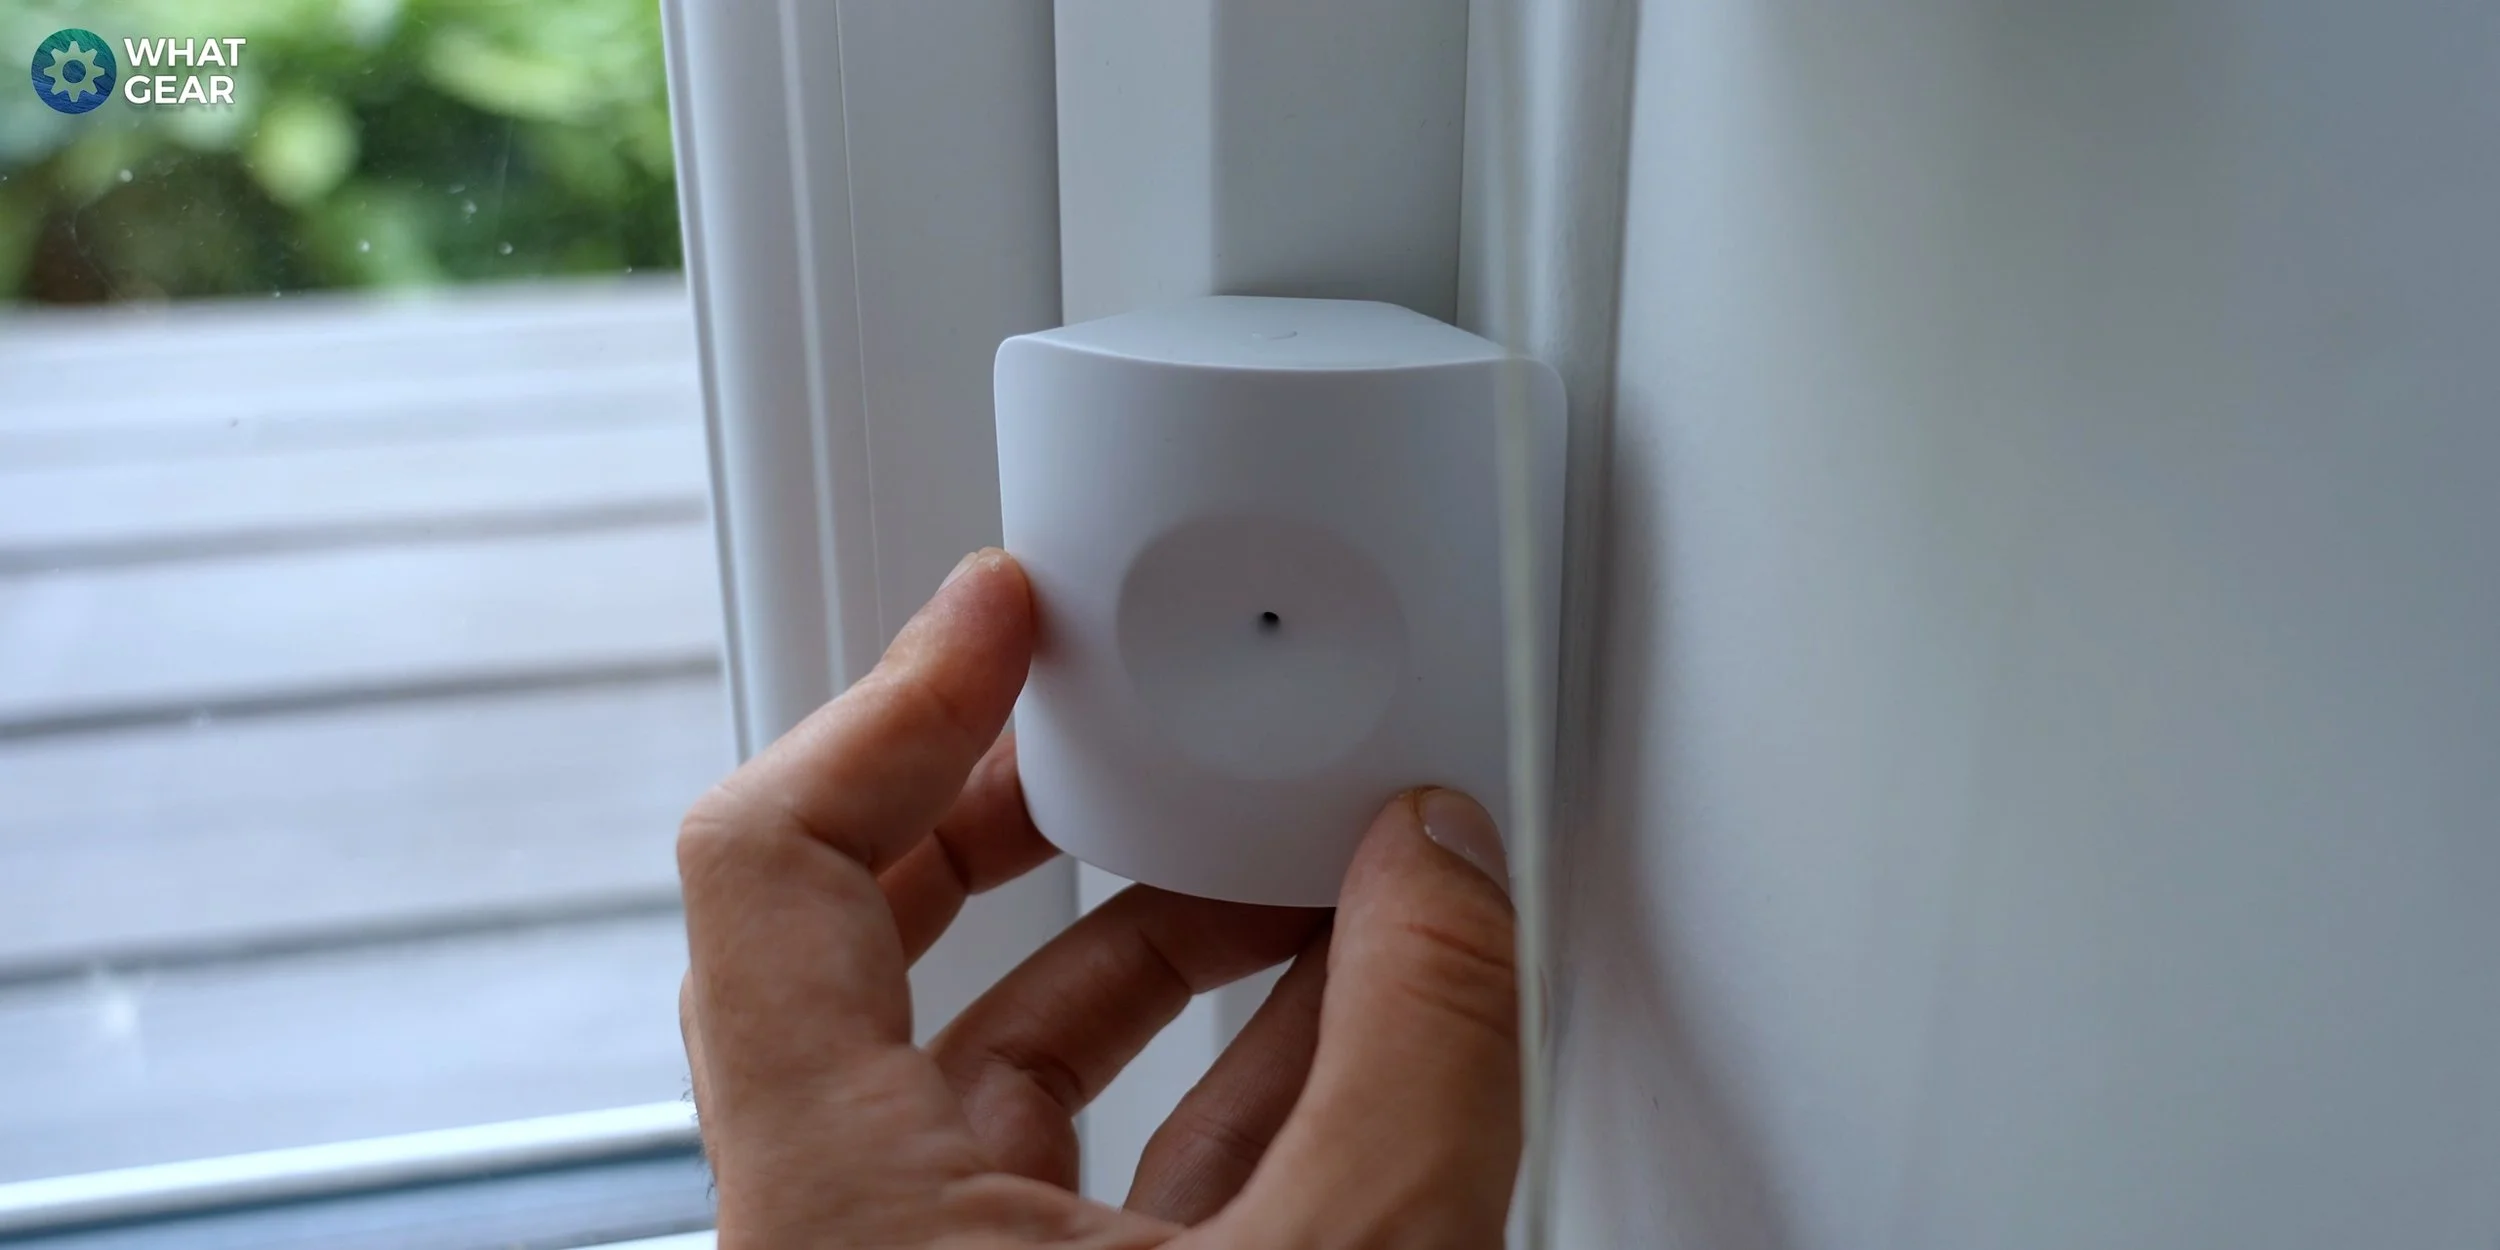
Entry Sensor
This works by creating a magnetic field between the two parts. The maximum distance between the two is 5cm. If the Magnetic field breaks, the alarm triggers.

Pro tip - The larger element houses the battery, circuit board, and antenna. The small part is just a magnet. For this reason, you should ideally place the larger component on the frame & not the part of the window or door that moves. Because let's say you leave your window open, it rains, and the sensor starts filling up with water. It could ruin the sensor. So, think about placing the sensor strategically. Peel, place & Pull the tab & then label the sensor on the Keypad & you're done.
The glass break sensor
So these little gadgets are tuned to pick up the precise sound frequency of glass breaking. You can place these on window frames, ledges, or anywhere within 6 meters of a window. But keep in mind, Just like the motion sensor. There's a button on the top, so maintain at least 2cm clearance above the sensor. This clearance is also essential for replacing batteries.
Pro tip - if you have thick curtains, they can dampen the sound of glass breaking. So If you have thick curtains. I advise you to fix these on the window frame or window ledges behind the curtains
Peel, place, label on the keypad & it’s done.
Water sensor
So if you live near a river or anywhere, that's prone to flooding. This could be useful for you. This is the easiest sensor to set up because it doesn't need to be fixed to anything. The base of the sensor has 6 contact points that detect water.

PRO TIP - You can fix this with adhesive & if you do, make sure you don't cover those contact points. Place it where needed. Once happy, press the pairing button and label it on the Keypad.
The smoke detector
Simplisafe does also provide CO2 detectors. The installation is pretty much the same. This one does require a little handy work. You twist the smoke detector of the bracket. Fix the frame to the ceiling with the provided screws and rawl plugs. Pull the battery tab. Twist the smoke detector onto the bracket until it clicks into place. And then continue on the Keypad, simply label it, and it's ready to detect smoke.

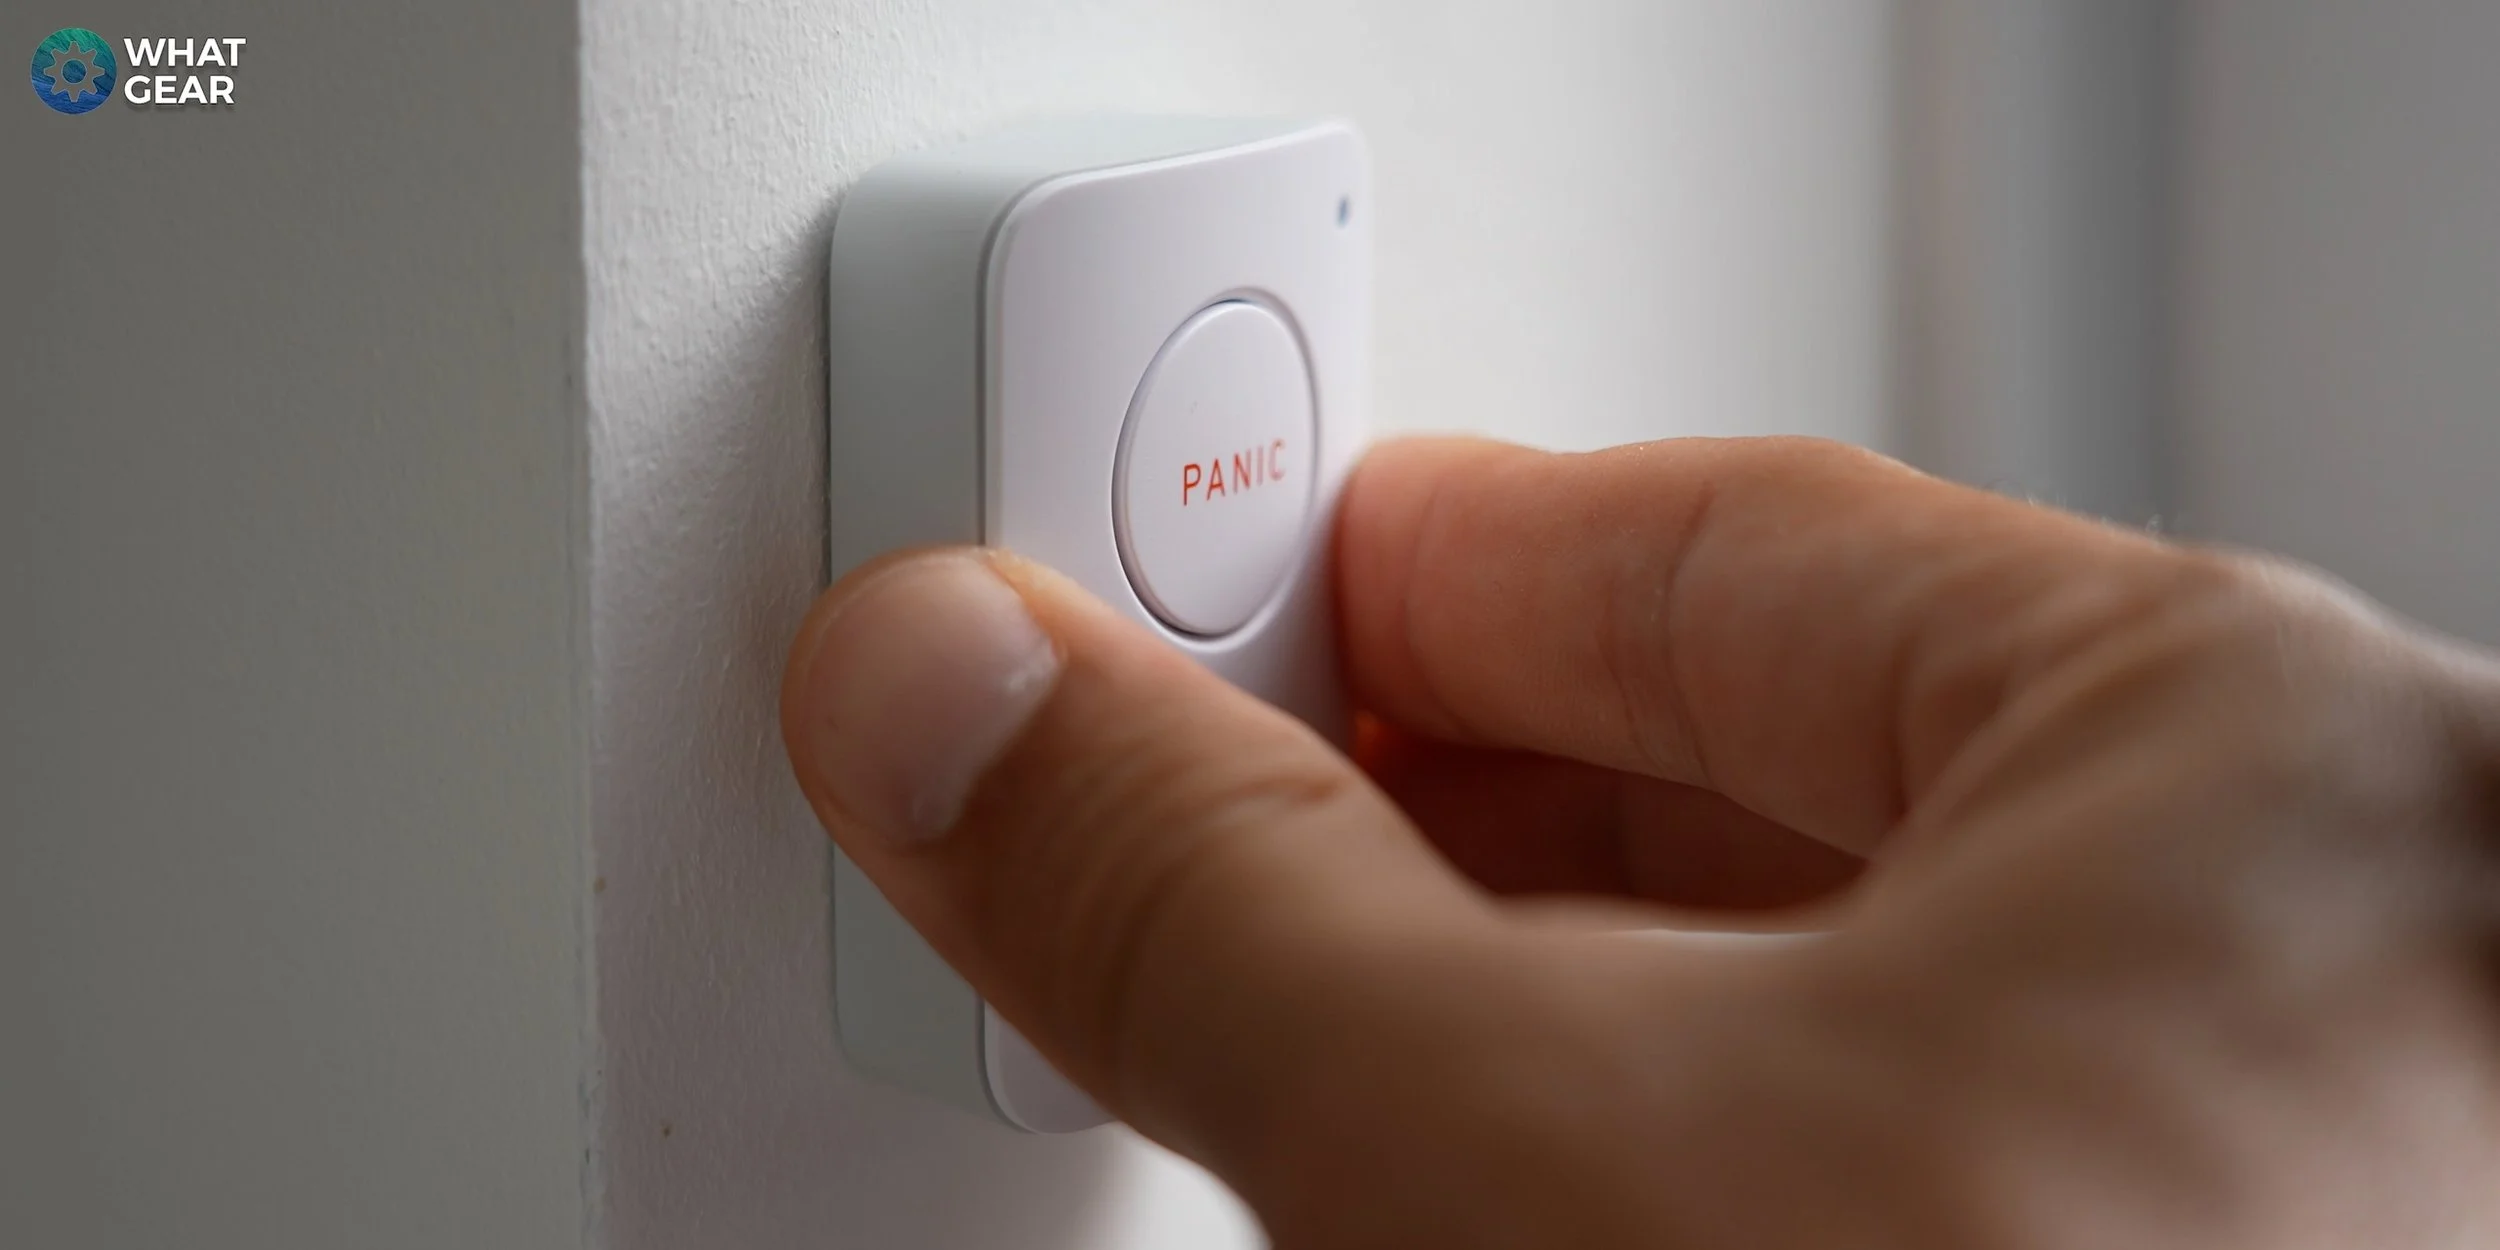
The Panic button.
This can be anywhere in your property. It's beneficial for the elderly or people who generally feel pretty vulnerable. Important tip, Just be sure to keep a 2 cm clearance above it, as it does need to slide upwards to remove it from the bracket when the time comes to change the batteries. Now pull the battery tab. Place it & use the Keypad to label it. And that is it. It’s easy isn’t it.
The Extra Siren
If the base station alone isn't loud enough, this will add an additional 105db of power. This is one of the heavier components & it can be installed indoors or outdoors. When placing it. Keep that 2cm clearance above it and If you're placing it inside. The pre-installed adhesive is acceptable. Peel the strips. Push firmly for 30 seconds until secured. Once secured, Pull the battery tab & press the pairing button on top. Now continue on the Keypad, and label the location. Job done.

Pro Tip - try to place this somewhere a burglar cannot instantly destroy when it goes off. High up out of reach or hidden above a cabinet would work well.
The SimpliCam 1080p
The SimpliCam is a free-standing device with audio. It's perfect for keeping an eye on mischievous pets… or mischievous old folk. So up until this point, everything has to be done via the Keypad. But the simplicam, needs to be configured via the Simplisafe app. Scan the QR in the user manual with your phone & download the app.
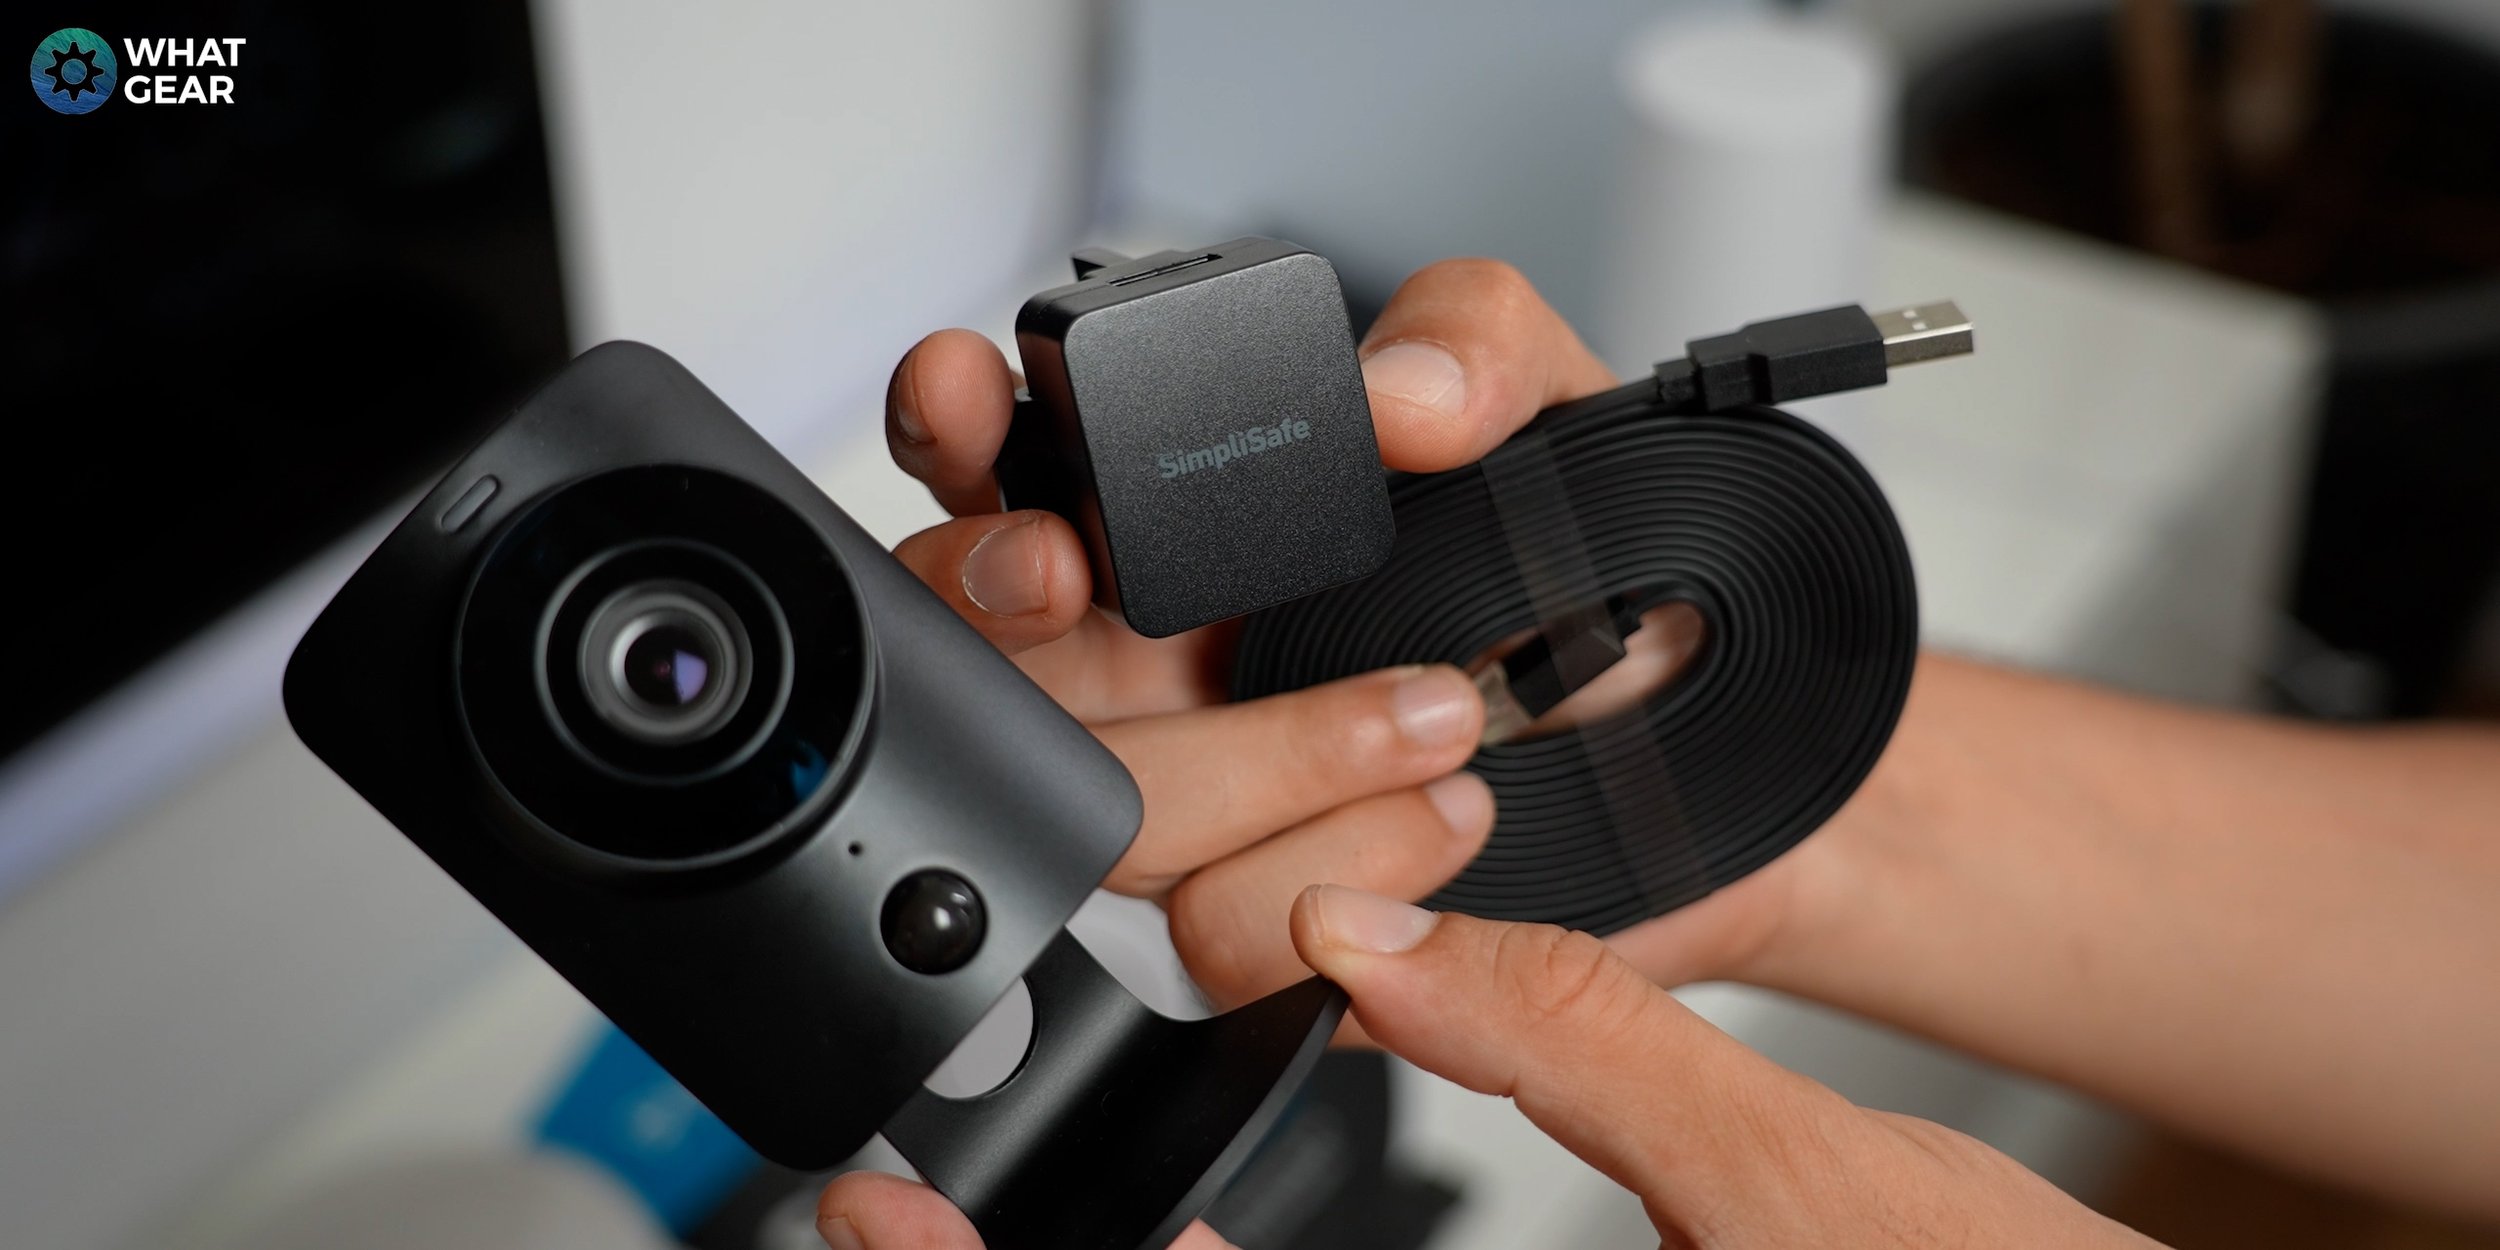
Now, decide where you want the camera to be. Once decided, plug in power. Now you can follow the on-screen instructions on the app to connect it to your Wi-Fi. Something that’s very important. Is that the Simplican unlike other indoor camera has a built-in iris that automatically blocks off the camera when you're home. If you have camera sensors in your home uncovered all the time that are monitored by a third party… how would you know for sure that you're not being spied on?
Wireless Outdoor Security Camera
So this is a brilliant kit as you don't need to run wires. No drilling from the inner to the outer walls. It is battery-operated. And connecting it up is slightly different from the indoor simplycam. To install it, twist the lens cover anti-clockwise. Insert the battery pack. Press the pairing button and continue the process on the app.
The great thing about the design is that the bracket is a magnetic plate. So all you have to do is fix the thin part of the bracket to the wall by drilling two holes, and using the rawl plugs and screws provided. Once you've done that, twist the larger part of the bracket onto it. And now, you just magnetically attach the wireless camera.
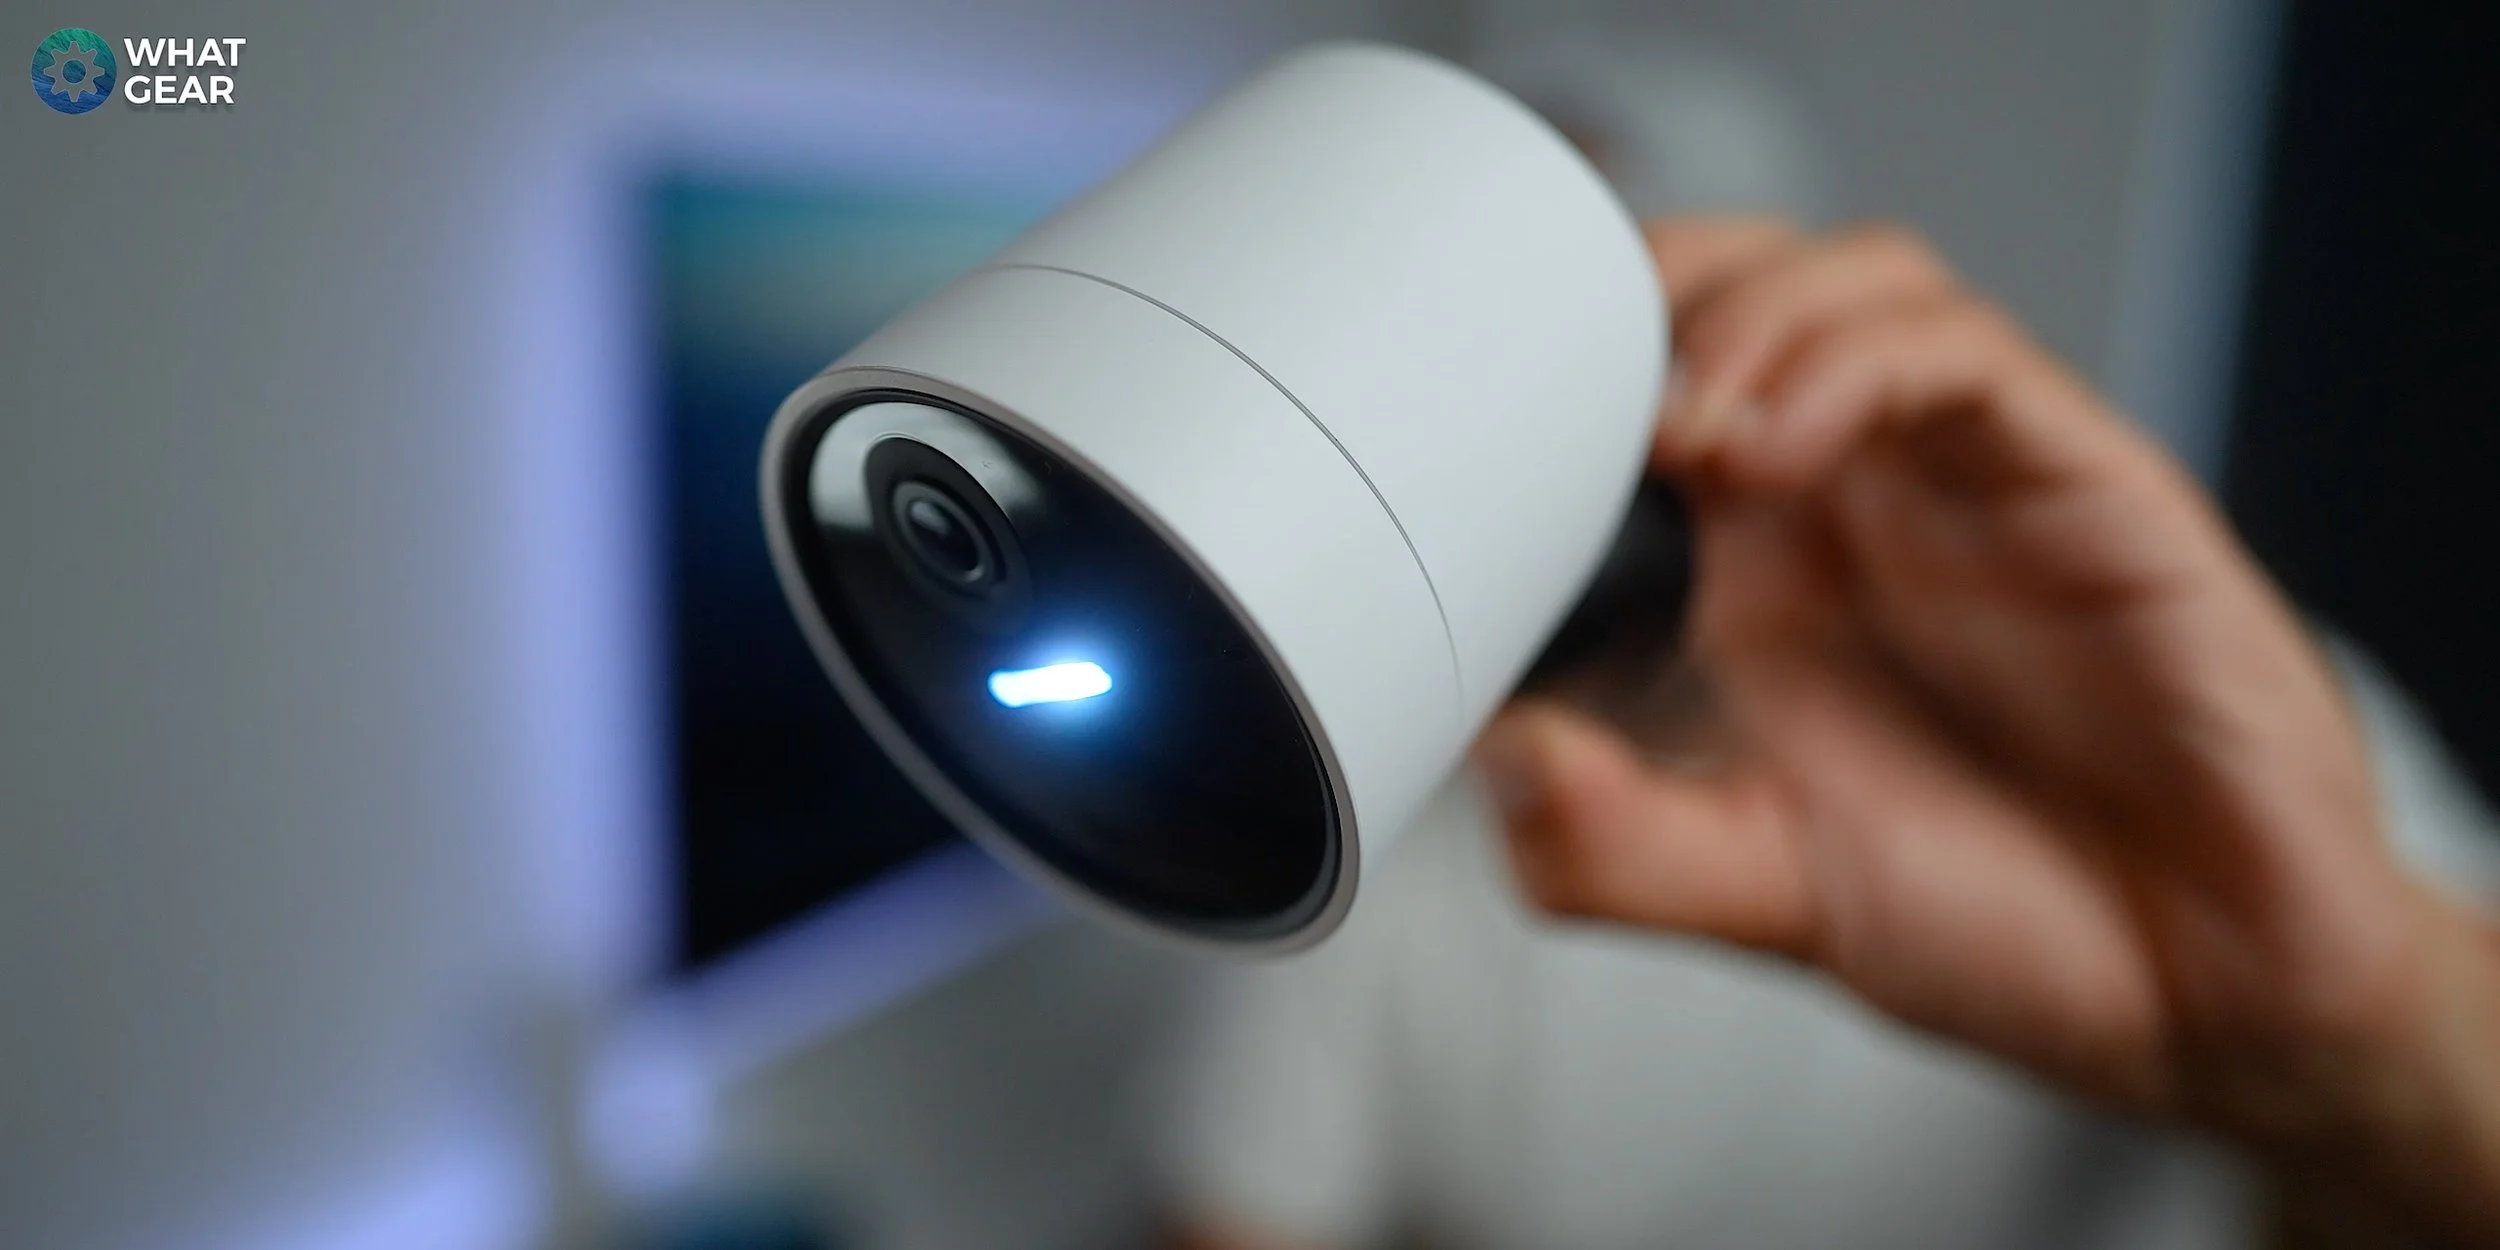
Pro tip - make sure you place it where you can get to it easily in the future. If safe to do so. You could put it near an upstairs window where you could reach out the window to grab it when you need to change the batteries. This is a good option because you don’t want to make it easy for a burglar to steal it.
Be careful & mindful of your camera placement. Don’t fall out of your window. Safety comes first.
The Keyfob
So this handy little gadget can go on your key ring. It'll allow you to control a SimpliSafe system without using the Keypad, but only when you are within a radius of the base station. The red button on the top edge is a panic button for emergency use only. The three buttons are home, away and disarm.
To connect a keyfob. Enter your pin on the Keypad. Now scroll to devices. Add a device. Choose to add the keyfob. Now push the red panic button to pair it, label it to the name of the person who uses it & it’s done.

PRO TIP - If you're on a beach far away from home and hit the disarm button by accident, you will not switch your alarm off. You need to be within a nine metre range. If you want to control the alarm from anywhere in the world, well that's what the SimpliSafe app is for. There's plenty to play around with on the SimpliSafe app. And options for professional monitoring & guard response and all that good stuff. But, remember they are options, and they're forced upon you. Because ultimately when you buy anything. It should be your decision and not a pushy salespersons. And if you think I made this install look easy. I wasn't trying to, it really is simple. And now you hopefully you have your simplisafe setup. Keep Simple, Keep safe.
Pro Tip - Hit the subscribe button, for more smart home tech