Galaxy Z Fold 8 - 10 Settings I Wish I Knew Day One! (GoodLock ONE UI9)
If someone asked what settings I would change on the Galaxy Z Fold 8 on day one & I could only choose 10… well, these are them. Here are 10 Pro settings that I wish I had known sooner. Because some of these will instantly improve how you use your Z Fold 8, and some will make your Galaxy Z Fold stand out from the crowd.
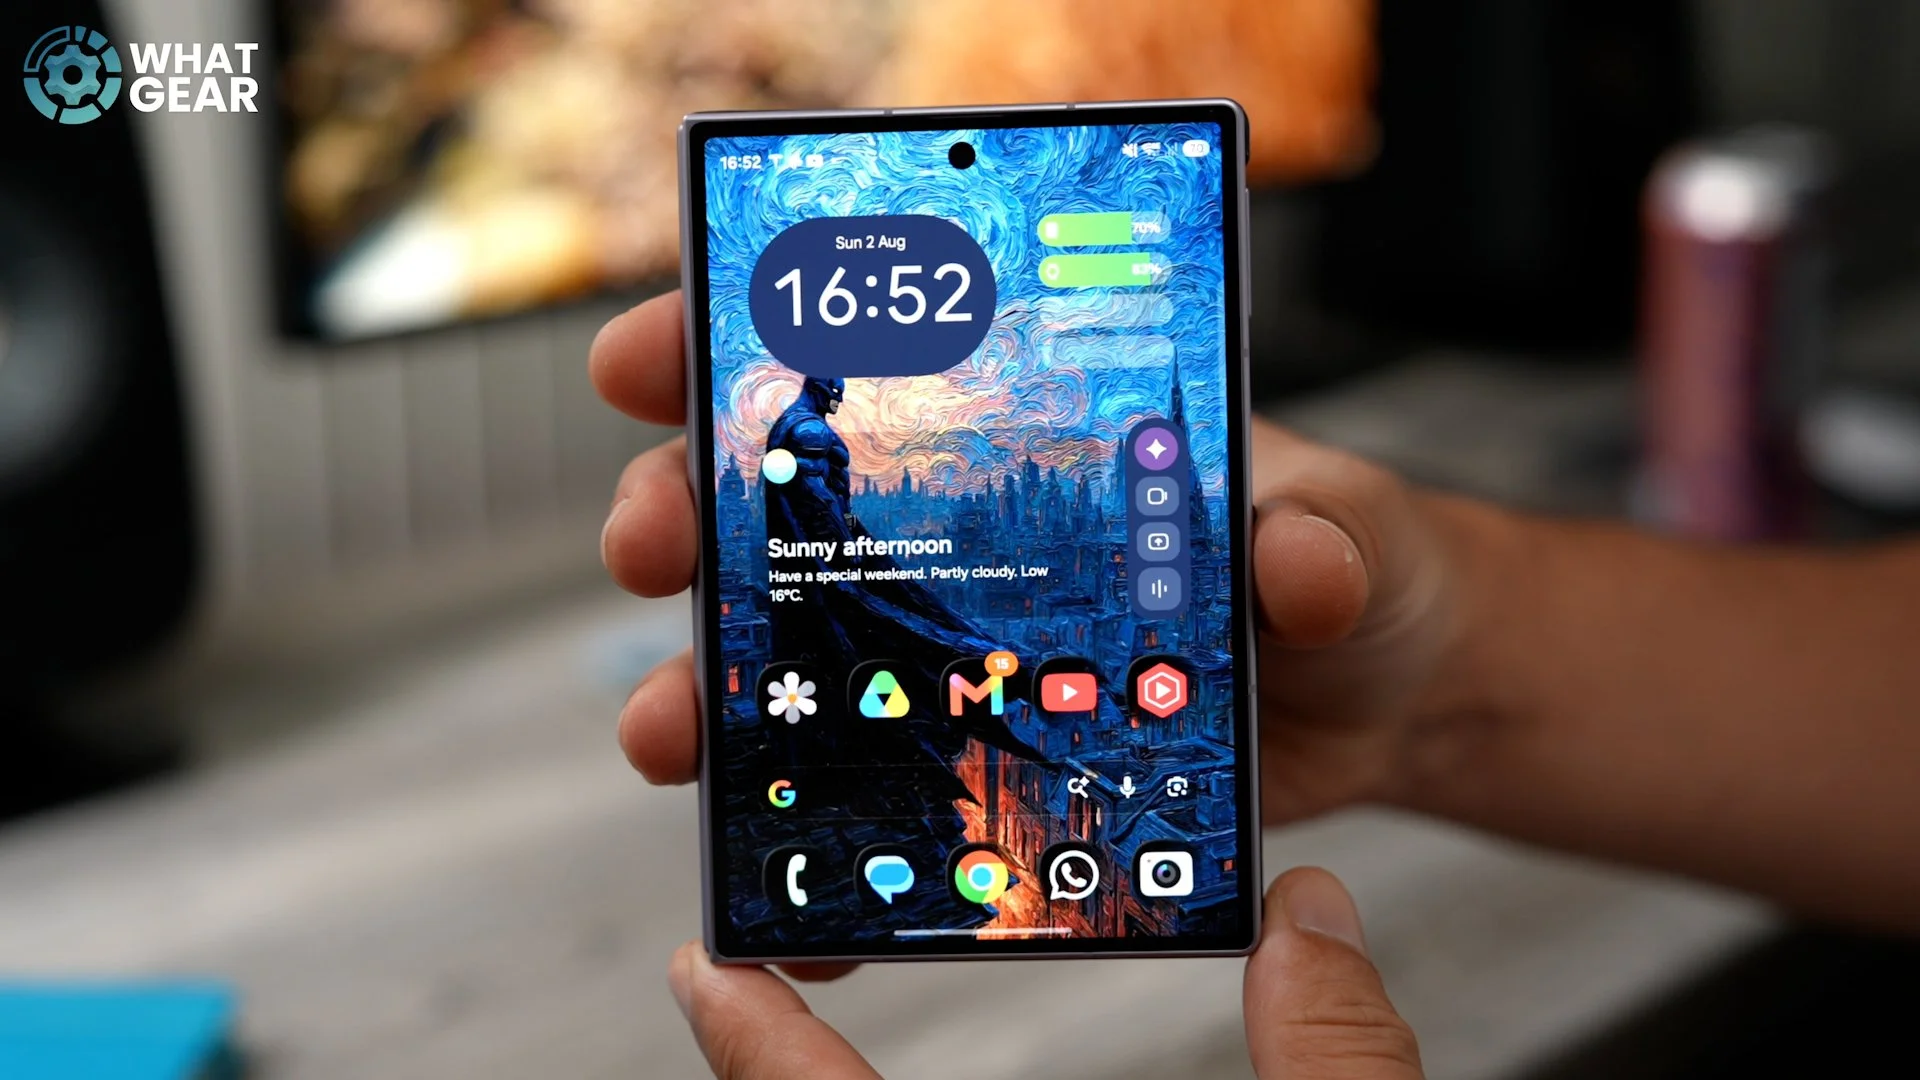
Home Up / 5 columns
This is the widest Galaxy foldable yet, but for some reason the cover screen is locked to 4 apps per row (which doesn't make sense), especially given that the narrower Ultra has 5. So let's fix that. In your Galaxy, find Good Lock and install it. Now install the Home Up add-on and enable the home screen. Now change "home cover screen grid "to 5 by 5. Job done.
Home Up / pop-up folder large
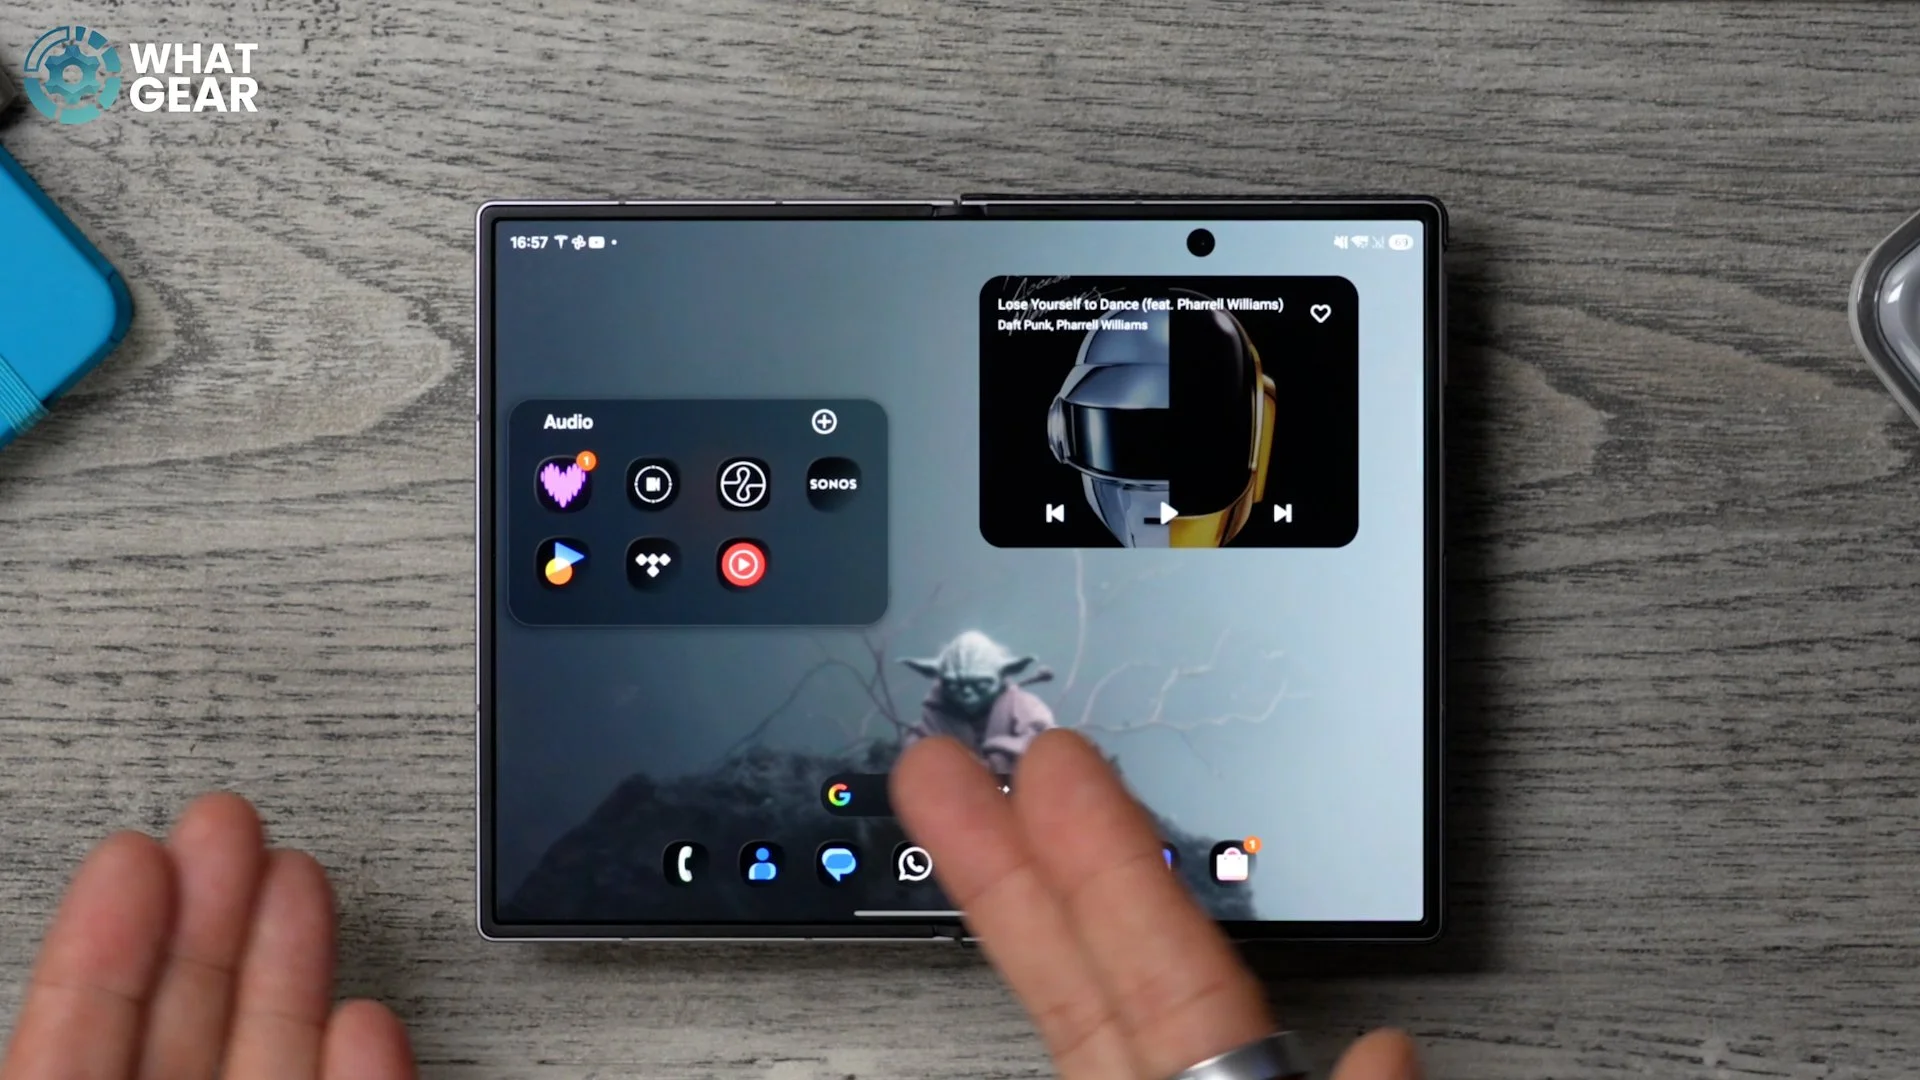
Ok, staying in the Home Up Module of Goodlock, scroll to the bottom of the page, and here you'll find "pop up folder" Now, when you're using the unfolded display, instead of the folders filling the entire screen. They will pop up in a smaller window, which you might find more convenient.
Home Up / Large folder
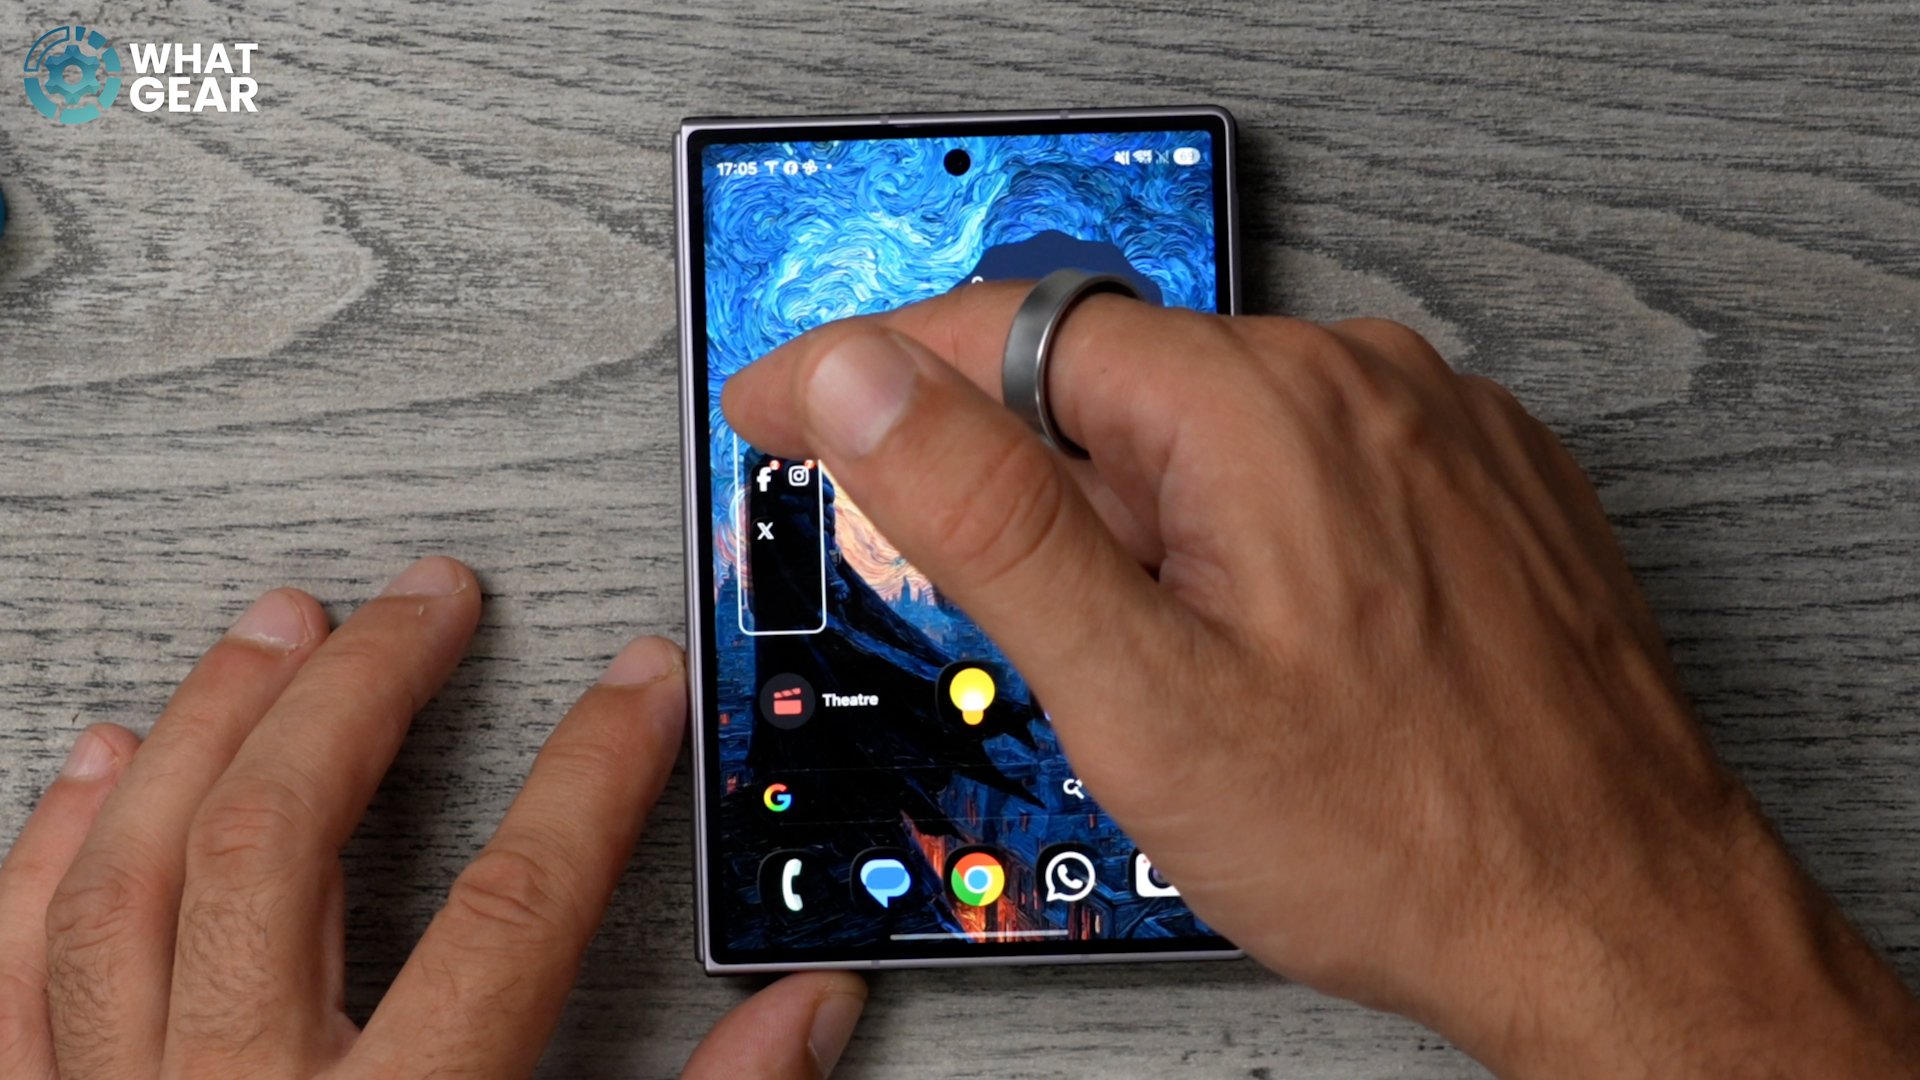
So we're going to stay at home for one more custom setting. This time, scroll down to "Large Folder" and set this to custom. So now your folders can be shapeless, formless- because now you have unlocked the ability to take any folder and reshape it with much more freedom. Helping you make the most of your screen space.
4. Register Back tap / to go back
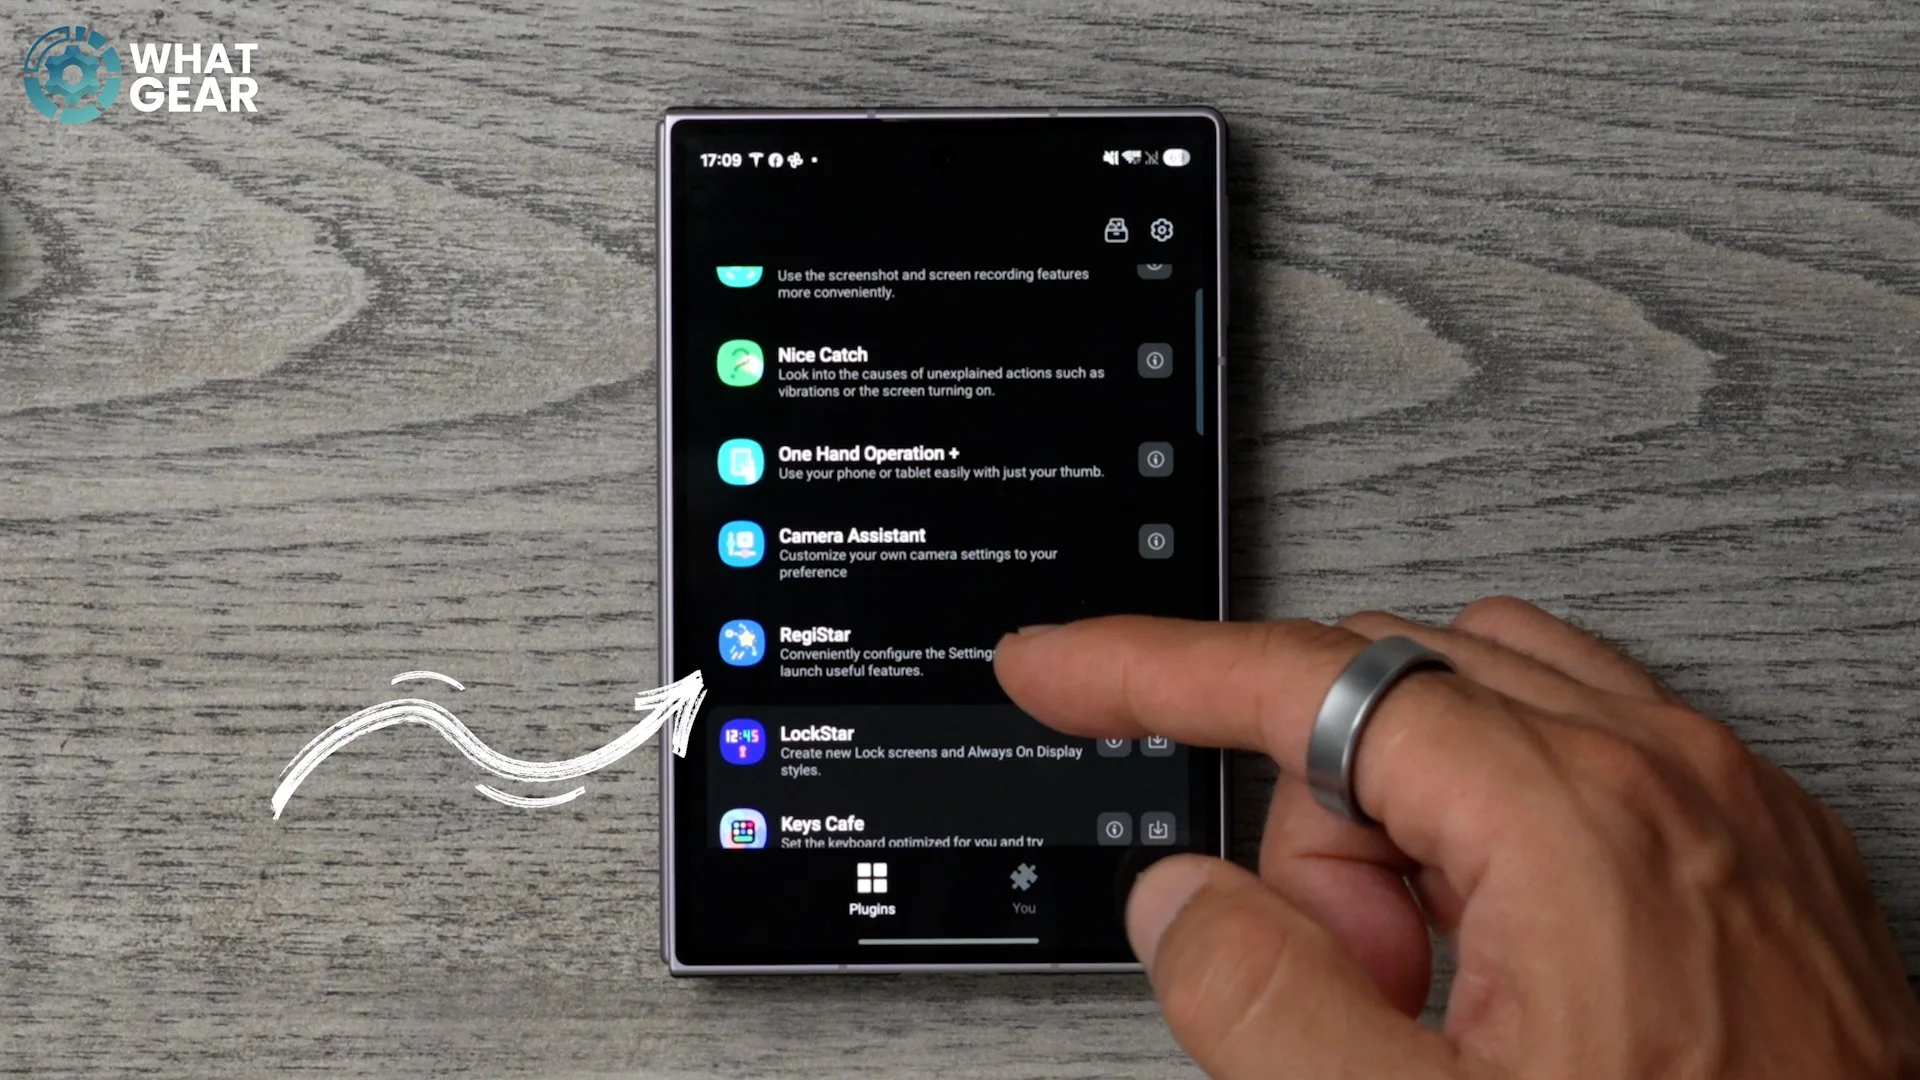
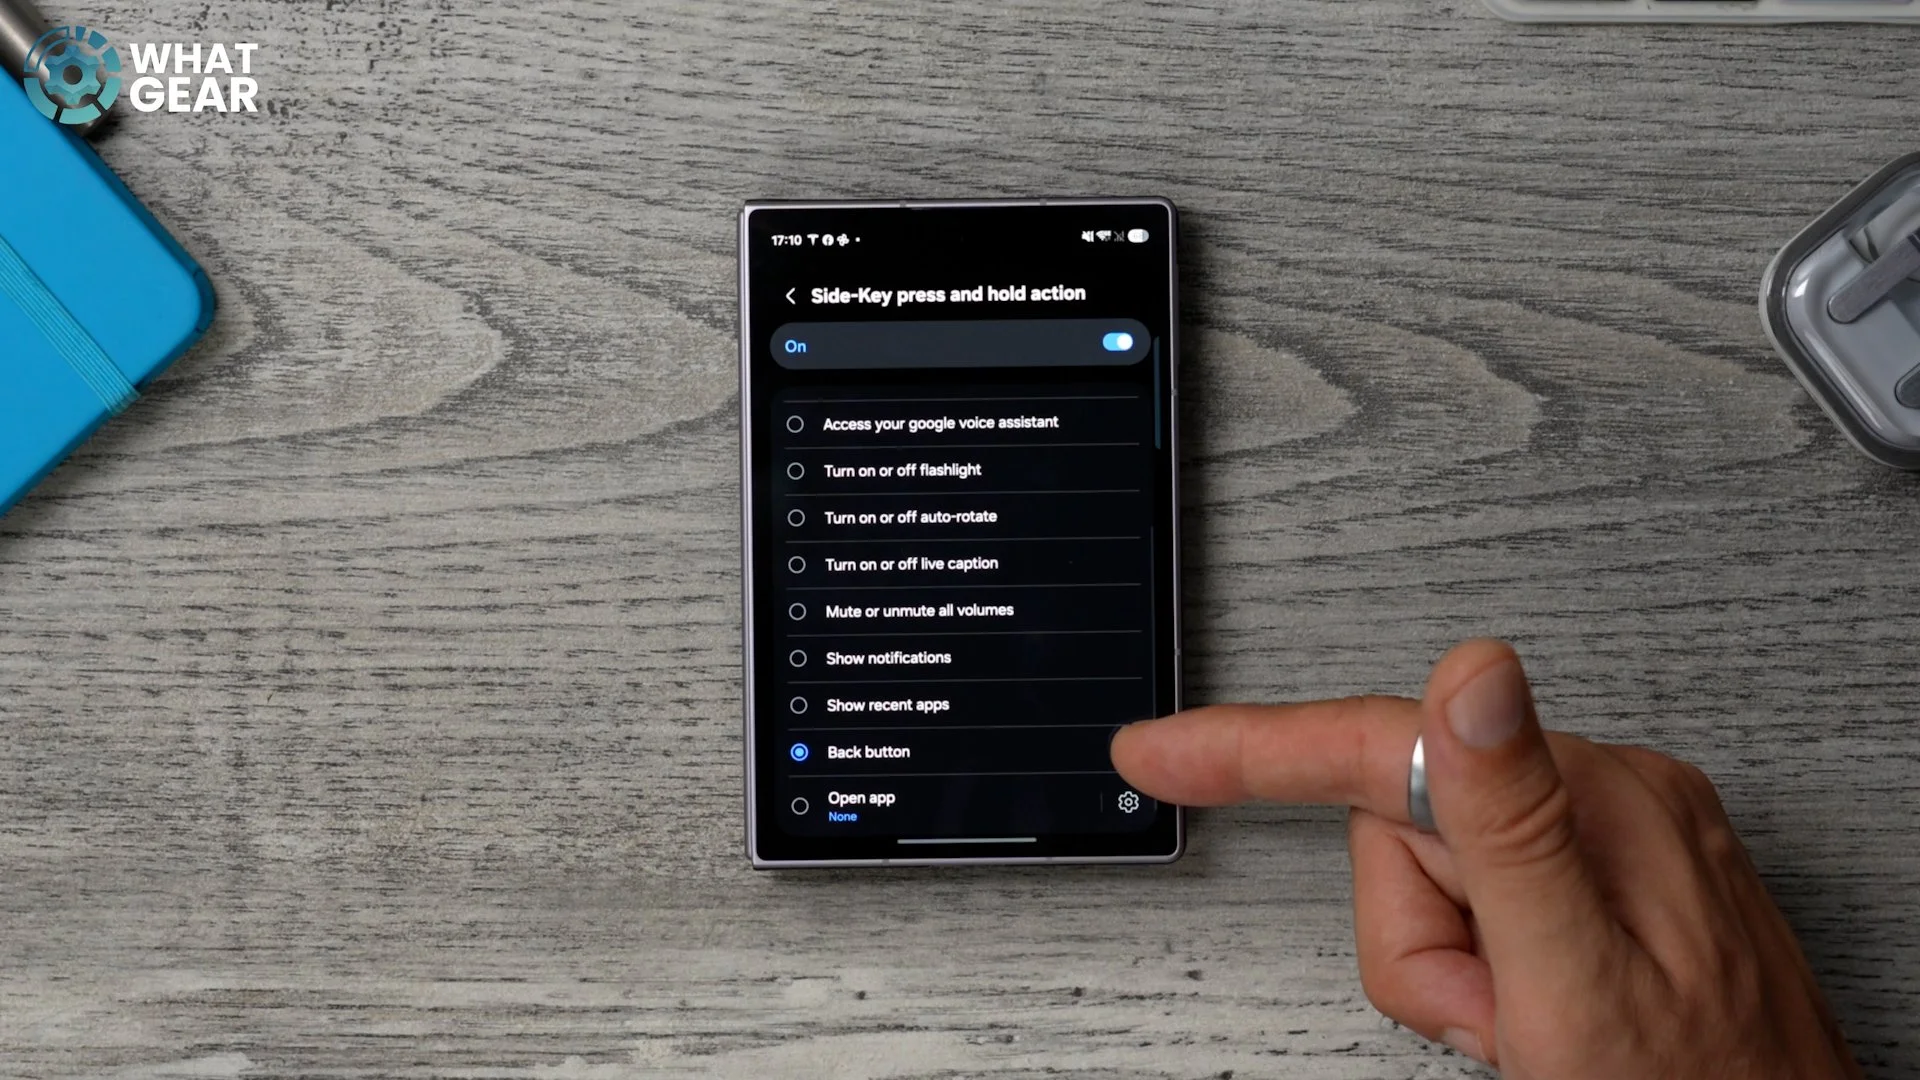
So, I don't think it's a stretch to say that if you have this phone, you might struggle to get back within apps. If you are the type of person who prefers swipe gestures. Unless you have been gifted with giant hands… In a good way. There are two quick solutions to this. Here's the first one. In Good Lock, add the Registar module, enable side-key, and map the double tap to "back button. Of course, this method overrides the Gemini shortcut. And if you can't live without that, then don't worry (I got you, homie). We'll get to that shortly.
5. Theme Park / Glass Icon
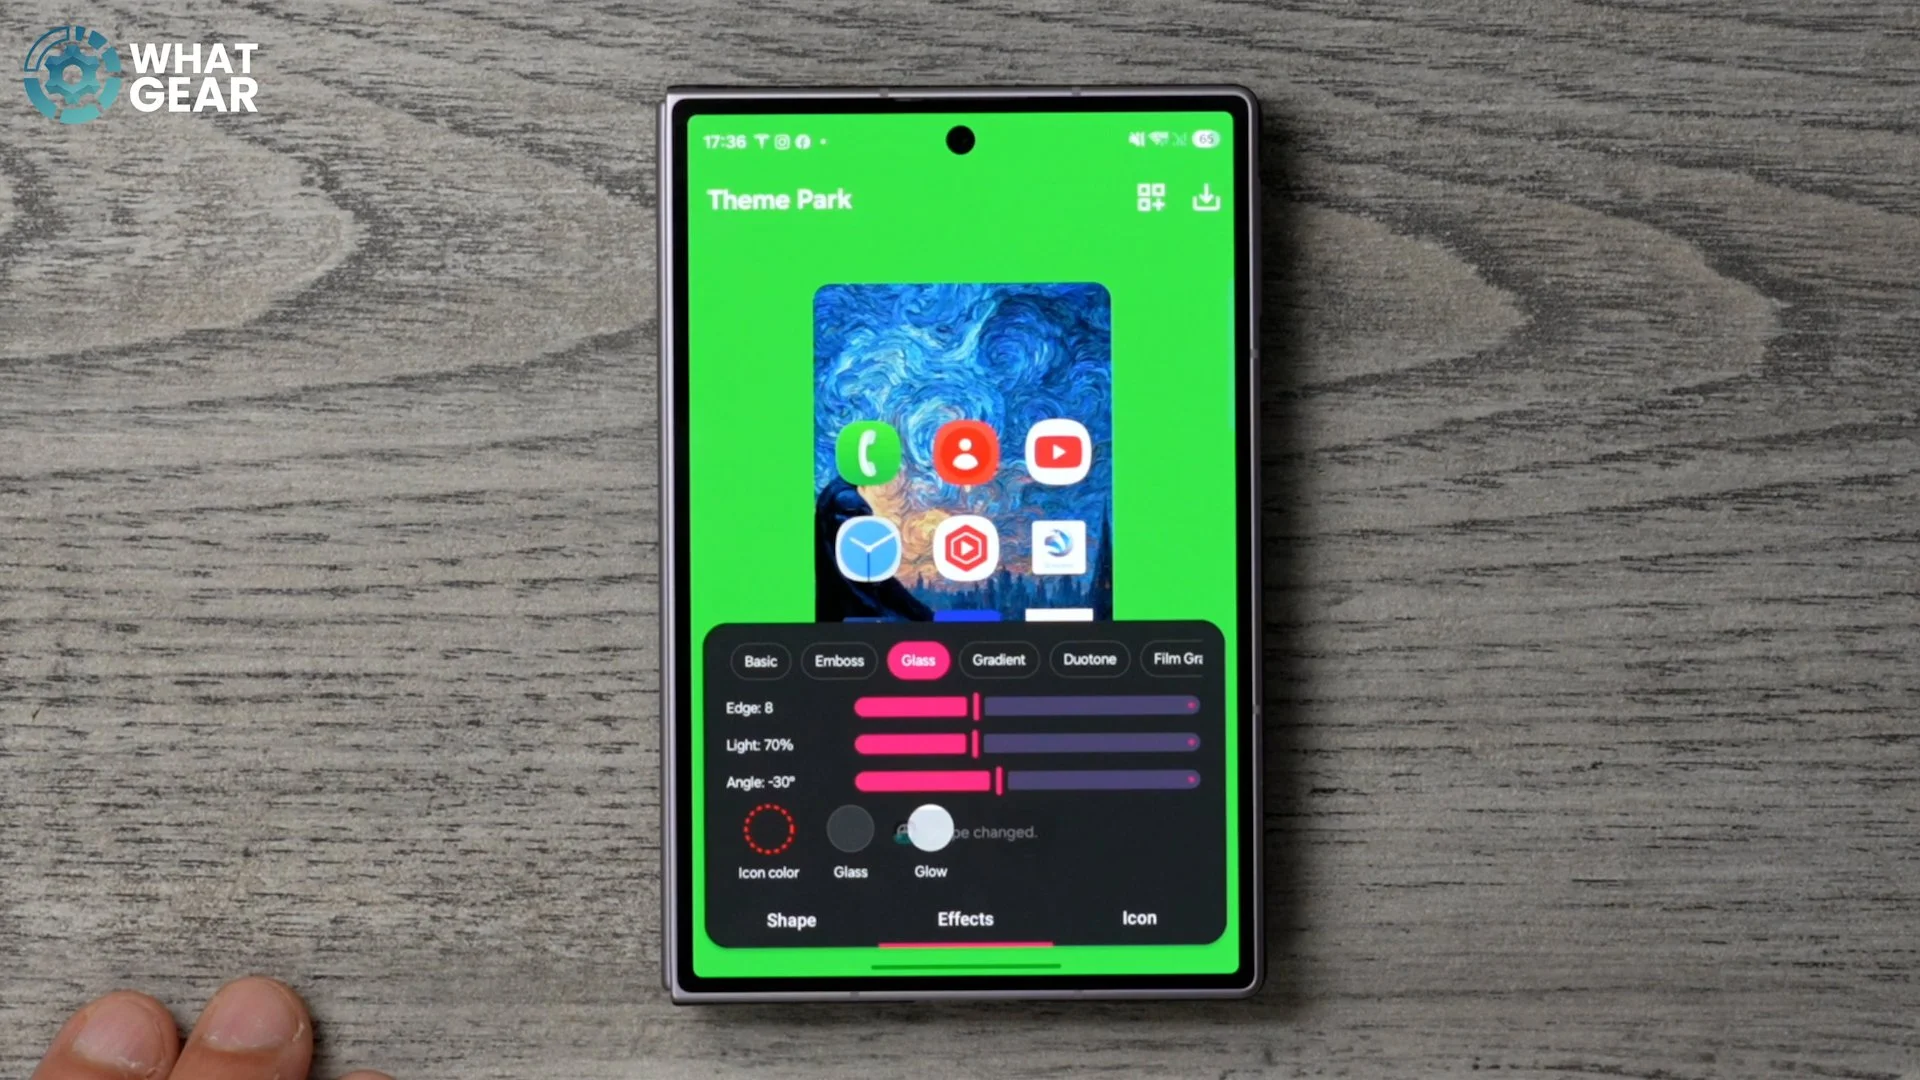
Ok, so if you're a fan of Apple's Liquid Glass, you may have used it before and miss it. Or you want to try it out. Well, good news (you can do it). Here is how. Back in Goodlock, add the Theme Park module, select the icon at the bottom, then create a new go-to effect, select glass, then tap the download button, give it a new name, and apply this effect. Now your icons are apparently transparent.
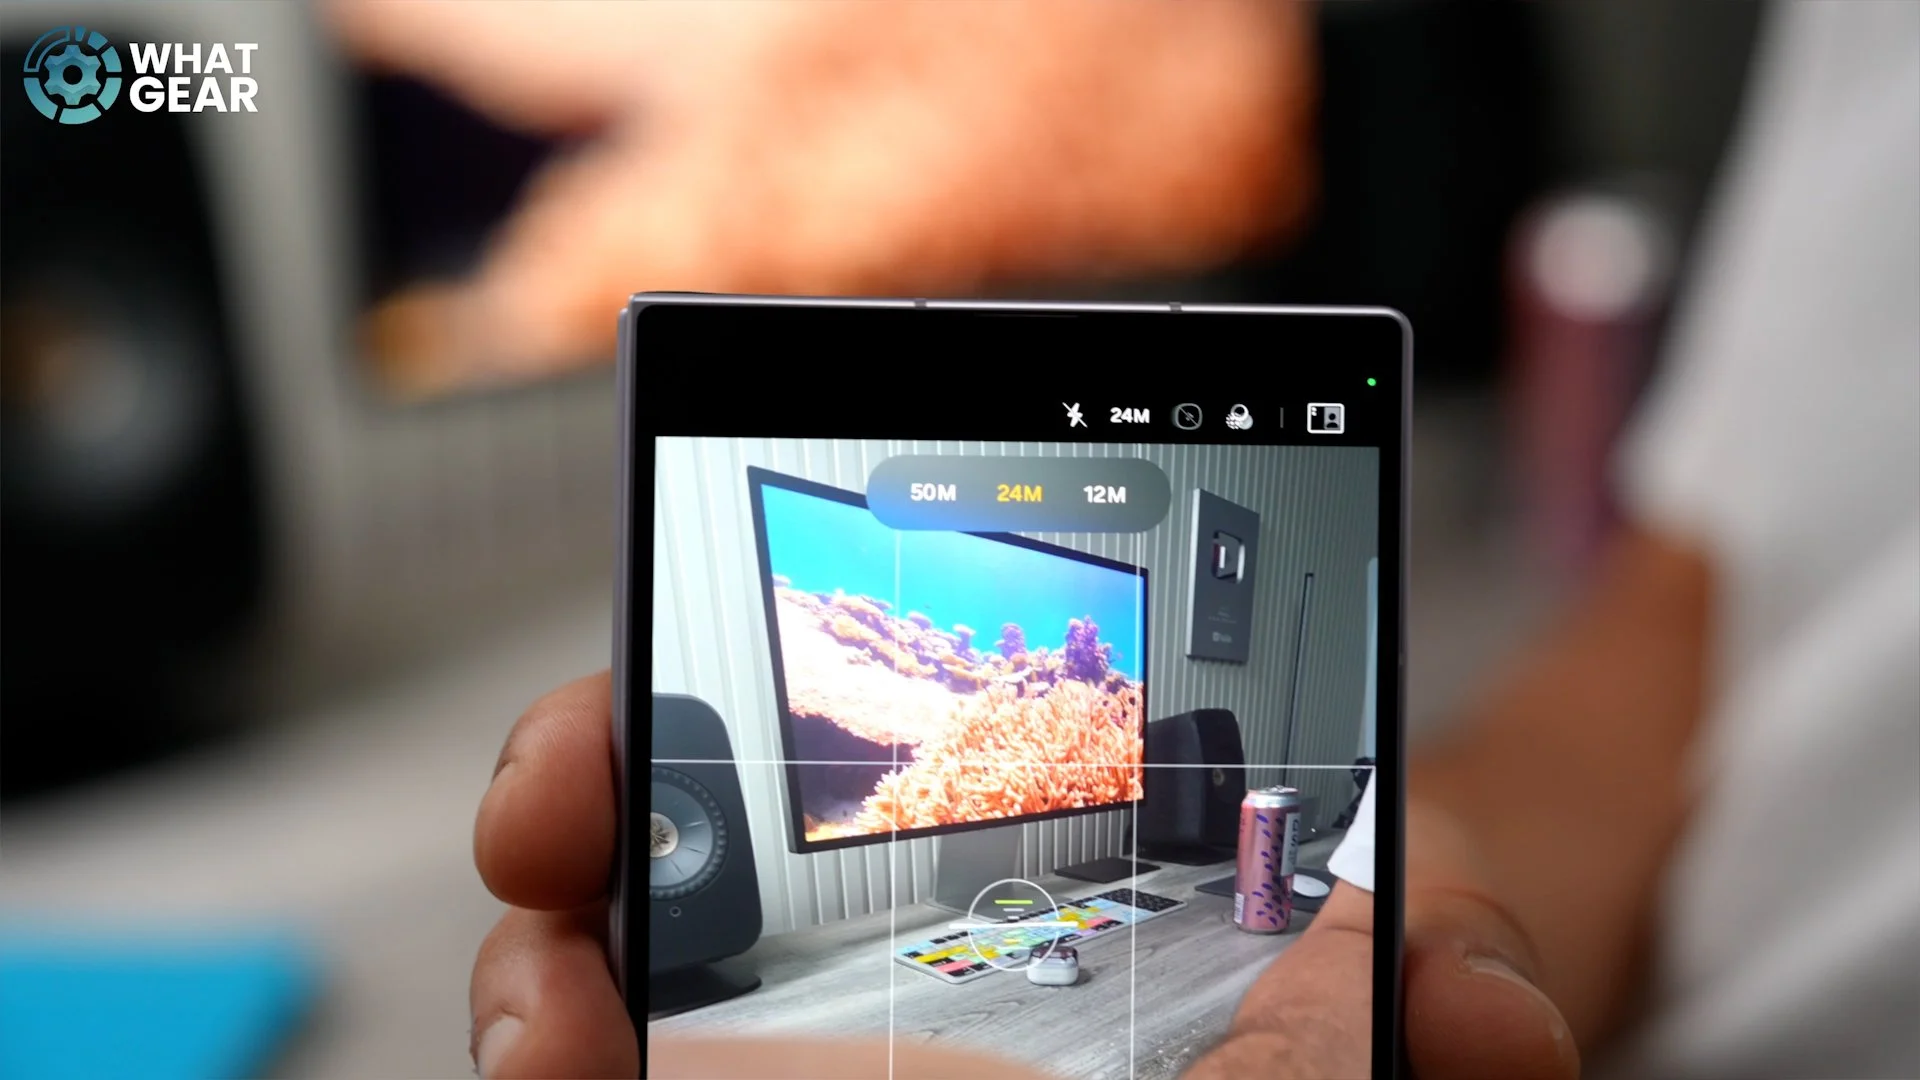
6. 24 MP mode
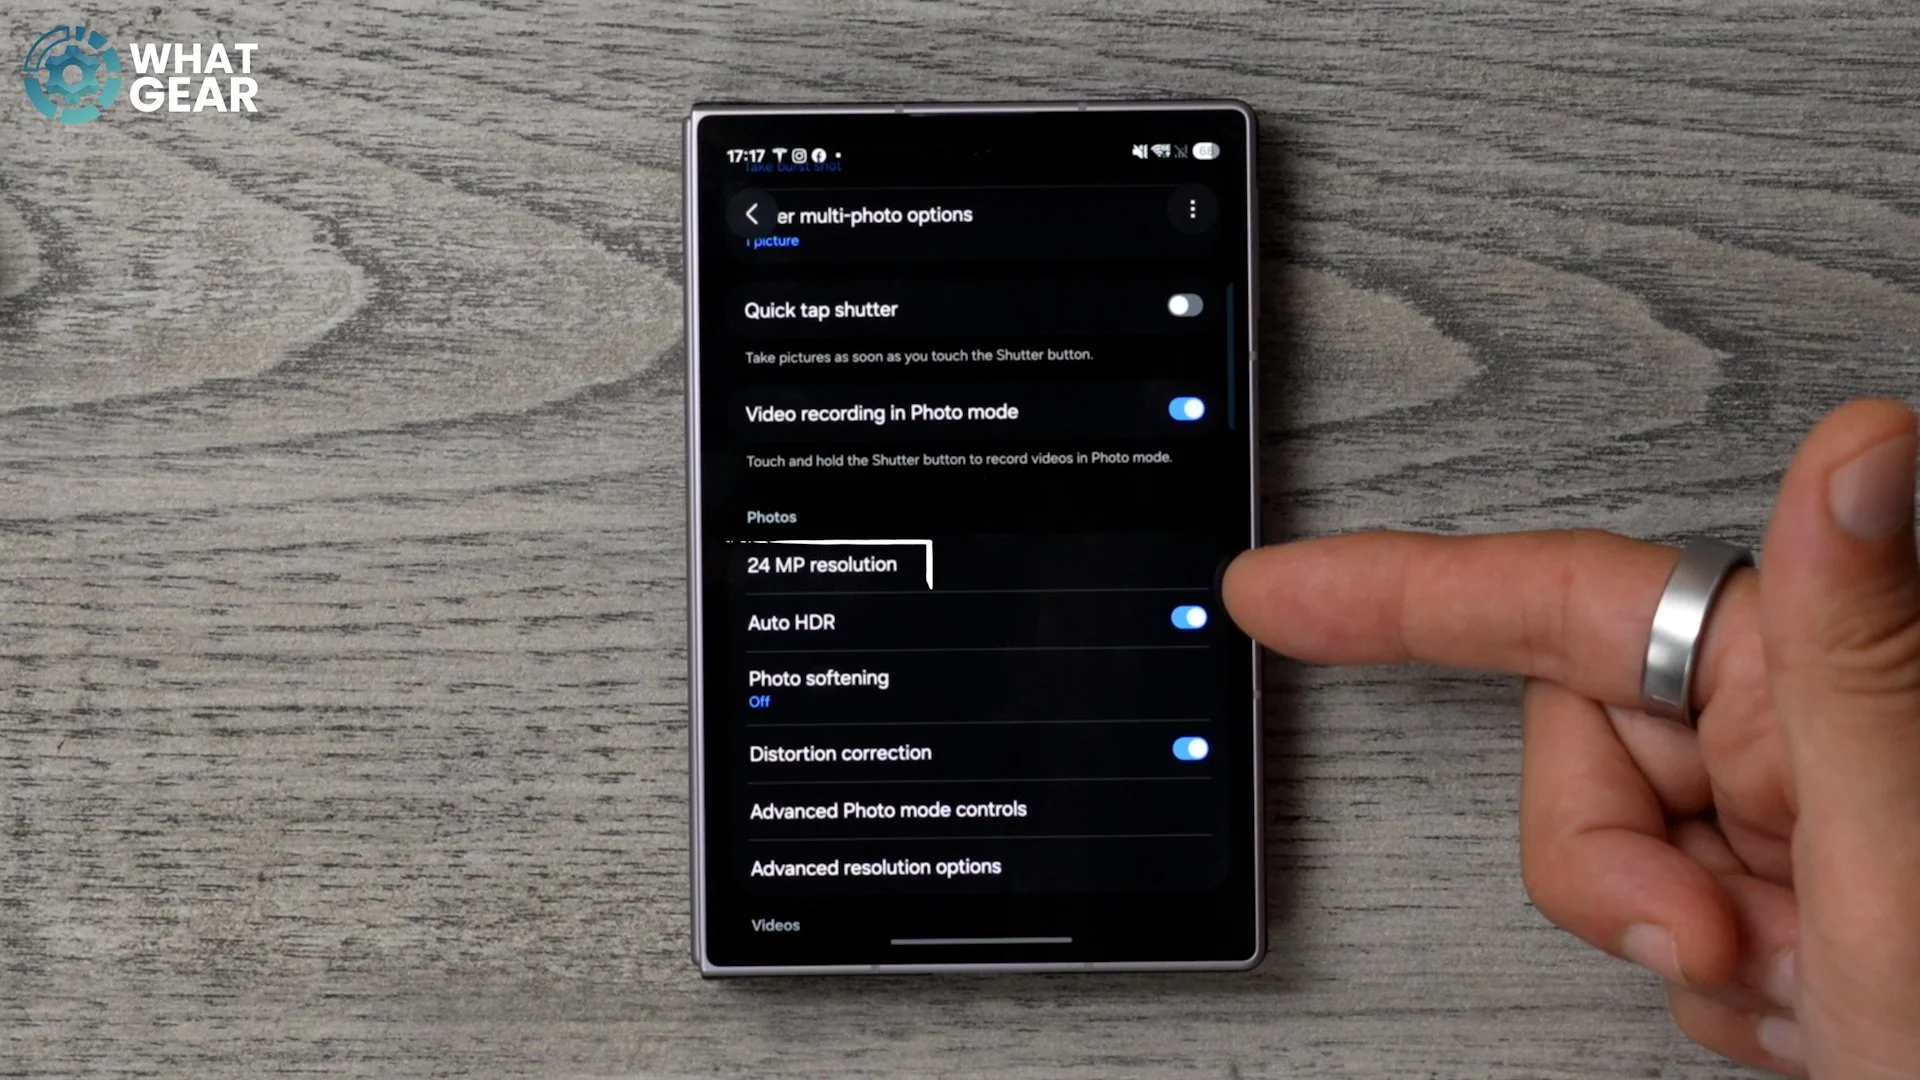
Ok, this is a trick I showed in my tips & tricks deep dive guides. It's an important one if you care about taking better pictures than your friends, even if they have the same phone. Again, in Goodlock, installing Camera Assistant enables 24MP resolution. Before, you could only jump between 24 and 50 (meme); now you have unlocked the middle ground 24MP mode. Doubling your detail in well-lit environments. But remember to use 12MP in low-light environments.
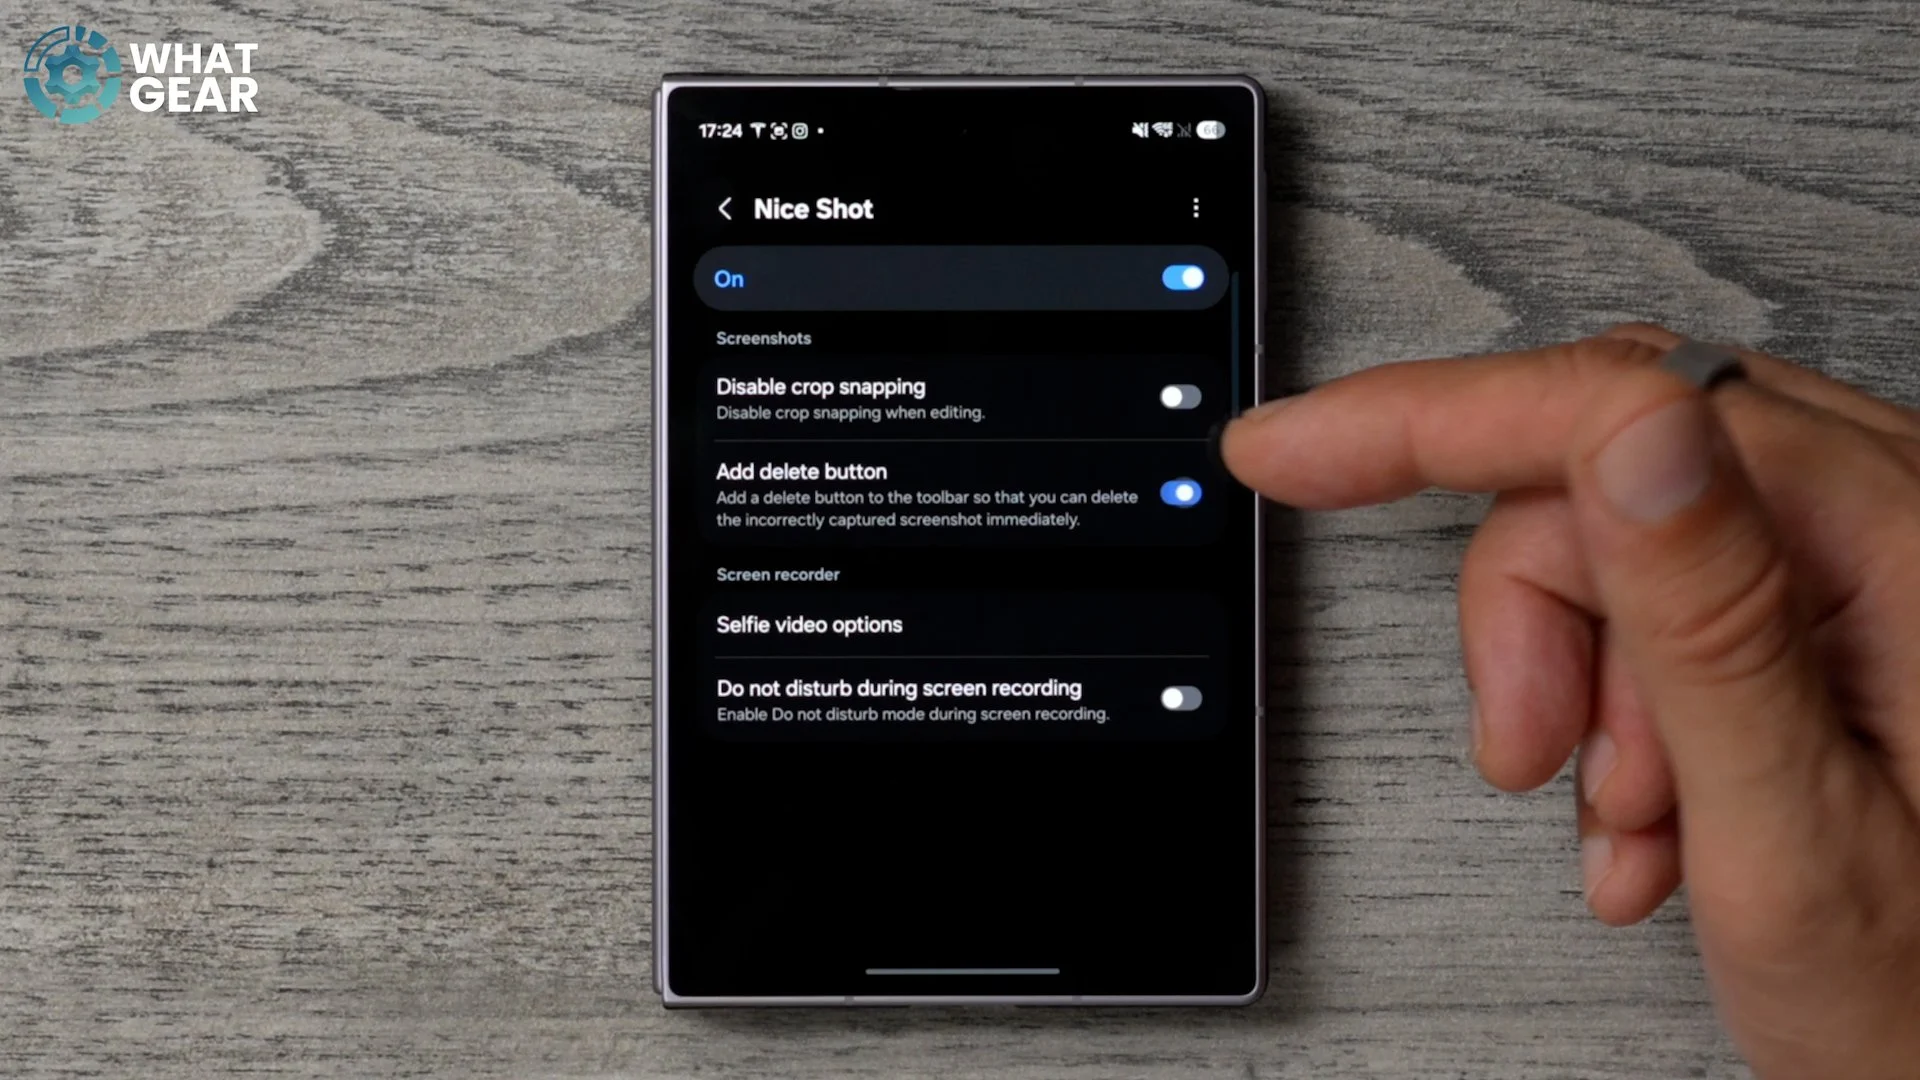
7. Nice shot / add delete button
Have you ever accidentally taken a screenshot whilst trying to shut your phone down? It's annoying, isn't it? Here's a trick that will help you with that. In Good Lock, install Nice Shot. Enable the "add delete button" now so you accidentally capture a screenshot. You delete it instantly.
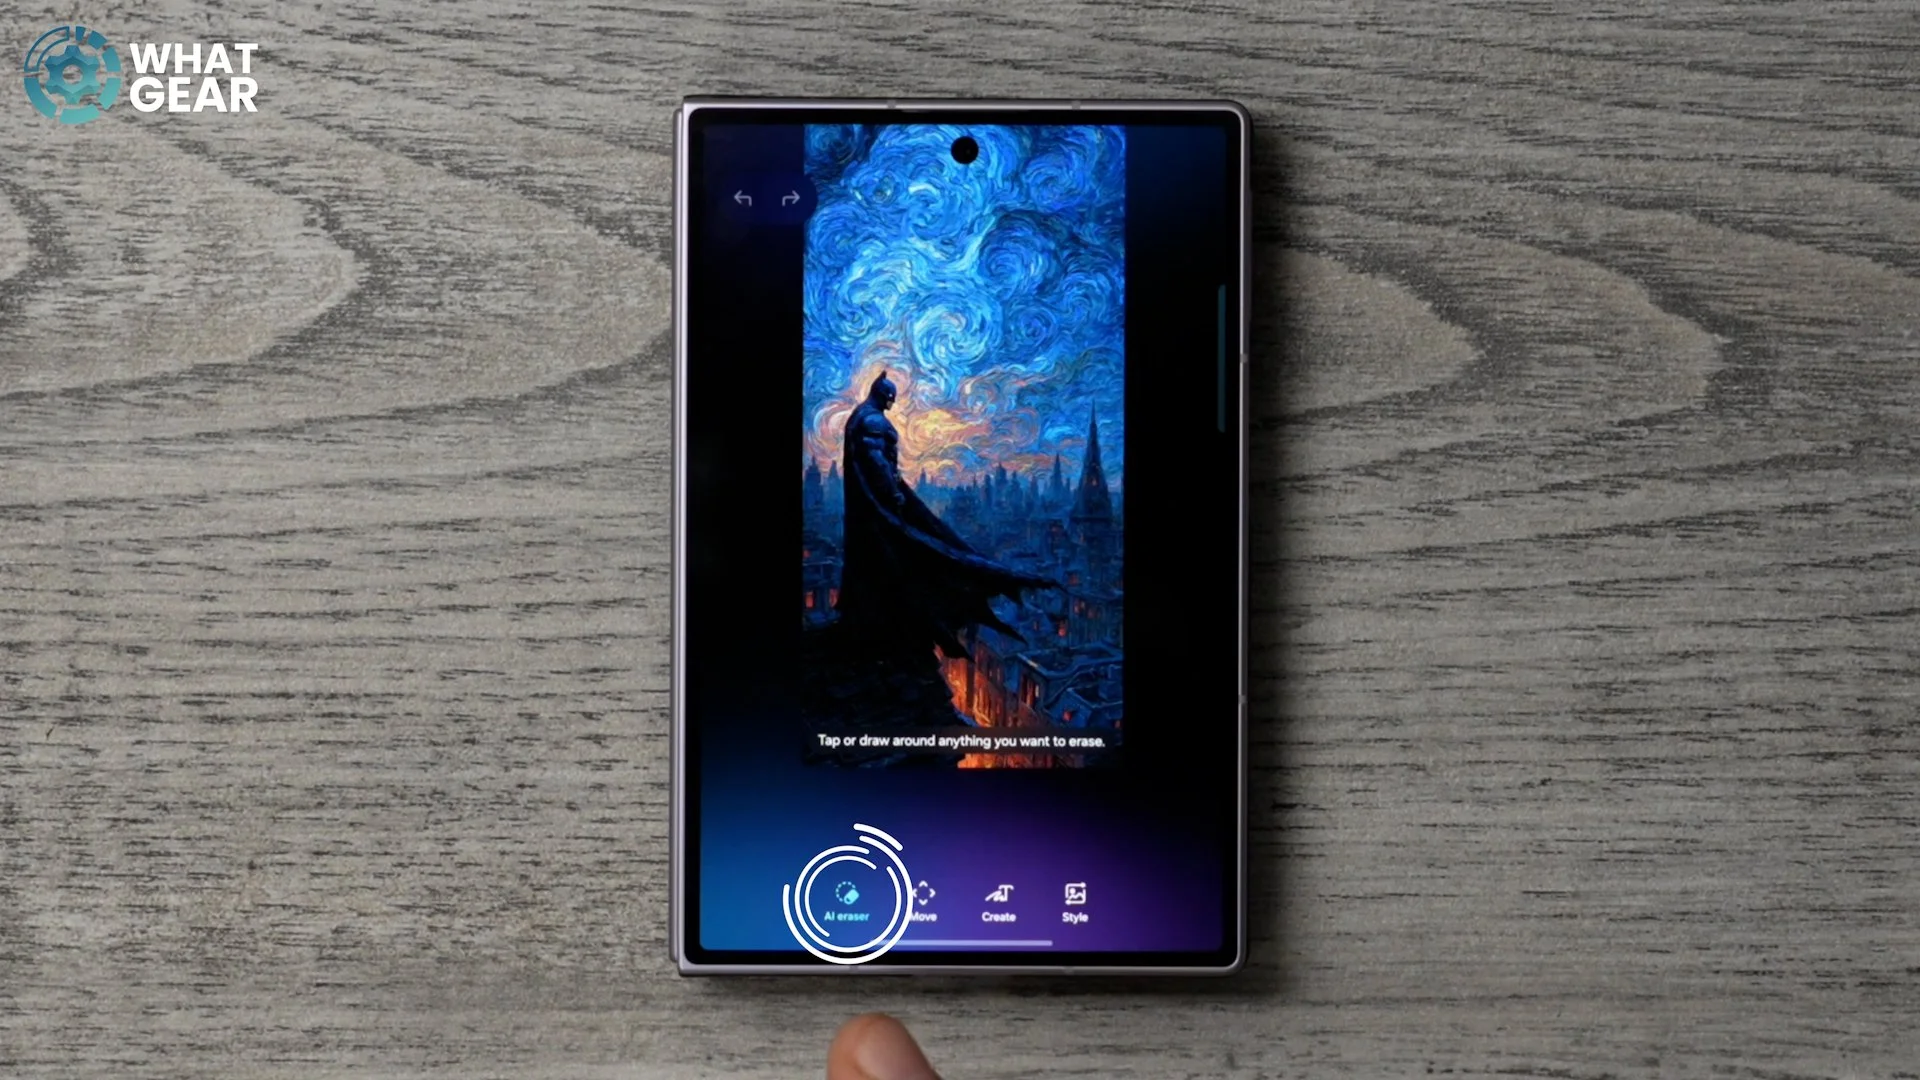
8. Theme park / Life up / Parallax
Ok, so might be quietly admiring my depth effect wallpaper. If you want this particular one, drop me a comment; I'll send you a link. Here's how you can unlock this effect. There are a few important steps to make this look perfect. Most people won't take the time to show you this…but I'm not most people. So first, find the image you want to use. Hold your finger down on the subject to select it as an image; that's step one. Now hit your AI sparkle, use the AI eraser to remove the subject from the background, and save this as a copy.
And now, within Goodlocks, add Wonderland, create a moving wallpaper, hit the plus, choose the clear background image you just created, then hit the gallery icon with the plus, select image, choose the cutout subject, then image settings, apply a small amount of movement. Now, click on the background, go to image settings, enable the motion effect, and apply a higher number so the background moves more than the foreground. It'll take some fine-tuning to get this perfect. And if you want to, you could even add a particle effect.
9. One-handed plus / Diagonal swipe to go back
Alright, remember that wide problem: it's difficult to go back. Here's the second hidden technique. In GoodLock, this time add the One Handed Plus module. Switch off the left handle; this will leave it as is. Switch on the right handle & map the diagonal down to the back key.
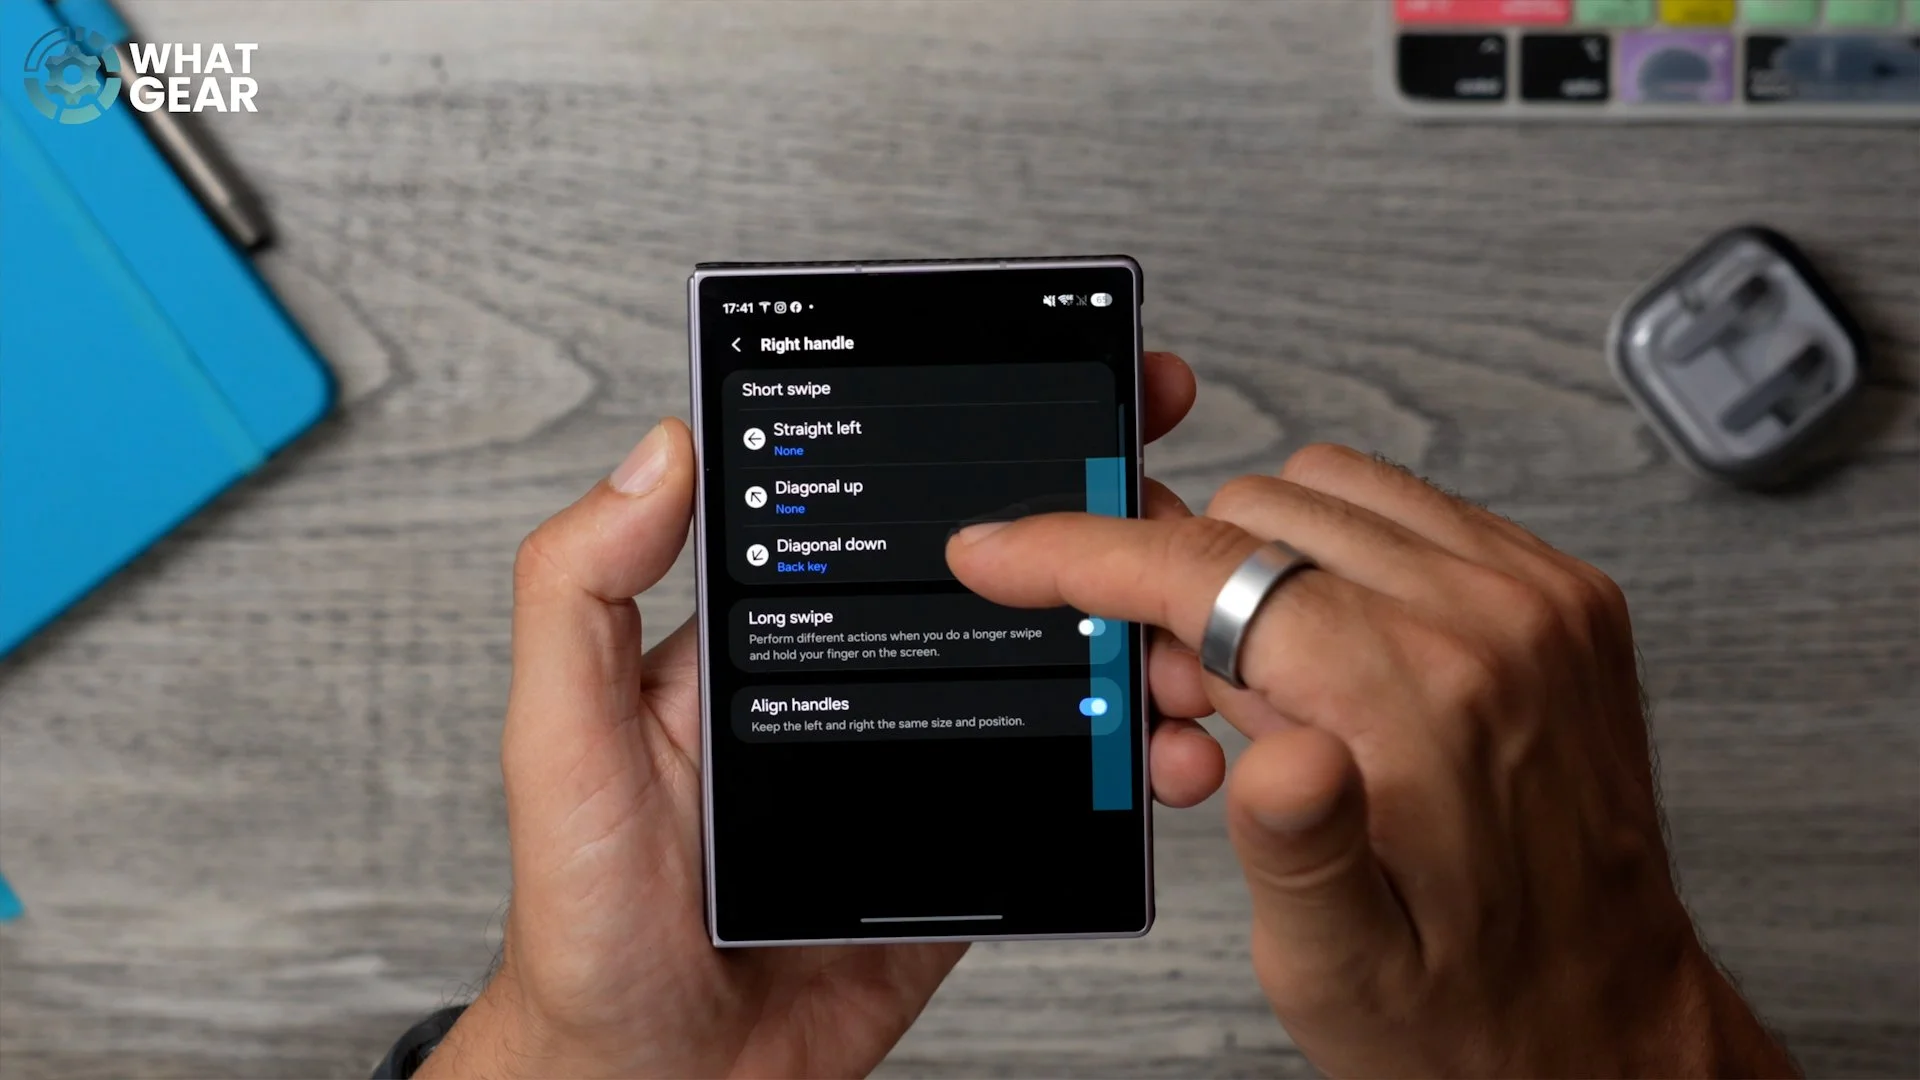
Now, in the future, whenever you need to go back, you can perform this diagonal downwards swipe to go back. And a little bonus tip. If you want a custom animation for when you perform this trick, Go to "Advanced settings", then tap animation. Here you can customise the colours and style of your brand secret, hidden shortcut.
10. Quick Button creation
Does your phone ever keep going off annoyingly to the point where you're like, "shut up"? Well, there are many solutions, but all else being equal, the simplest tends to be the best. So do this: go to modes and routines, select routines at the bottom, and then the plus at the top. Under the if statement, select "start manually ", under the Then statement, under notifications, select Do Not Disturb. And when the routine ends, make sure "return to status before routine ran" is enabled and active.
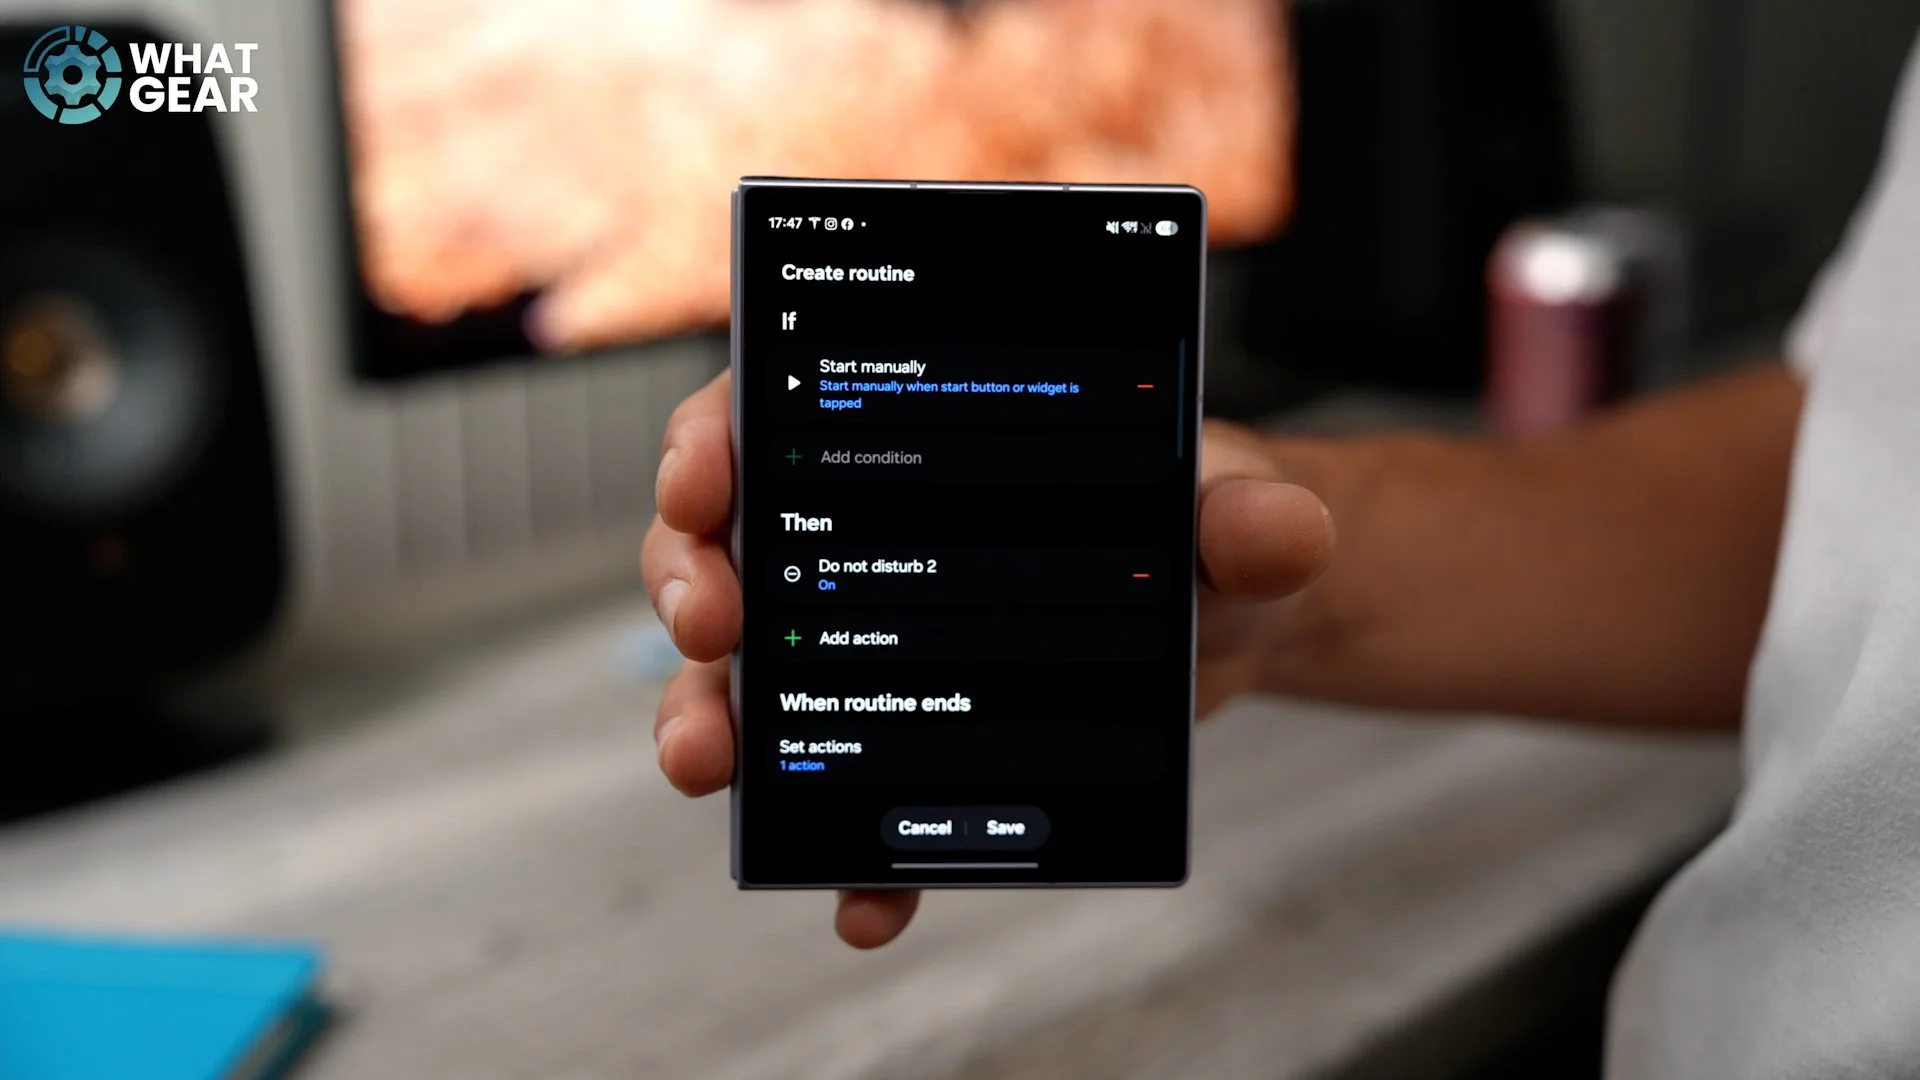
Now you can pinch the homescreen, add a widget, add a single routine widget, and now you have an instant Do Not Disturb button. And if you want to, back under the then statement, you can select a custom wallpaper for when "Do Not Disturb" is active.
11. Bonus / Gallery PDF
Alright, I know I said it would be 10 tips, but if you know my channel. Here's one more bonus tip you may find useful. Open your Samsung Gallery, go to Settings> About Gallery, and tap the version number repeatedly. This unlocks the hidden Galaxy Labs.
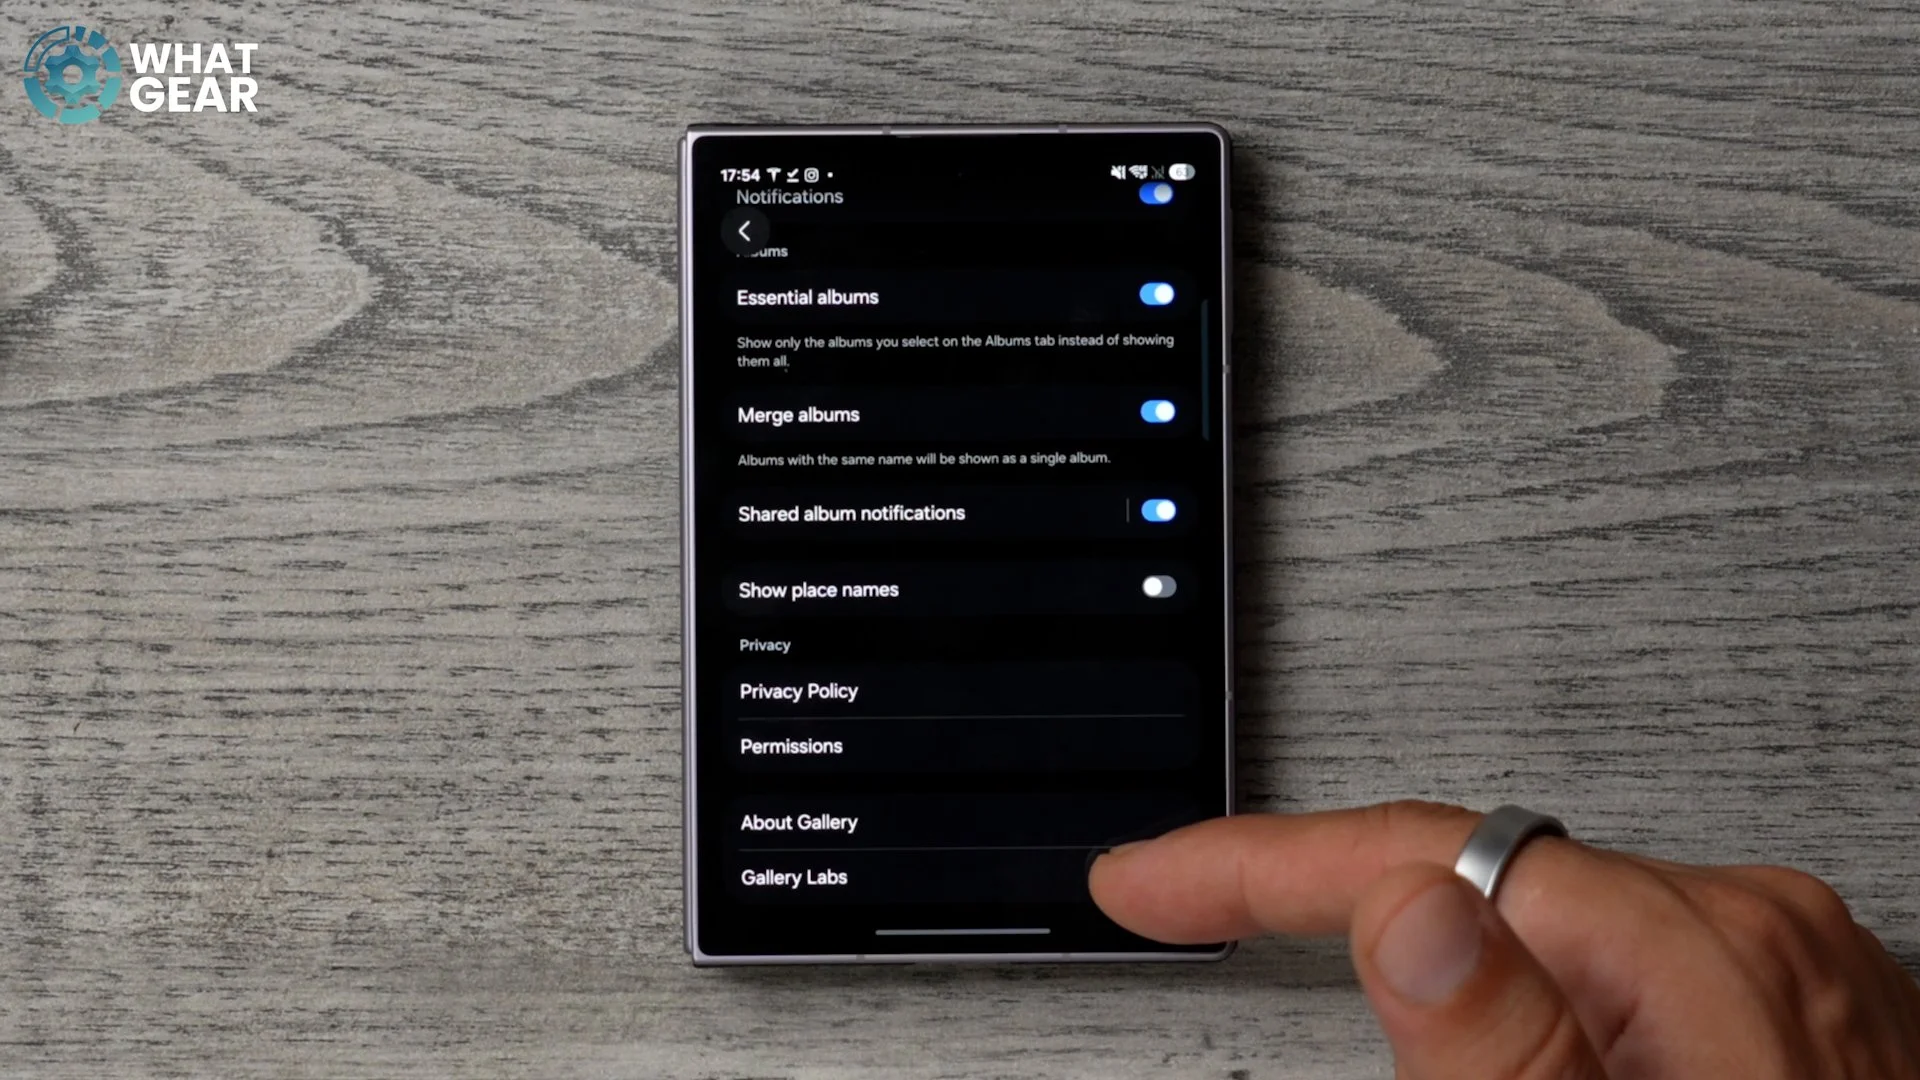
Now, back in the settings, you'll find Save as PDF. So let's say you've captured intentional screenshots of documents or receipts. You can hold your finger down, select them all, then hit create. And here you'll see the new hidden feature, which lets you combine them all into a single PDF.